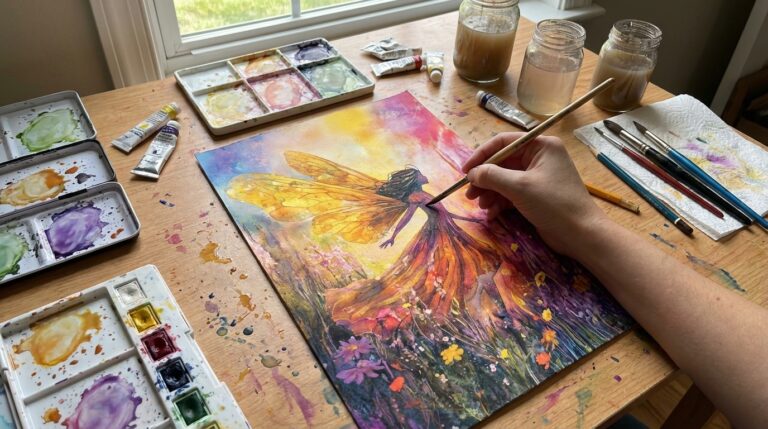
You stretch paper to paint on by soaking the paper in water and fixing it to a stiff board until it dries. You should always do this when using Watercolors and it can also be helpful when using Guache and Acrylic Paints.
Why is it important to stretch your paper before painting?
The reason this is important is because if you don’t the paper can buckle and warp, ruining the painting. If you paint on paper with paint that contains water, the water soaks into the paper. Unless the paper is very thick watercolor paper it will swell and buckle. The surface will also deteriorate unless you are very careful.

What you will need
To stretch the paper you will need a few supplies, but they can be purchased fairly cheaply. First you will need a solid board with a good surface. You can use any close grained wooden board or even MDF if you prefer. Make sure it is at least 10mm thick. The thicker the better. You need the board to be slightly larger than the biggest painting you will do on it as you will need extra space to tape down the edges.
Boards like this are available from art supply companies but it is often more cost effective to buy them from hardware stores or timber supply companies. They will usually cut them to size for you for free. You can also use plastic or acrylic sheet for the board. As long as the surface is smooth and water resistant most things will work. I have even used a metal sheet on a few occasions.
Next you will need some water activated tape. This usually comes as 2 inch (50mm) brown
water based parcel tape or gummed tape. It is sometimes called different things but is widely available. In art catalogues it is likely to be called gummed tape or watercolor tape. It is often much cheaper from companies selling packaging supplies though. They will list it as water activated packing tape, water based craft paper tape or eco paper tape.
Of course you will need paper too. Any good thick cartridge paper will work fine, but for better results with watercolors specialist watercolor paper is always better. The paper will need to be slightly larger than the final painting as the tape will cover the edges of the paper.

Wetting the paper
You will also need a way of wetting the paper. This can be done in several ways. If you have a large flat tray like a cat litter tray this is big enough to soak your paper in that is perfect. Just make sure it is thoroughly clean as any dust or dirt will stick to the paper. Another way is to use a sponge or spray bottle to wet the paper. You can even use a large brush to wet the paper.
Method 1 – Soaking the paper
First cut 4 strips of tape long enough to cover each edge of your paper and set them aside near your board. Make sure the board is clean with any paper from previous work removed. It is also a good idea to have some paper towels handy and it is best to work on a waterproof surface cloth in case of any splashes or spills.
Soaking the paper in a tray of some sort is the best option if you have time to wait for it to dry thoroughly. Immerse the paper completely in the water and allow it to get thoroughly wet across the whole surface. Lift one end out and allow any excess water to run back into the tray.
Then you will need to fix the paper to the board as described below.

Method 2 – Using a spray bottle
Using a spray bottle to wet the paper is fairly easy, just try to wet it evenly. Lay the paper on your board and spray one side completely, turn it over and repeat the process. Make sure the right side of the paper is facing up and then stick down the sides as described below and allow to dry.
Method 3 – Using a wet sponge
If you are using a wet sponge, make sure it is thoroughly wet. As you run the sponge lightly across the surface squeeze gently to push water from the sponge onto the paper. Coat it evenly then turn the paper over and repeat. Then just tape the edges down and allow to dry as described below. Be careful not to rub the surface of the paper too much or you will damage it.
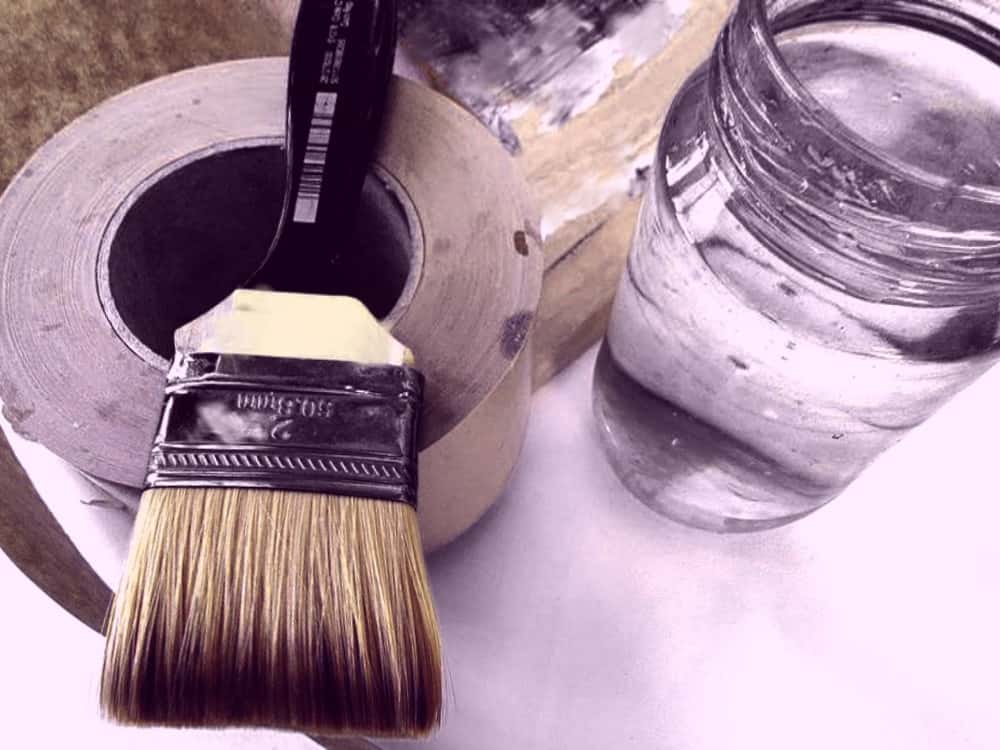
Method 4 – Using a wet brush
You can use a brush too. It can be easier to get an even coat of water if you use a big flat brush. Paint water onto the first side. Turn the paper and repeat, then tape down the edges as described below and allow the paper to dry.

Fixing the paper to the board
Place the paper centrally on your board with an even space around each edge. Dip the first piece of tape in the water and then apply evenly to one edge of the paper with half the width of the tape overlapping so it will stick to the board. Press it down firmly and evenly making sure the paper is flat. Use the kitchen towel to press down the tape firmly to make it stick and push out any bubbles.
Repeat this process for the opposite edge next. Make sure the paper is flat and even against the surface of the board. Then you can tape down the final 2 sides. Make sure you have pressed out all the bubbles all the way around each piece of tape.

Allow for drying time
Now just put the board aside and allow it to dry. As it dries it will shrink, pulling the paper tight against the board and keeping tension applied on all sides. If you used too much water it is possible that the paper will tear along one edge. You can use the kitchen towel to gently dab the surface to soak up excess water, but be careful not to rub it against the surface as this can damage the surface of the paper. In time it will get easier to judge when the paper is too wet.
If you don’t have a tray to soak the paper you can wet it using one of the other methods described below. Once the paper is wet use the same method as above to stick the paper to the board.
Can the paper be too wet?
There is a balance between getting the paper wet enough to allow it to swell but not too wet so that it rips or tears when it is drying. You will learn to recognise this as your skill improves. When soaking the paper as in method 1 make sure you allow any excess water to drain back into the tray.

Using a brush to wet the paper can give you more control over the wetness and will allow you to paint on the surface much faster than if the paper is thoroughly soaked. If you need the paper quickly, this is probably the best solution.
When is the paper OK to paint on?
You can begin painting as soon as the paper is dry, knowing that the paper is much less likely to buckle or warp. If you use a brush to apply the water, you can actually begin the painting even before the paper is completely dry as long as you aren’t using too much water in your paint.
Other uses
When I first started learning to paint with oil paints, this is a way I used to prepare paper for oil paint. Stretch the paper using one of the methods above, then apply a layer or 2 of acrylic paint as a primer. Allow the primer coat to dry and you quickly have a cheap and effective, flat canvas to use for practicing your techniques. You can use any cheap cartridge type paper and get remarkable results quickly. Without the expense of using up expensive stretched canvas every time.