

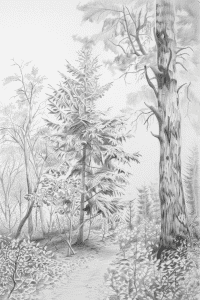
Step into the serene beauty of fall with these 25 tranquil autumn forest sketches, perfect for nature lovers! Whether you’re a budding artist seeking inspiration or a seasoned sketcher looking to capture the essence of the season, these sketches offer a peaceful escape into nature’s autumnal embrace. Picture towering trees adorned with fiery foliage, gentle streams winding through the woods, and the soft rustling of leaves underfoot—all waiting for your artistic touch. So, grab your sketchbook, let the calmness of the forest surround you, and bring the magic of autumn landscapes to life!
All artwork provided is original and can be used as a reference for your own drawings.
Table of Contents
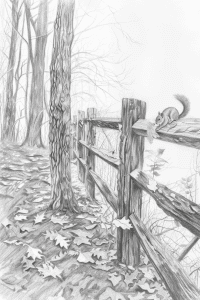
Squirrel On A Wooden Fence
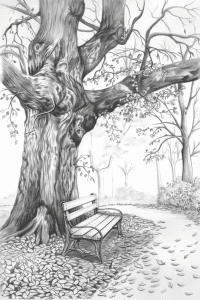
Bench Beneath An Oak Tree
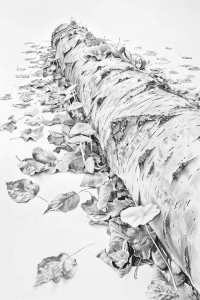
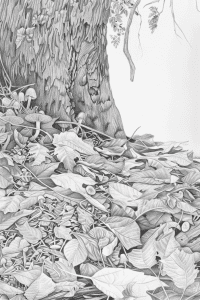
Tree Trunk Covered In Autumn Leaves
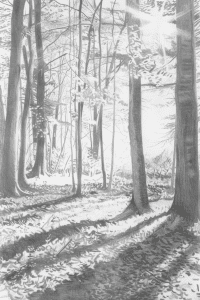
Sunlight Filtering Through The Trees
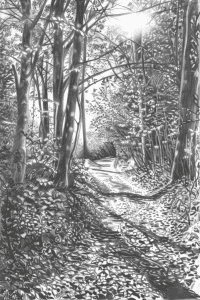
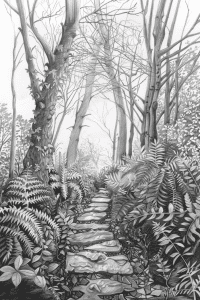
Stone Path Leading Through A Forest
Lone Tree Stump
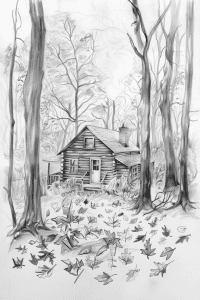
Cabin Nestled Among Trees
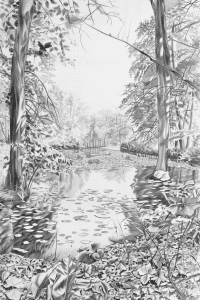
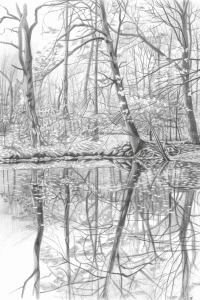
Forest Pond
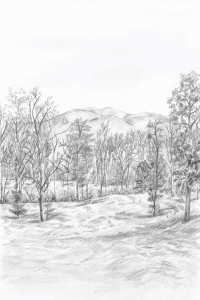
Quaint Meadow
Bridge Over A Stream

Huge Tree At the Center Of A Forest
Narrow Forest Stream

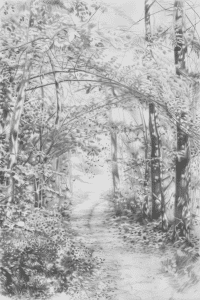
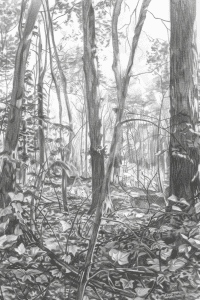
Forest Path Leading To Deep Woods
Misty Autumn Morning
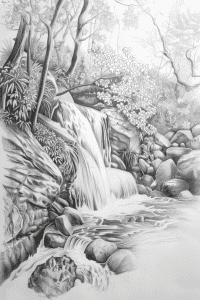
Waterfall In The Forest
Forest Stream Trickling Over Rocks

Forest At Dusk
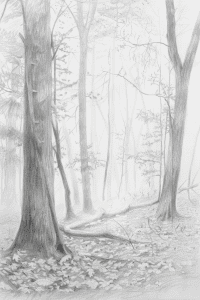
Forest Floor Covered In Leaves
Forest Clearing
Forest In Canopy Of Leaves
Cluster Of Birch Trees

Autumn Lake
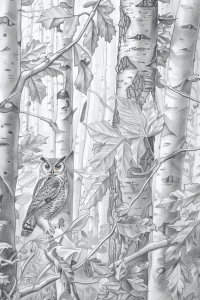
Lone Owl Perched On A Branch
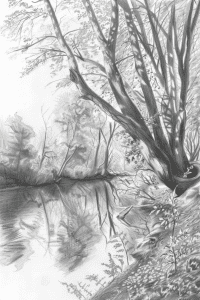
Riverbank In The Forest

")
