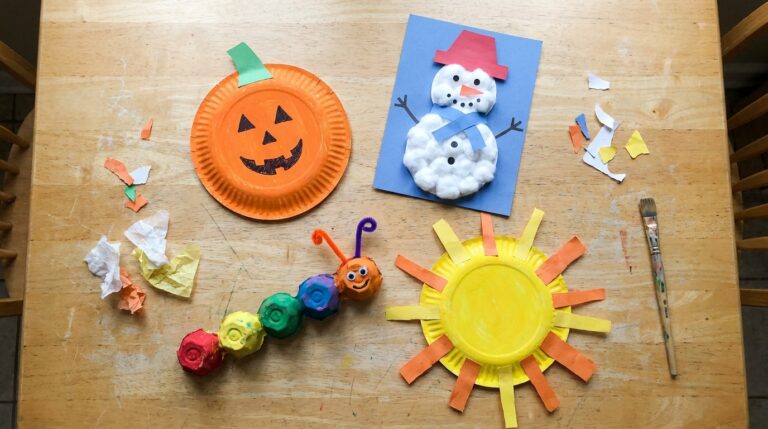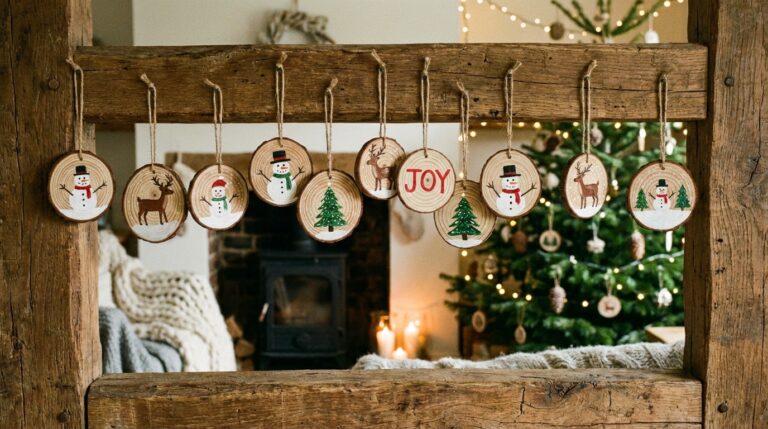
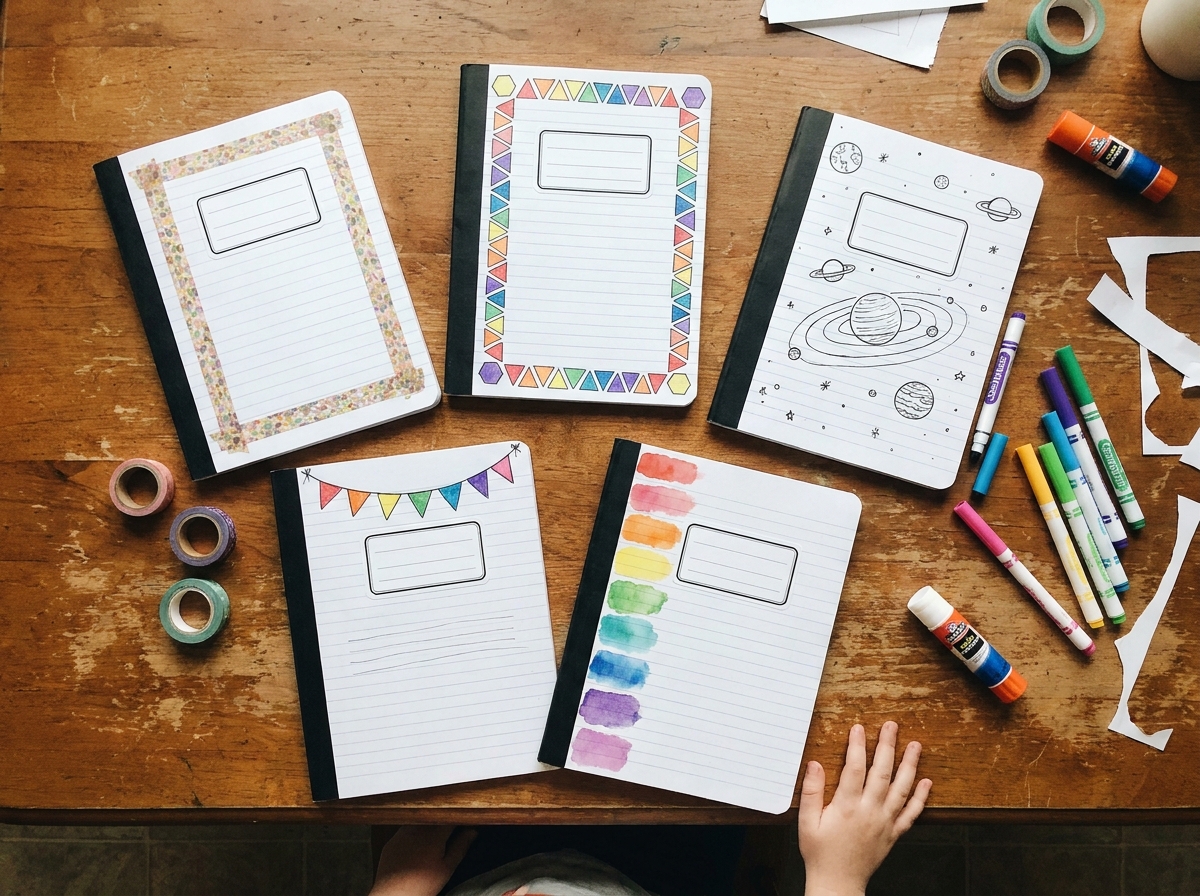
Your kid wants their notebooks to look like theirs, so you’re hunting for notebook cover decoration ideas you can pull off tonight. Ideally with whatever’s already in the craft drawer, and nothing that peels off in the backpack by Wednesday.
These 25 designs are built for that evening. Each one uses everyday supplies like washi tape and markers, and they’re sorted by subject, so the math notebook looks like math and nobody grabs the wrong one at 7:45 a.m.
Most are simple enough for kids to do on their own, with you on glue and scissors duty. No drawing skills needed (wobbly lines look better on a kid’s notebook anyway).
How Do You Decorate a Notebook Cover?
To decorate a notebook cover, pick a simple design that matches the subject, leave space for a name label, add color with markers, washi tape or paper scraps, then seal it with Mod Podge or clear contact paper so it survives the backpack. Most of the 25 notebook cover decoration ideas below take 20 to 30 minutes.
- Pick a design that fits the subject, like shapes for math or planets for science.
- Sketch it lightly in pencil and keep a clear spot for the name, subject and class period.
- Add color with markers, washi tape, paint or glued paper.
- Seal paper and paint with Mod Podge or clear contact paper, then let it dry flat overnight.
What You’ll Need
- A notebook with a plain or light-colored cover (composition and spiral notebooks both work)
- Washi tape in 2 or 3 colors
- Fine-tip markers or gel pens, plus 1 thick black permanent marker
- Colored pencils or crayons
- A glue stick and a bottle of white craft glue or Mod Podge
- Scissors and a ruler
- Scrap paper: magazine pages, wrapping paper, old worksheets
- Optional: watercolors, glitter glue, clear contact paper
Before anyone uncaps a marker, save a strip of the cover for the label: name, subject, class period, whatever the teacher asks for. Squeezing a name in around a finished design is how good covers get spoiled.
Easy Notebook Cover Decoration Ideas
Start here if it’s your first go. Most of these take 20 to 30 minutes, and you won’t need to draw anything harder than a line.
1. Glitter Snowflake Border Cover
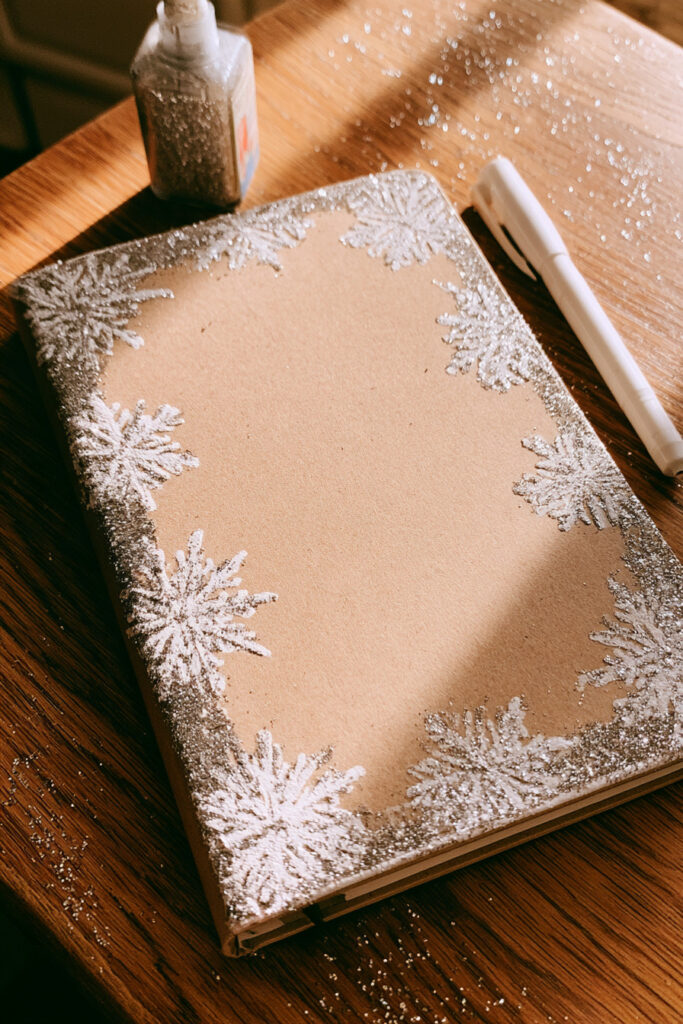
Draw 5 or 6 snowflakes around the edges with a white gel pen or silver marker. Then trace over the arms with glitter glue.
Leave it flat overnight. Glitter glue that goes into a backpack wet ends up on everything else in the backpack.
It’s a good mid-year refresh, too, for a notebook that’s half full and looking a bit tired.
2. Washi Tape Frame Cover
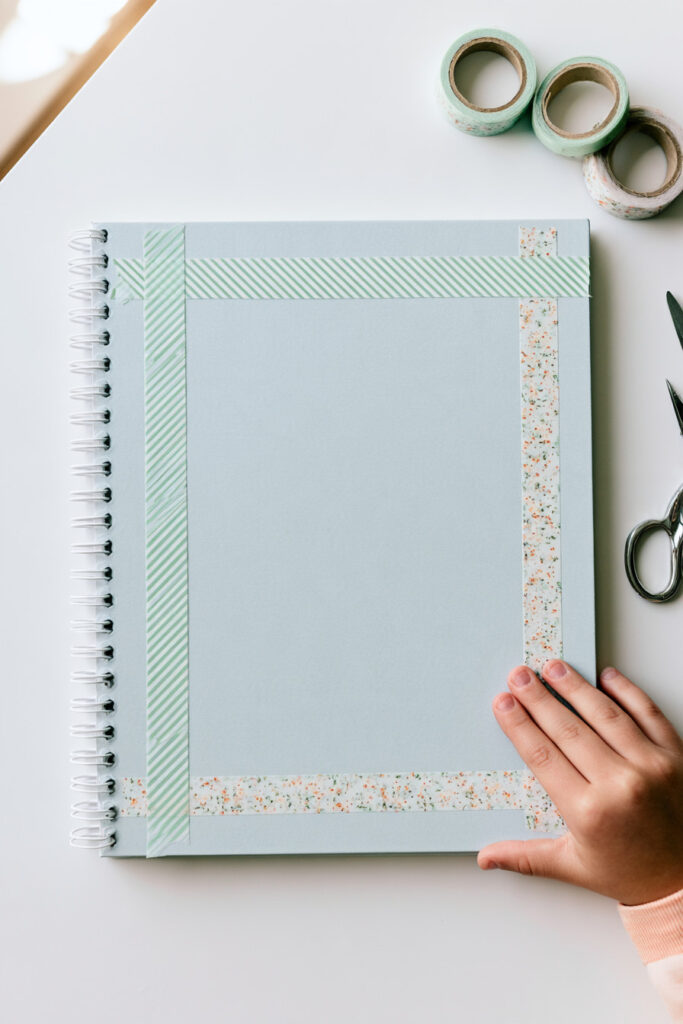
This is the easiest one on the list, and my pick for a first try. Run a strip of washi tape along each edge, overlap the corners, and you’re done.
Choose 2 patterns that share a color so the frame looks planned. Put a dot of glue under each end, because washi tape lifts at the corners over time. Our list of bullet journal supplies has more tape and pen ideas.
3. Pressed Leaf Collage Cover
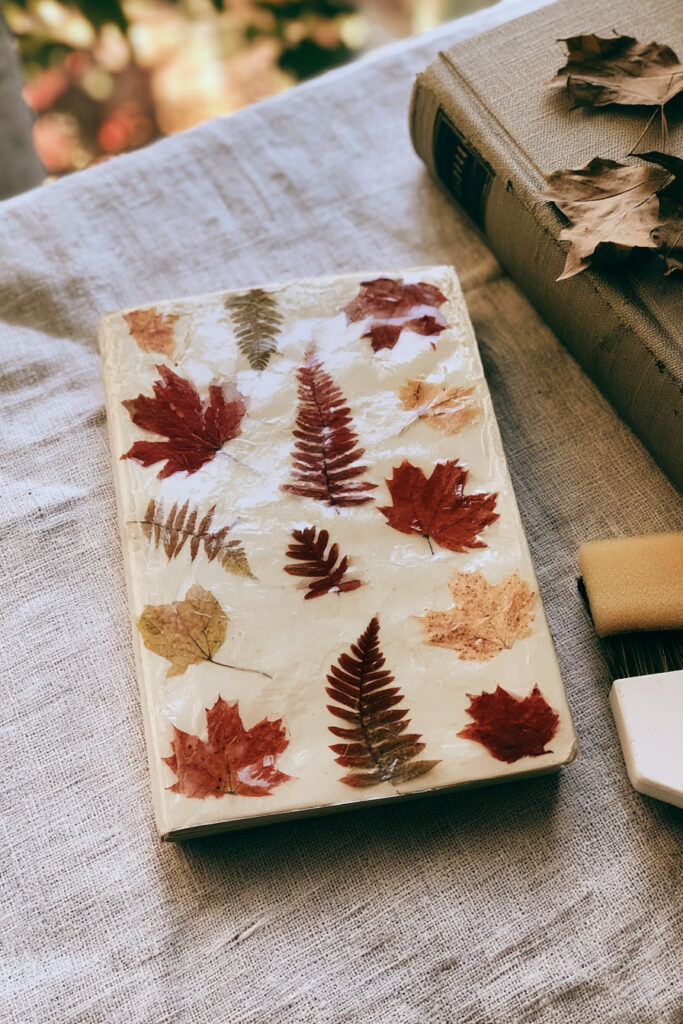
This one needs a week of waiting, so start it the weekend before. Press a handful of small leaves inside a heavy book, then glue them on and brush a thin coat of Mod Podge over the top.
Stick with thin leaves like maple or fern. Thick, fleshy ones stay lumpy and never dry out properly. (If your kids liked our Earth Day crafts for kids, they’ll enjoy this one.)
4. Watercolor Wreath Title Cover

Paint a loose ring of green leaves with a few red berries, and letter the subject inside once it’s dry.
One warning: watercolor makes thin notebook cardboard buckle. Paint on a scrap of watercolor paper and glue that on instead. These watercolor wreath painting ideas have more leaf arrangements to borrow.
5. Pom-Pom Garland Border Cover
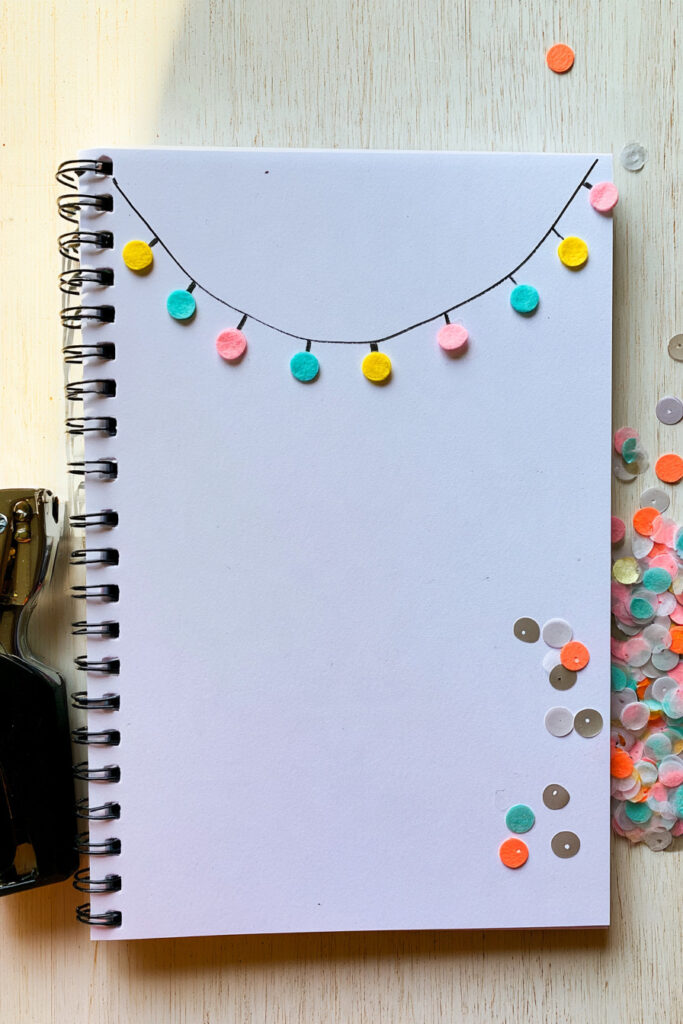
Draw a gentle curve across the top like a string of lights, then glue small felt circles or paper dots along it. A hole punch makes paper dots in seconds.
I’d skip real pom-poms on a school notebook. They get squashed and picked off in a backpack, so save them for a notebook that lives on a desk at home.
6. Chalkboard Style Lettering Cover
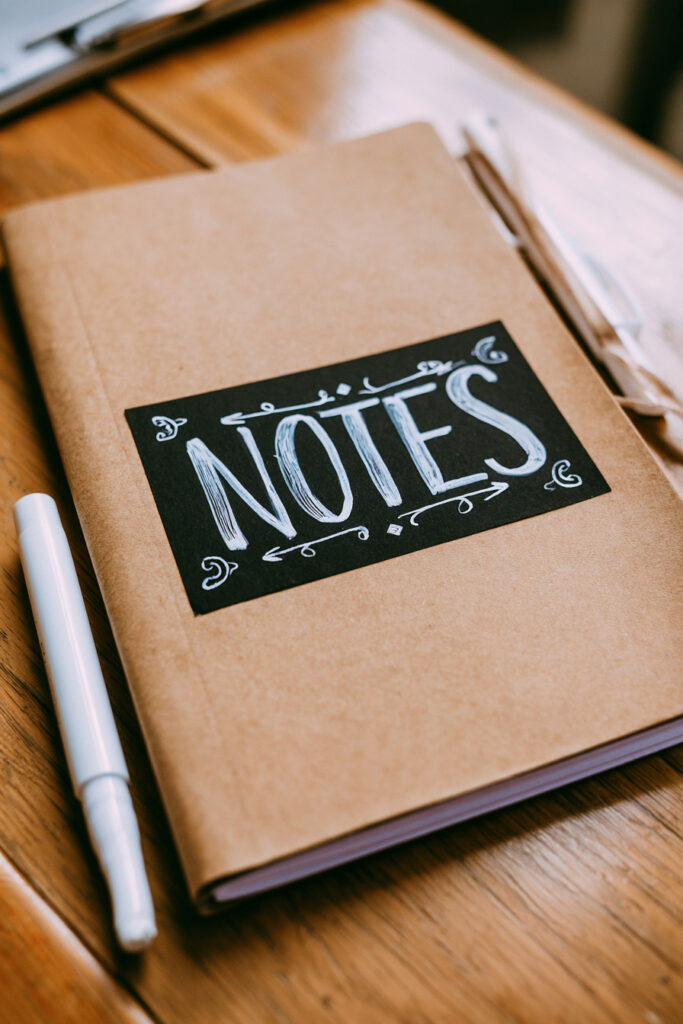
Cut a rectangle of black cardstock and write the subject in white gel pen or a white paint marker. Add a couple of swirls or arrows, glue it to the middle, and the cover looks like a little café menu board.
Our easy chalkboard drawings use the same white-on-black trick if you want more lettering ideas.
7. Ribbon Bow Corner Cover
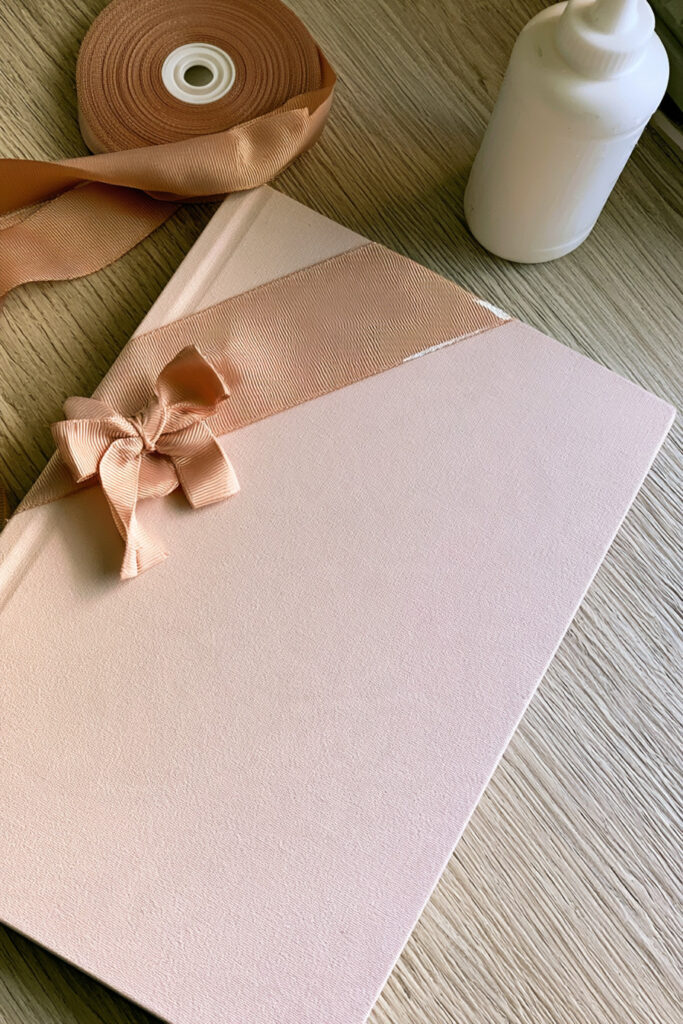
Glue a short strip of flat ribbon diagonally across the top corner and add a small bow where it meets the edge. Grosgrain holds its shape better than satin.
Use a proper dab of craft glue here. A loose bow snags on everything.
Math Notebook Cover Design Ideas
The easiest way to make a subject cover is to borrow the subject’s own shapes. For math, that means numbers and grids, and it helps kids grab the right notebook without reading the label.
8. Geometric Shape Border Design
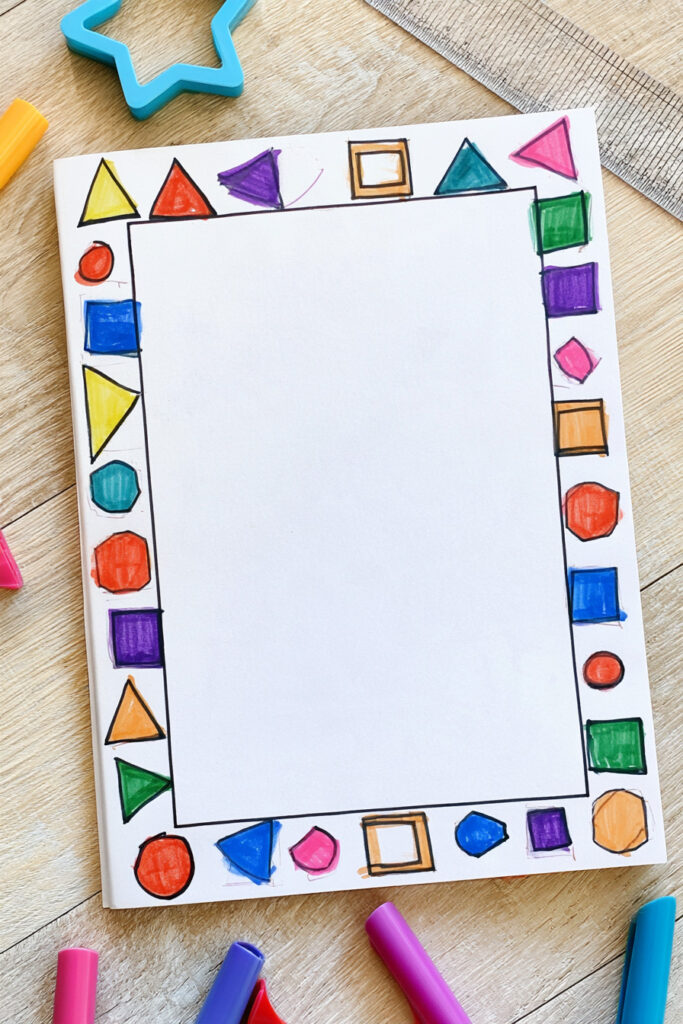
Use a ruler to draw a band of triangles, squares, hexagons and circles around the edge, and color each one differently. Younger kids can trace cookie cutters or the bottom of a cup.
Leave small white gaps between the shapes. Packed edge to edge, the border starts to look cluttered.
9. Number Line Snowman Doodle
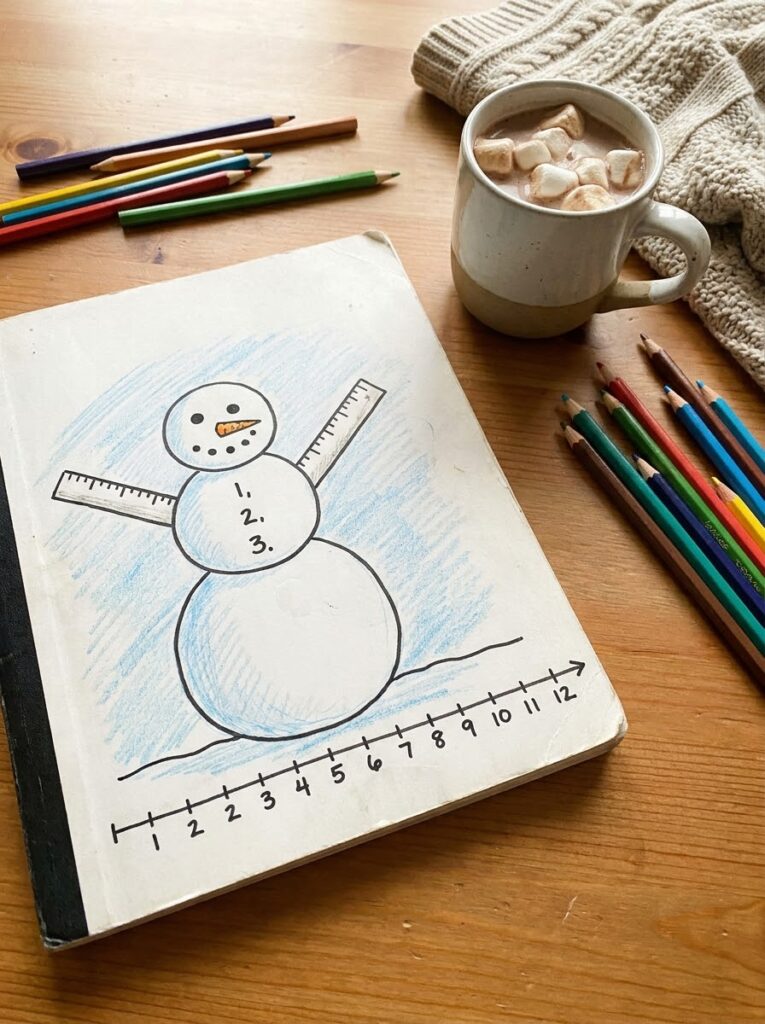
A number line across the bottom, a 3-circle snowman standing on it, buttons numbered 1, 2, 3. That’s the whole idea.
Kids can give him a ruler for an arm or a plus sign for a nose. If he needs company, our winter animal doodles are easy to copy.
10. Clock Face Gift Tag Corner
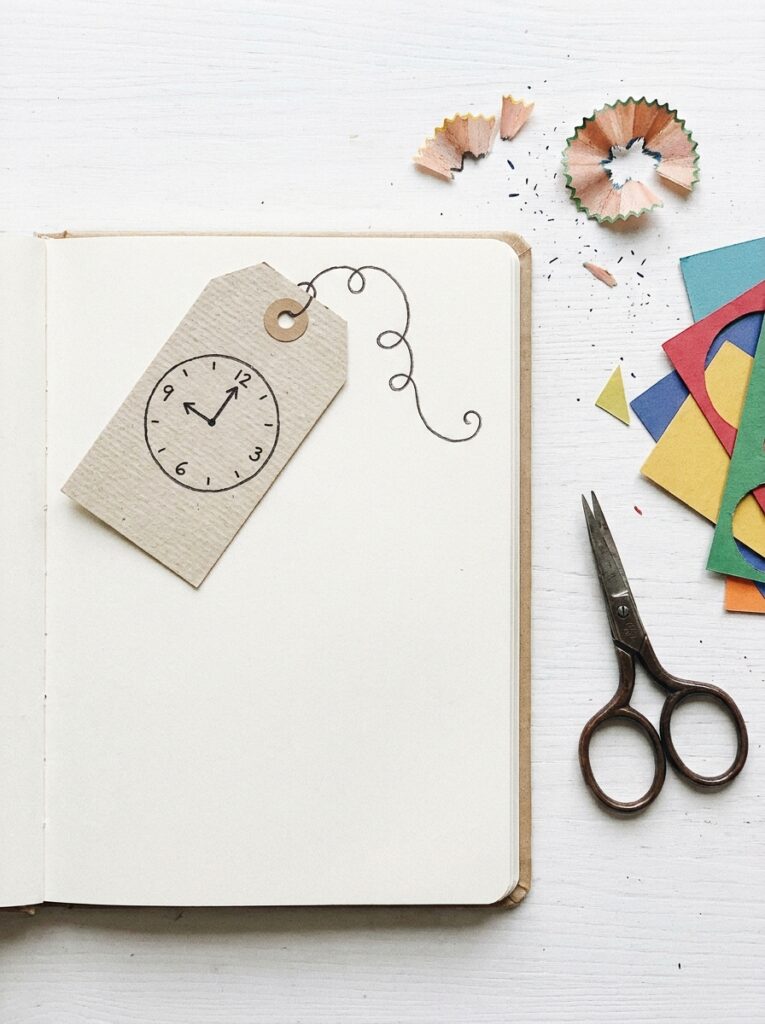
Cut a tag shape from cardstock, draw a clock face on it, and glue it to a corner. Then draw a little loop of string coming out of the tag’s hole.
Set the hands to the time math class starts. It’s a nice one for younger grades who are still learning to read a clock.
11. Graph Paper Star Pattern
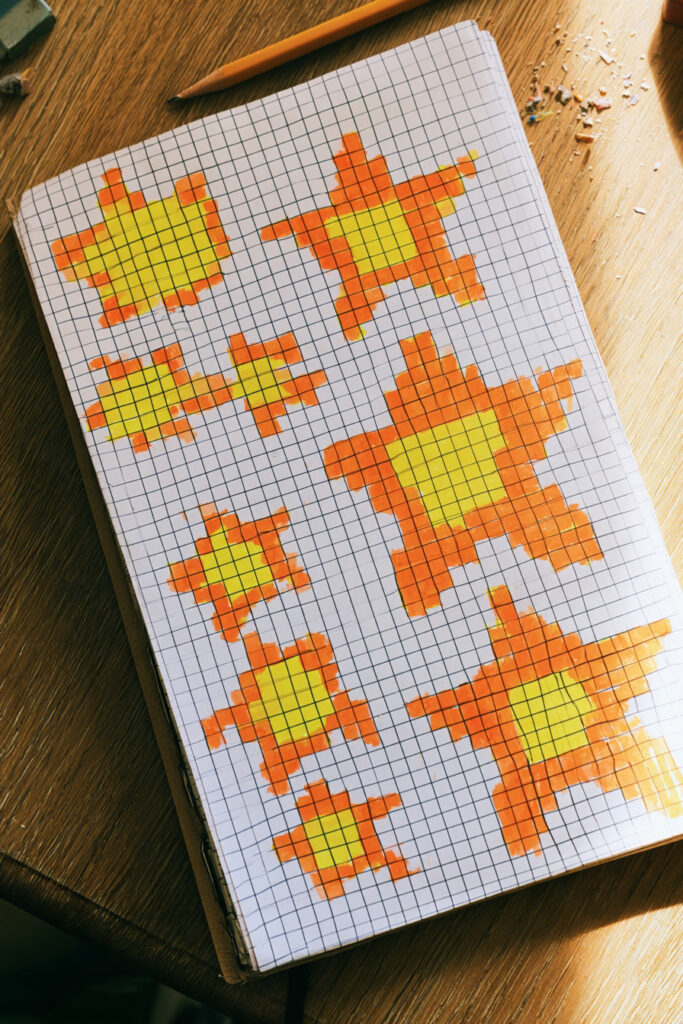
Glue a sheet of graph paper over the cover and fill in squares to make pixel stars in a couple of sizes. Counting squares so the points match is bonus math practice.
Graph paper is thin, so seal it with Mod Podge or clear contact paper.
12. Abacus Bead Border Sketch
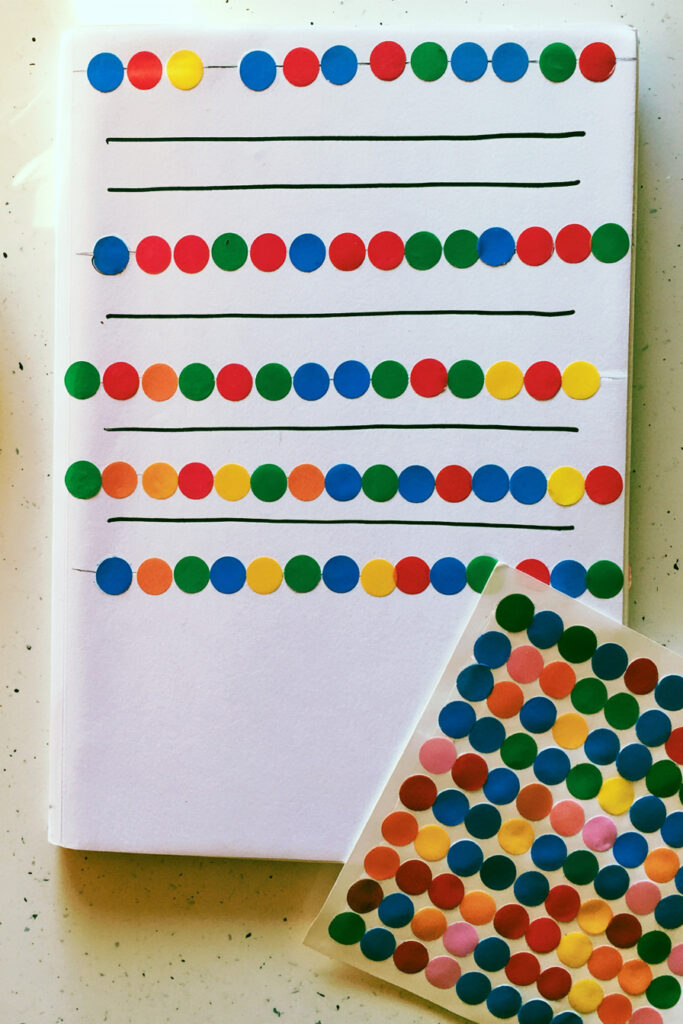
Draw 4 or 5 lines across the top and add colored circles along each one like abacus beads. Kids can “count out” a number they like, such as their birthday.
Shortcut: use round sticker dots from an office supply store.
Science Notebook Cover Design Ideas
Plants, planets, crystals: pick whatever the class is studying this term and turn it into a small diagram on the front.
13. Leaf Specimen Pressed Page
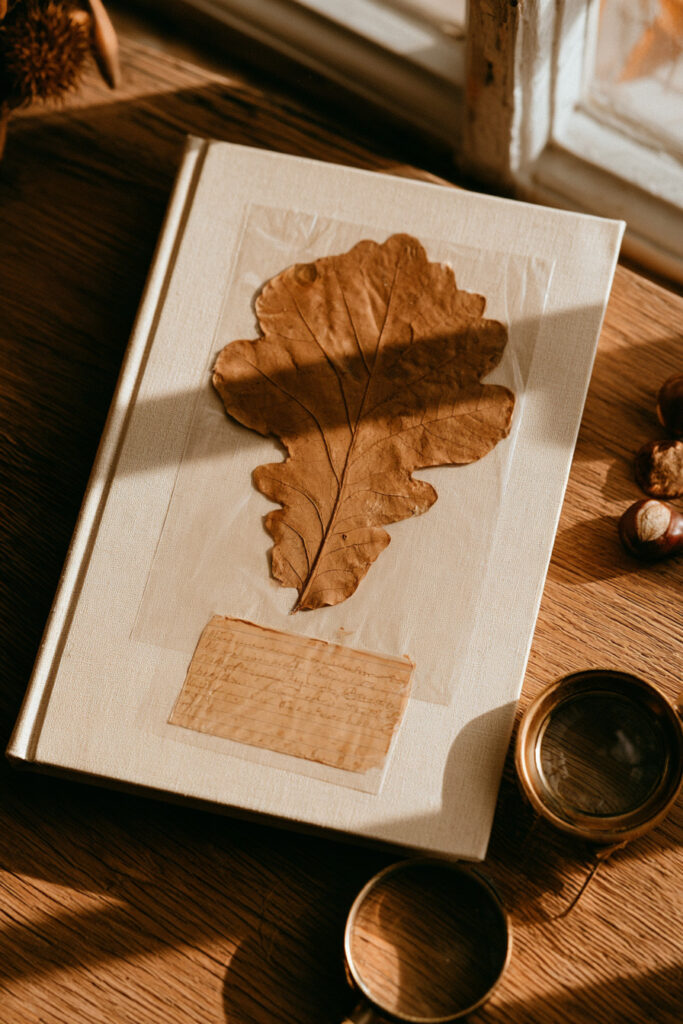
Press 1 big leaf, glue it in the middle, and write a label underneath like a museum specimen card. Include the leaf’s common name, where it was found, the date and who found it.
Cover it with clear contact paper or the leaf will crumble. If the notebook gets rough treatment, put this on the inside title page instead.
14. Planet Orbit Doodle Border
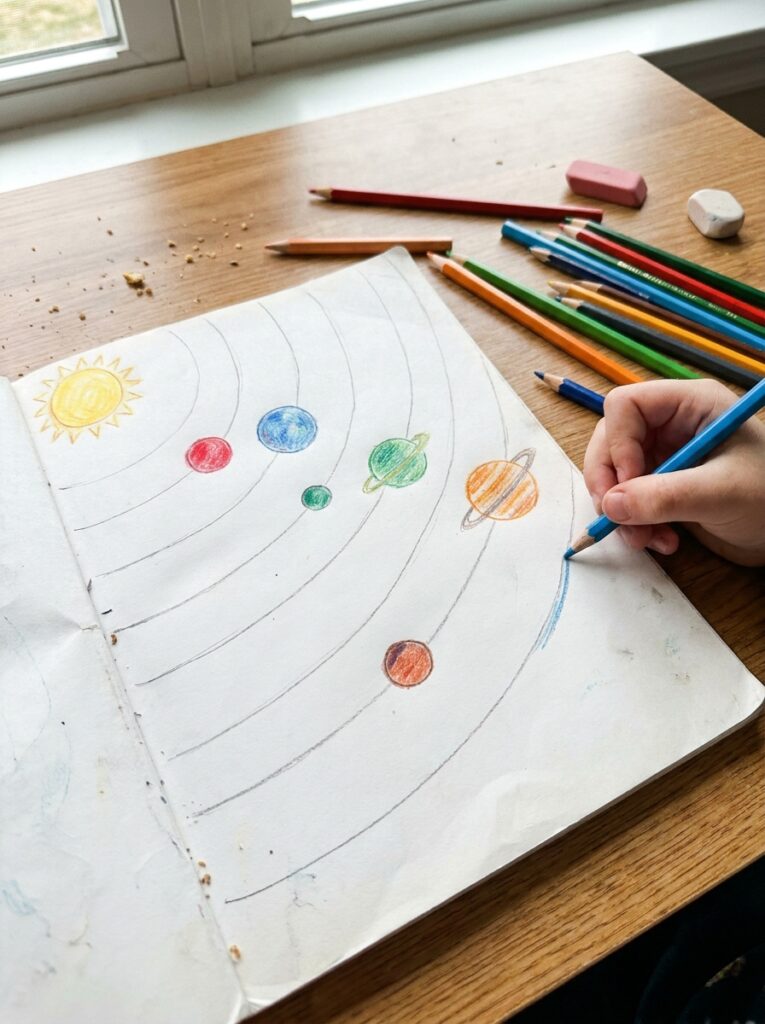
Draw a small sun in one corner and sketch curved orbit lines out from it, one planet on each.
Getting the order right turns into a little quiz: Mercury closest to the sun, Neptune farthest out. Our space-themed doodle ideas have rockets and stars for the gaps.
15. Snowflake Symmetry Diagram Art

Start with a pencil hexagon and build a snowflake out from its 6 corners, keeping every arm the same.
There’s real science behind this one. Ice crystals grow in a hexagonal pattern, which is why snowflakes usually have 6 arms. SnowCrystals.com, run by Caltech physicist Kenneth Libbrecht, has close-up snowflake photos kids can copy.
Trace the final lines in fine black pen, then erase the pencil.
16. Crystal Growth Sketch Corner
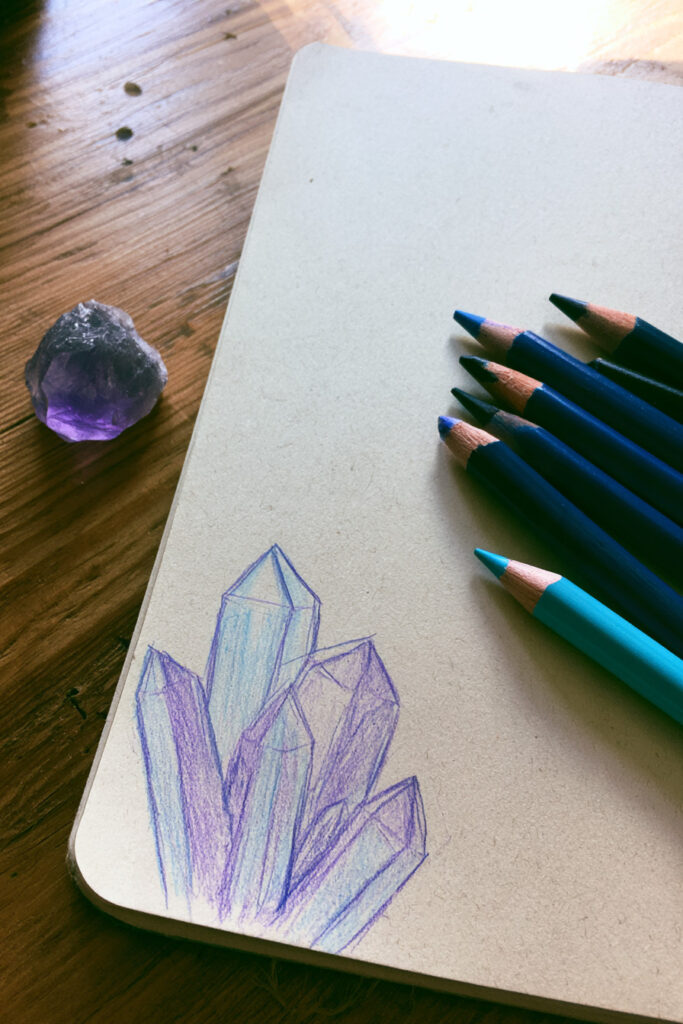
Draw a cluster of pointed crystals growing out of one corner. Use straight lines and flat sides, like quartz or amethyst.
Shade one side of each crystal darker than the other and they suddenly look 3D. Purple and pale blue pencils work nicely here.
17. Simple Molecule Doodle Frame
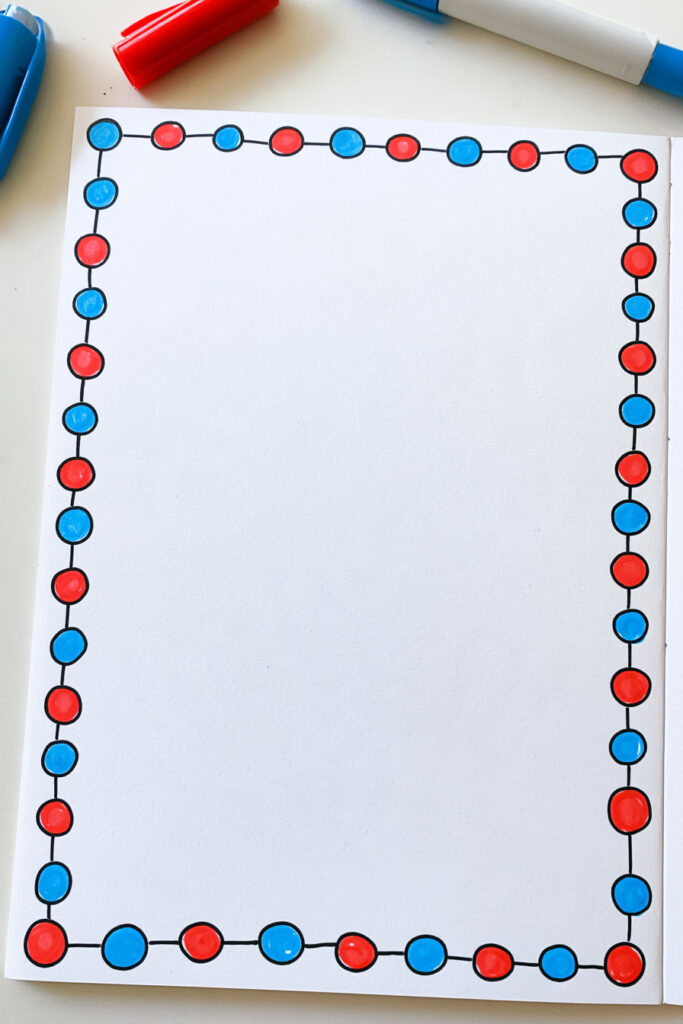
Draw circles joined by short lines and repeat them around the edge, like the ball-and-stick models from class. A water molecule is the easy one: 1 oxygen in the middle with 2 hydrogens attached.
Give each type of atom the same color every time, and the frame looks tidy.
English Notebook Cover Design Ideas
For English, let the words do the decorating. A favorite line from a book is an easy place to start.
18. Quote Bubble Hand-Lettered Cover

Draw a big speech bubble and letter a short quote inside it. Pencil it first so the words actually fit.
Keep it to about 10 words. Any longer and the letters shrink until nobody can read them.
19. Storybook Character Doodle Border
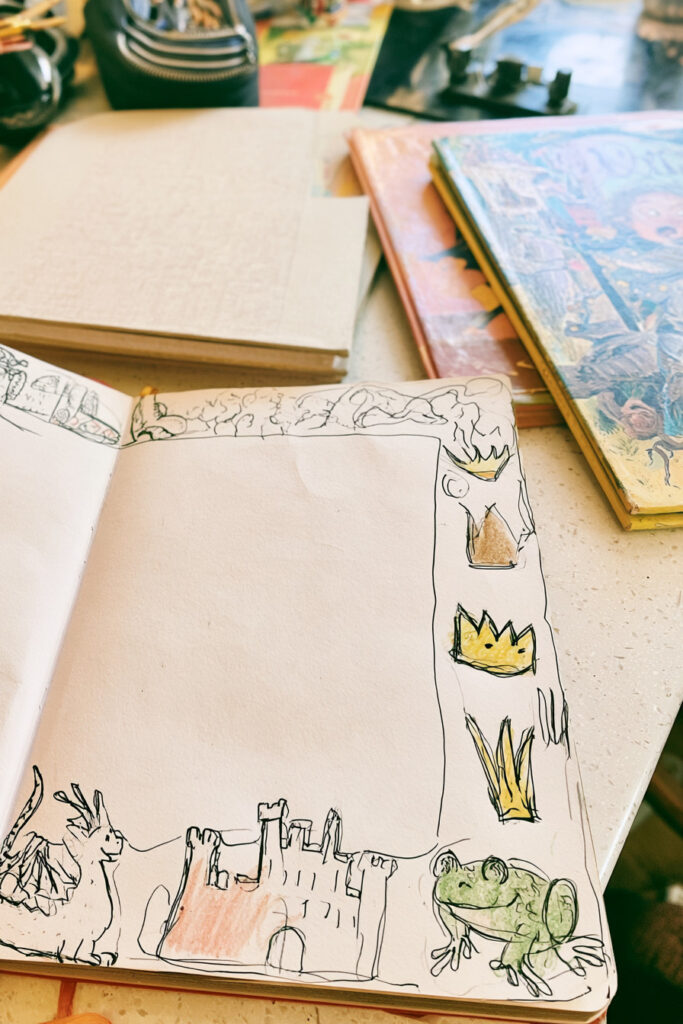
Doodle a border of fairy-tale bits around the edge: a dragon, a castle, a crown, a frog. Better still, let kids invent their own characters (it’s creative writing practice in disguise).
Our fairy tale doodle drawing ideas are simple enough to copy at this size.
20. Feather Quill Corner Sketch
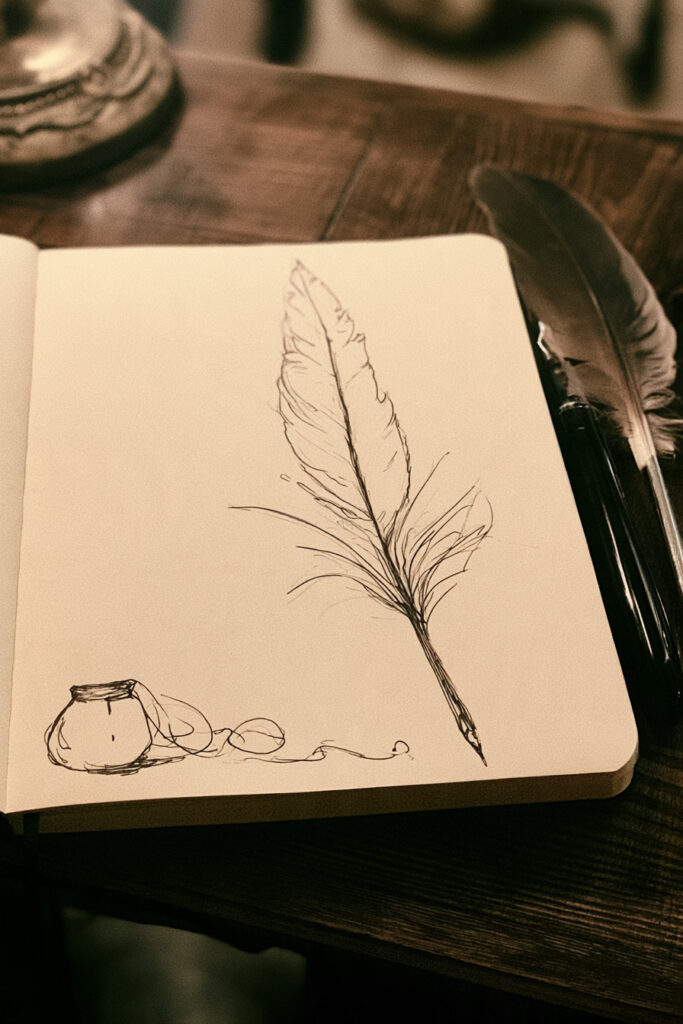
Draw a long feather quill in one corner, a small ink pot at its base and a few curly ink lines trailing off.
Thin lines drawn from the center spine outward make the feather look soft. It works just as well on a reading journal.
21. Alphabet Bunting Banner Page
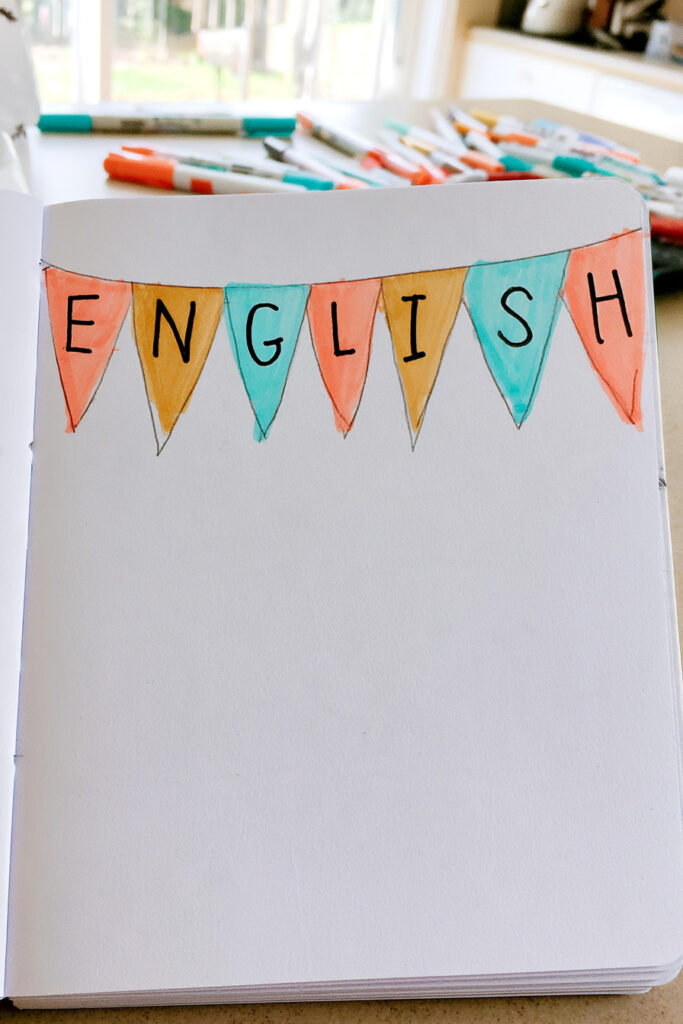
Draw a string of triangle flags across the top and put one letter of the subject or your kid’s name on each flag.
Count the letters and pencil the flags in first. Otherwise you’ll run out of room at “ENGLIS” and have to squeeze the H in sideways.
Art Notebook Cover Design Ideas
Art notebooks and sketchbooks can take a bit of mess, so this is where the paint comes out.
22. Rainbow Paint Swatch Border
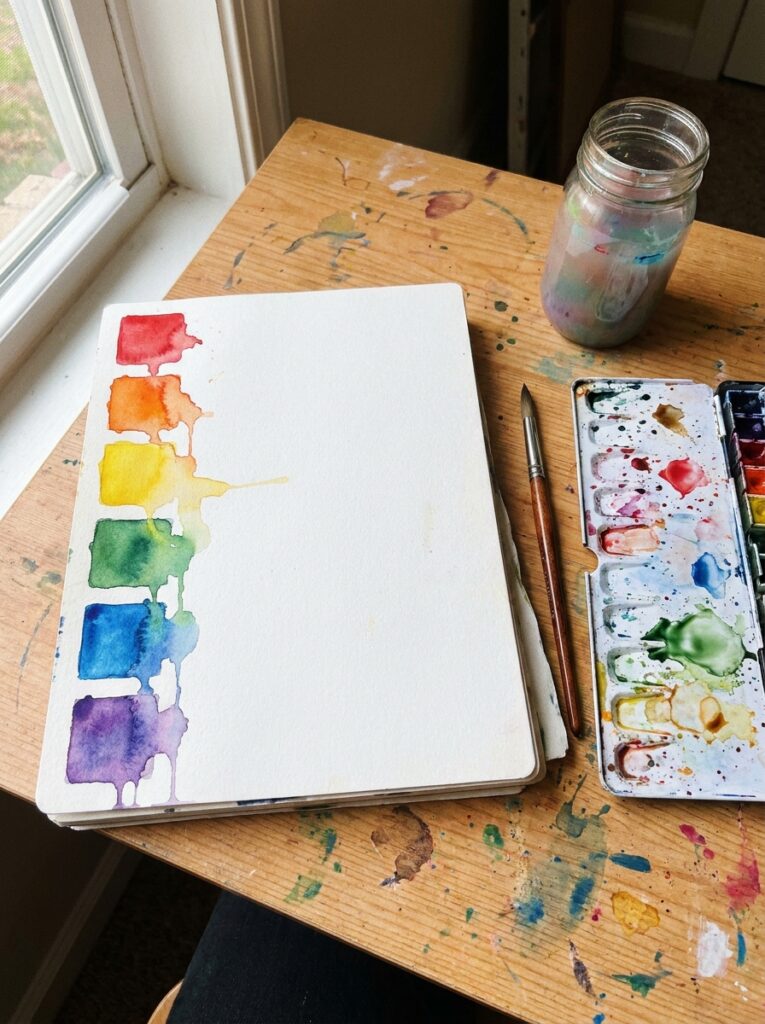
Paint a row of small color squares down one edge, red through to purple.
Only have 3 paints? Mix the in-between colors and paint those too; our guide on how to mix watercolors covers the basics. For a no-mess version, glue down free paint chip samples from a hardware store.
23. Collage Paper Scrap Cover
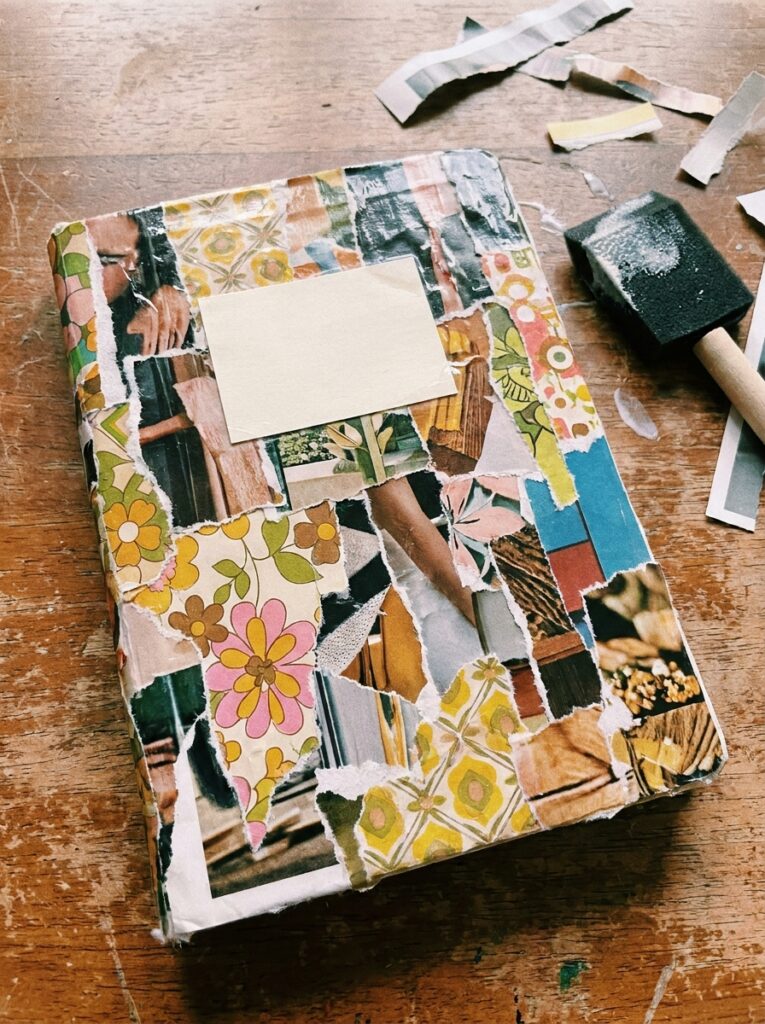
Tear up magazine pages and leftover wrapping paper, glue the pieces over the whole front, and brush Mod Podge over everything to seal it.
Tear the pieces by hand, since torn edges look softer than scissor cuts. And leave one plain scrap near the top for the name.
24. Finger Paint Handprint Wreath
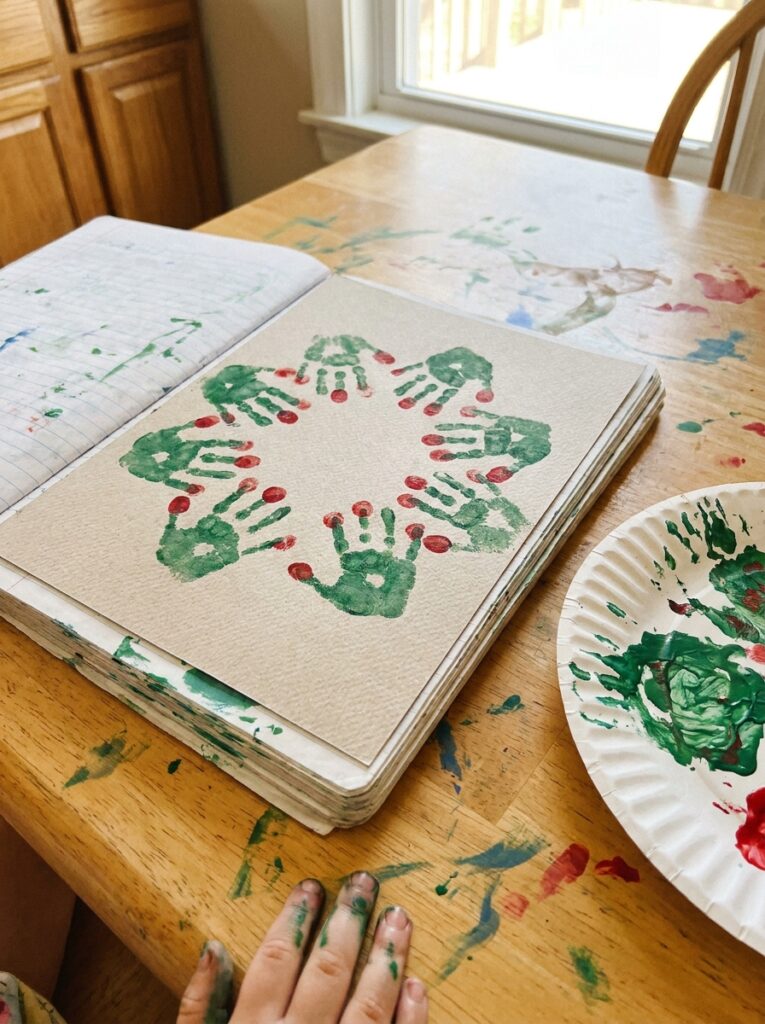
Press green handprints in a ring with the fingers pointing out, so they look like leaves. Once they’re dry, add red fingerprint berries.
Do this on a separate sheet of cardstock and glue it on afterward, because wet paint warps a notebook cover. Write the date on the back and you’ve got a keepsake from the year they were 7.
25. Doodle Art Mandala Corner
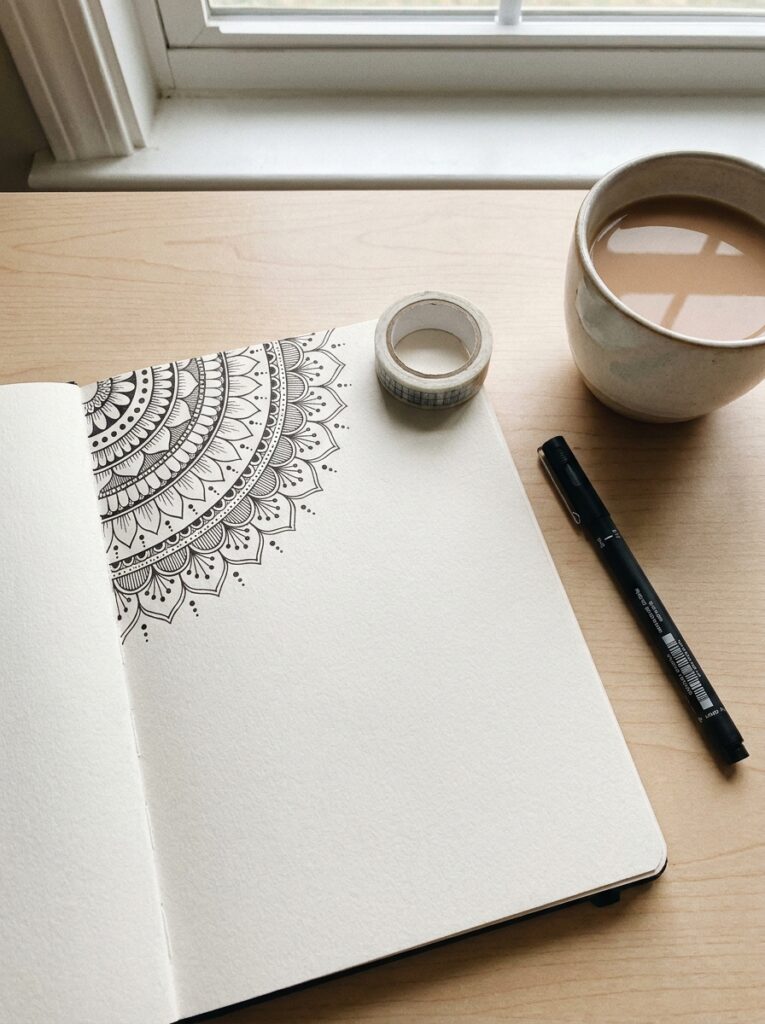
Draw a quarter circle in one corner and fill it with rings of petals and dots, working outward. A roll of tape makes a handy stand-in for a compass.
If your kid gets hooked, our beginner guide to drawing a mandala walks through a full circle.
How to Make a Decorated Notebook Cover Last
A school notebook gets shoved in and out of a backpack every day. A few small habits keep the cover looking decent until the end of the term:
- Seal paper and marker designs with a thin coat of Mod Podge or a sheet of clear contact paper.
- Glue down the ends of washi tape and ribbon so they don’t catch.
- Save bulky extras like pom-poms, big bows and buttons for notebooks that stay at home.
- Let glitter glue and paint dry flat overnight.
- Write the name in permanent marker, since gel pen can smudge.
Pick One and Start Simple
You don’t need to try all 25. Pick one per subject, or let your kid choose a favorite and repeat it on every notebook so the set matches.
And let the lines be wobbly. A cover that’s obviously handmade is also the easiest one to spot in a pile of identical notebooks.
Notebook Cover Decoration FAQs
How do you decorate a composition notebook?
Glue a sheet of cardstock or patterned paper over the marbled cover, then decorate that. Most composition notebooks have a slightly glossy board cover where gel pens smear and glue sticks peel, so use craft glue or Mod Podge.
Leave the black tape on the spine uncovered so the notebook still opens flat.
How do you cover a spiral notebook with paper?
Cut wrapping paper or contact paper about 1 inch bigger than the cover on every side except the spiral edge. Fold the extra over the edges, stick it to the inside cover, and trim the paper flush along the spiral so the pages still turn.
Then decorate the new cover like any other.
How do you get Sharpie off a notebook cover?
On a glossy or laminated cover, rub the mark with a cotton ball dipped in rubbing alcohol (hand sanitizer works in a pinch). Test a hidden corner first, since alcohol can lift printed color too.
On a plain paper or cardboard cover, the ink won’t come out. Cover the mistake with washi tape, a sticker or a new label instead.
Can you decorate the inside pages too?
Yes. The inside title page is a good spot for messier designs like the leaf specimen (idea 13) or a painted wreath, because it won’t get scuffed in a backpack.
On regular pages, keep decorations to the margins so there’s still room to write.