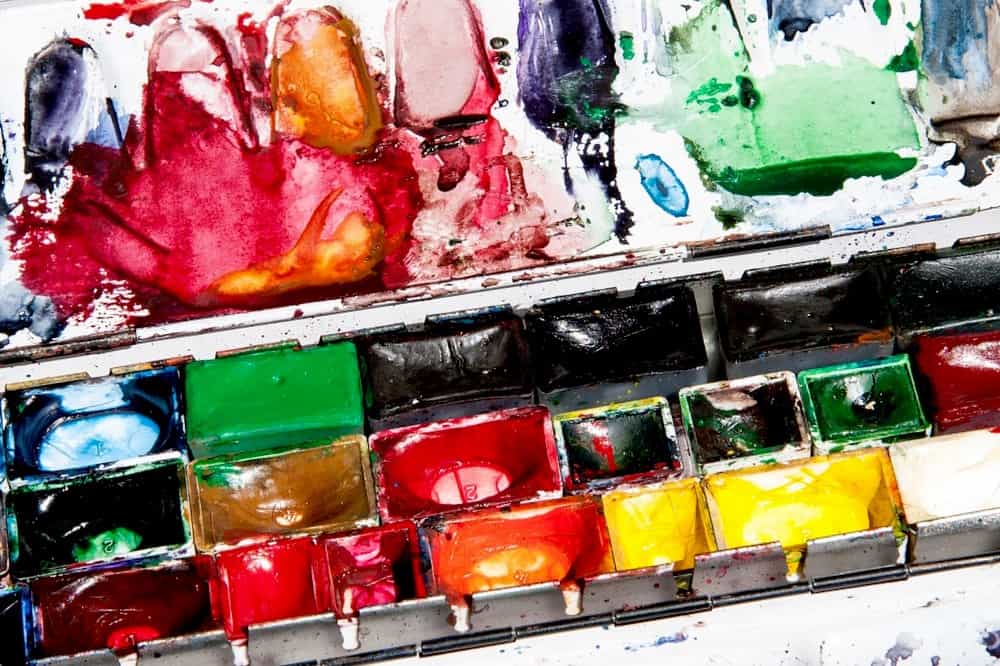
To mix watercolor paint, activate each color with a damp brush and transfer it to a clean palette. Start with a puddle of the lighter color, then add the darker or stronger pigment a little at a time. Test the mixture on scrap watercolor paper. Add clean water for a lighter value or more pigment for a stronger color.
Mixing watercolors becomes much easier when you work slowly, keep your tools clean, and test each mixture before adding it to your painting. You can use watercolor pans or tubes; both are activated with water and mixed on a clean white palette.
When it is dry it will be stretched taught. This means when you paint onto it, however much water you use the paper will remain flat.
What You Need
To mix watercolor paint, you need clean brushes, a white plate or palette, two containers of fresh water, a paper towel or cloth, and a piece of scrap watercolor paper for testing. You do not need to stretch paper just to practice color mixing. Stretching can be useful for very wet paintings where buckling may be a concern, but it is not required for swatches or small studies.
Understand the Properties of the Paint
Watercolor paints are generally transparent. However, you need to remember that the more water you add the more transparent the paint will become. If you want more intense colors you need to use as little water as possible when mixing.
A simple way to judge the mixture is by its consistency:
| Mixture | Appearance | Typical use |
|---|---|---|
| Tinted water | Very pale and fluid | Light first washes |
| Tea | Light but clearly visible | Skies and backgrounds |
| Milk | Stronger but still flowing | General painting |
| Cream | Pigment-rich | Dark accents and details |
Clean Brushes Are Vital
Keeping your brushes clean when using watercolors is vital. The smallest amount of a color left on the brush can ruin a color you have spent a long time mixing. Always wash, dry and re-wash your brushes again in clean water. This will make sure you keep the colors you have mixed precisely as you want them.
How to Mix Watercolors on a Palette
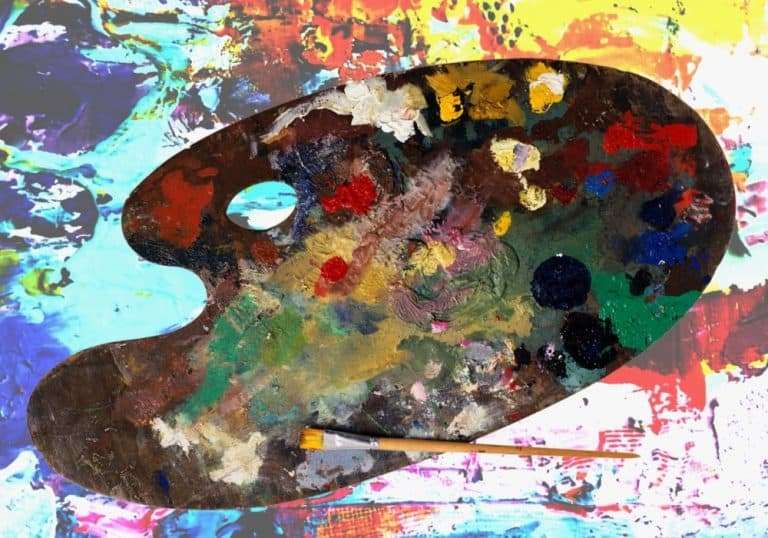
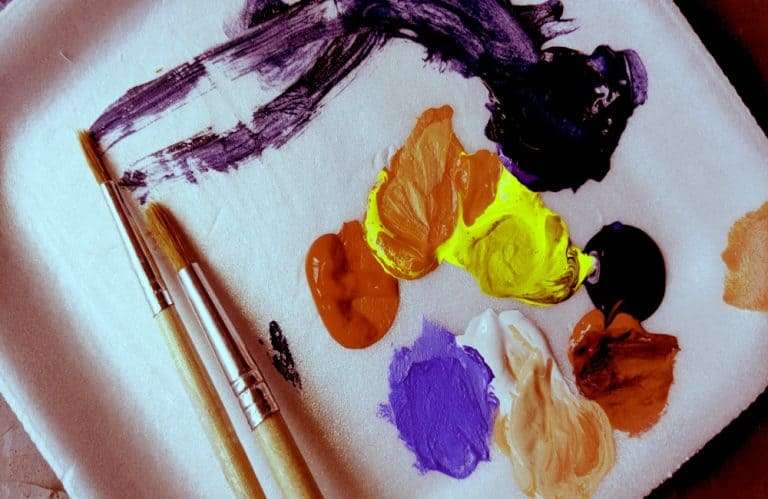
A white palette makes the mixture easier to judge. Leave space between the original colors so you can pull small amounts together gradually instead of combining everything at once.
1. Activate the paint. Wet a pan with a damp brush or place a very small amount of tube paint on the palette.
2. Start with the lighter color. Make a small puddle of the lighter or weaker pigment first.
3. Prepare the second color separately. Rinse and blot the brush before picking up the darker or stronger pigment.
4. Combine the colors gradually. Pull a little of the stronger color into the lighter puddle until the hue is close to what you need.
5. Test the mixture. Paint a small swatch on scrap watercolor paper because the puddle can look different once it is absorbed by the paper.
6. Adjust the value. Add clean water to lighten the mixture or more pigment to make it stronger.
If the paint begins to dry, add a small amount of water to make it workable again. One advantage of watercolor is that dry paint on the palette can usually be reactivated with water.
The same color relationships apply across other painting mediums, although the handling changes. For a broader foundation, read our beginner guide to mixing colors for painting.
How to Mix Watercolors From Pans
Add a few drops of water to each pan and allow the pigment to soften briefly. Pick up one color and transfer it to the palette, then rinse the brush before transferring the second color. Combine the two puddles on the palette rather than mixing inside the pans, which can contaminate the original colors.
How to Mix Watercolor Paint From Tubes
Squeeze out only a small amount of tube paint because fresh watercolor is highly concentrated. Add water with a damp brush until the paint flows smoothly, then add the second pigment in small amounts. Any unused watercolor can dry on the palette and be reactivated later.
Mixing the Colors
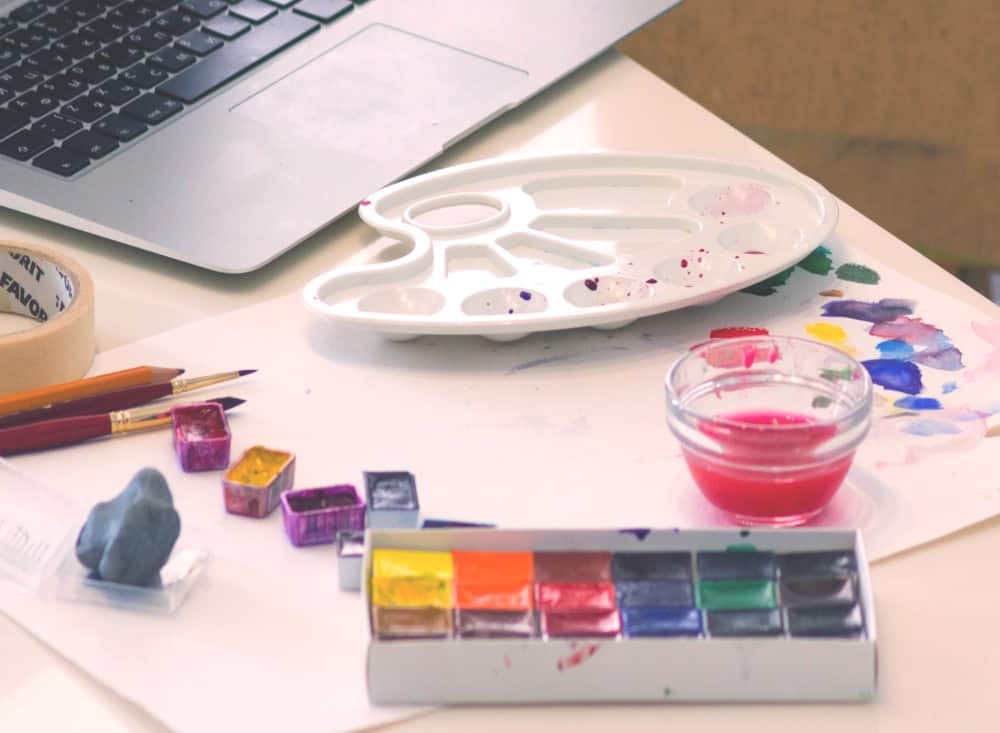
Make a small pool of each of the colors you want to mix leaving space between them and then gradually mix the colors together in that space. Wash and dry your brushes regularly or the whole palette will end up as one color very easily.
If the paint starts to dry out just add a little more water to keep it workable. When you get the exact color you need you can begin painting. The darker and lighter shades will help you create the shadows and highlights. This will help you to create depth in your paintings which will make them seem more “alive”.
One of the advantages of watercolor paints is that even if they have dried out, adding a little water will make them workable again. This gives you more time to mix them on your palette.
Mixing colors on the actual painting.
This technique allows you to adjust the final hue’s and tones on the painting rather than mixing all the colors you need on your palette first. First you mix a rough color that is the most common color within the painting. Then, you can adjust the hue’s and tones by adding a little of the darker and lighter shades where needed on the painting itself.
If you use a small amount of water then the second color will dominate, but the more water you use the more the colors will actually mix. Both of these methods are really useful and will give you slightly different results.
Painting wet on wet like this can help you achieve much more gradual color gradients. This is more realistic in general. As there are rarely flat fields of color in the natural world.
Always remember that with watercolors the paper is your white. Don’t paint things too dark to begin with. You can easily darken areas of the painting as needed. It more difficult to remove paint to reveal the lighter/whiter areas you need on the painting.

How to Make a Watercolor Mixing Chart
A watercolor mixing chart records how the paints in your own set behave together. It is more useful than relying only on a generic chart because paints with similar color names can produce different results.
1. Choose two paints. Write one color along the top of a small grid and the other along the side.
2. Mix several proportions. Try a yellow-heavy mixture, an equal-looking mixture, and a blue-heavy mixture, for example.
3. Include diluted swatches. Pull clean water through part of each mixture to show its lighter values.
4. Label the colors. Record the paint names and pigment codes when they are available.
5. Let the chart dry. Watercolors often lose some intensity as they dry, so evaluate the final result only after the swatches are dry.
Once you have completed this two-color exercise, use our step-by-step color chart tutorial to map every paint in your set and keep the finished reference beside your palette.
Easy Watercolor Mixing Recipes
Use these combinations as starting points rather than exact formulas. The final color will change with the pigments, brand, proportions, paper, and amount of water used.
| Color to mix | Starting combination |
|---|---|
| Orange | Yellow + red |
| Green | Yellow + blue |
| Violet | Cool red + a violet-leaning blue |
| Brown | Orange + a small amount of blue |
| Warm gray | Burnt sienna + ultramarine blue |
| Sage green | Yellow + blue + a tiny amount of warm red |
What is Guache Paint?
Guache is a specific kind of watercolor paint. It behaves exactly the same as watercolor but is more opaque because it contains much more pigment. This means the techniques for mixing are exactly the same as with watercolor paints, but the results will be different.
You can even use watercolors and gouache paints on the same painting. Try using a heavier layer of gouache on the paper and then adding thin washes of watercolor to gradually adjust the hues and tones in your painting.
Using gouache will help if you are painting “wet on wet” and they can produce great results. They are more expensive than watercolors , but remember, they have more pigment in. That means to create a transparent wash you will need to use much more water than with watercolor paints of a similar color. So you use less of them to achieve a similar result.

Final Thoughts
Experiment with both palette mixing and on-paper mixing to see how different the results can be. Over time, you will learn how much water each pigment needs and which combinations create the colors you want.
Watercolor takes practice, but every mixing chart and test swatch makes the next painting easier. When you are ready to use those new mixtures in a finished piece, try these loose watercolor village scenes for beginners for relaxed practice with soft washes and simple shapes.
Frequently Asked Questions
How do beginners mix watercolors?
Activate the paints with water, transfer them to a clean palette, begin with the lighter color, and add the darker color gradually. Test the mixture on watercolor paper before using it in the painting.
What is the ratio of water to paint for watercolor?
There is no single ratio that works for every pigment or technique. Use more water for pale transparent washes and more pigment for strong, dark values. Adjust gradually and test the result on paper.
Do watercolors dry lighter or darker?
Watercolors often dry lighter or less intense than they look while wet. This drying shift varies by pigment, paper, and dilution, so allow important test swatches to dry before making the final adjustment.
What colors should a watercolor beginner start with?
A small palette of red, yellow, and blue is enough to begin. Warm and cool versions of each primary give you more control over bright and muted mixtures, but you can learn a great deal from any limited set.