
As a professional artist with years of experience in painting, I can say that watercolor is one of my favorite mediums to work with. It’s a versatile and expressive medium that can create stunning effects and bring life to any landscape.
When using watercolors you will need to think of things slightly differently than when you paint a landscape with oil and acrylic paints. Remember, the paper is your white with watercolors. Dont add too much color too quickly. It is easier to add more pigment later than it is to remove it.
In this article, I will share with you some of the tricks and techniques I have learned which will help you to paint beautiful landscapes in watercolor.
Getting Started with Watercolor Painting
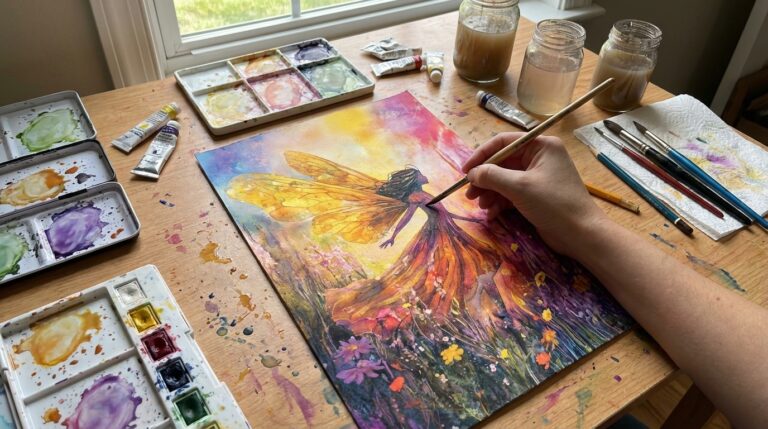
Before we begin, it’s important to have the right materials to work with. Here’s what you will need to get started, Get everything ready first so you arent fetching and carrying when you are trying to concentrate on the painting.:
- Watercolor paper
- Watercolor paints
- Brushes (round flat and fan)
- Palette
- Water containers
- Tape for stretching the paper and Masking
Once you have these materials and have set them out in an organised and accessible way, you’re ready to start painting.
Stretching Your Paper
Unless you are using heavy paper like Bristol Board it is a good idea to stretch your paper first to avoid the paper buckling up. You stretch paper to paint on by soaking the paper in water and fixing it to a stiff board until it dries. You should always do this when using Watercolors and it can also be helpful when using Guache and Acrylic Paints. And there is an article with a complete description to help you if needed.
Sketching Your Landscape
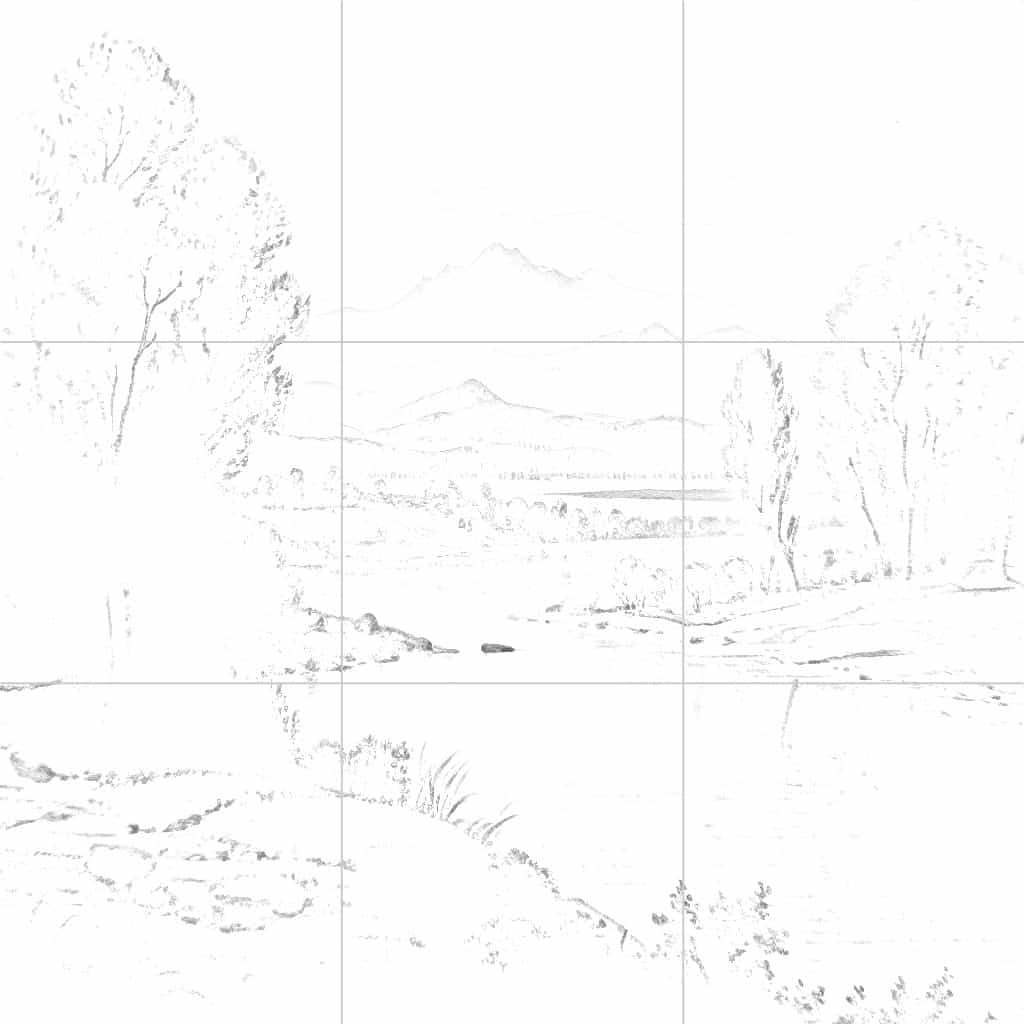
The first step to a painting a beautiful landscape in watercolor for most people is to create a basic guide sketch for your composition. You can use a pencil, just draw lightly onto your watercolor paper to avoid damaging the surface. This isnt about drawing details, but it’s important to get the layout and proportions right. It is better to get things right at this stage, so take your time and draw lightly.
Some people prefer to draw in bold lines at this point so they can paint to the lines. That is a matter of personal taste and can change depending on the painting you are doing. Just dont press the pencil tip hard into the paper. If you want a darker line, just use a darjer B grade pencil, the soft tip wont damage the surface of the paper.
You can see from the drawings here I often draw a very light outline and then add some more detail just to give me some definition. I don’t always do this, but it sometimes helps.
Preparing Your Palette
Now that you have your composition sketched, it’s time to prepare your palette. Start by selecting the colors that you want to use in your painting. I recommend using a limited color palette to keep things simple. You can always add more colors as you go along.
Next, mix your colors on your palette. Keep your brushes clean and use a small amount of clean water to create a light wash of each color. This will make it easier to apply the paint to your paper and you can build the color up gradually as you paint.
Always have at least 2 water containers and some rags or paper towels handy. One will be for cleaning your brushes and the other one should be kept for clean water to use when you are mixing paint.
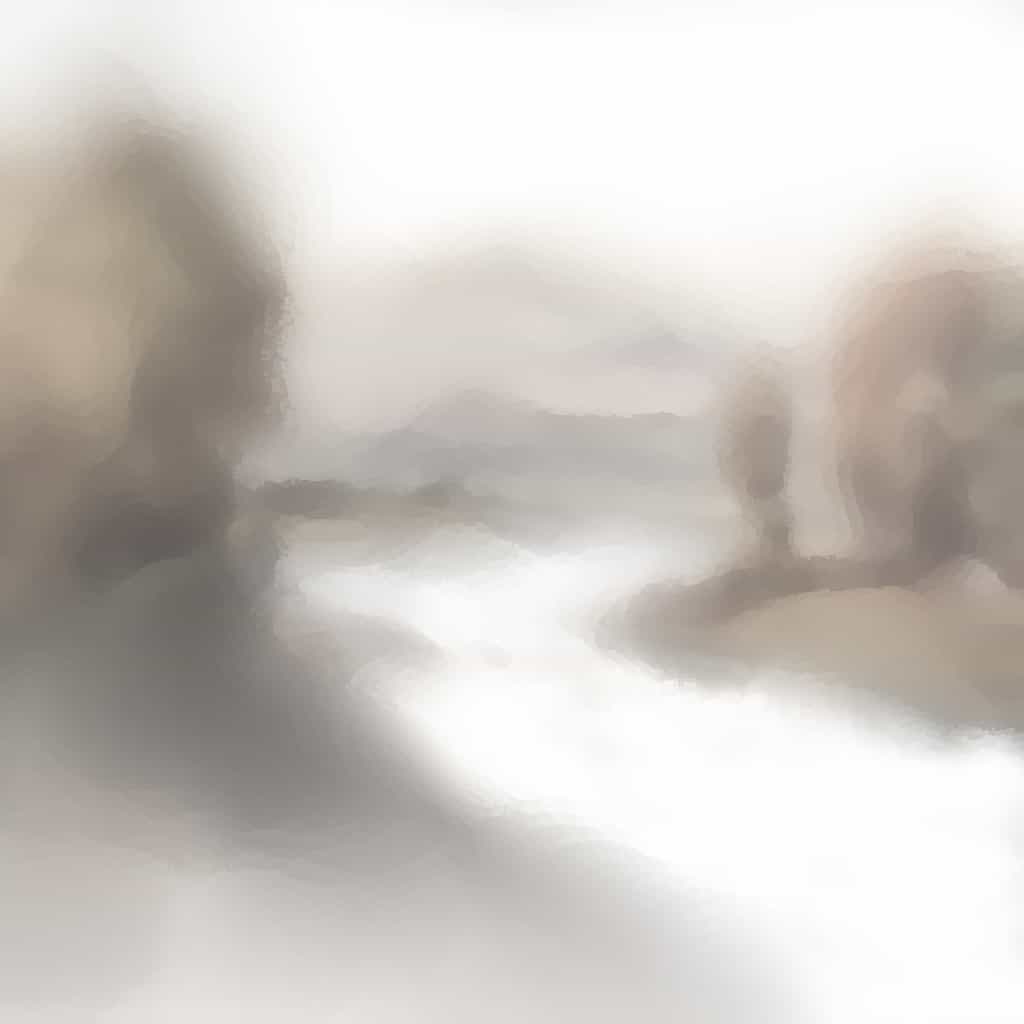
Applying Your First Wash
Once your palette is ready, You can start to apply your first washes. Use a light layer of paint that will act as the base for your painting. I sometimes use a flat brush to apply the wash, but that is down to personal taste. If the background is very light I will often just use a fan brush to apply the slightest amount of color. starting from the lighter colors and gradually work to the darker ones.
You can use a white guache to show highlights but it is better to use the white of the paper when possibe. You can blend the colors together as you paint unless you are creating bold defined lines. If you do want sharp lines it can be better to mix the paint with a little less water so the pigment doesn’t spread so far.
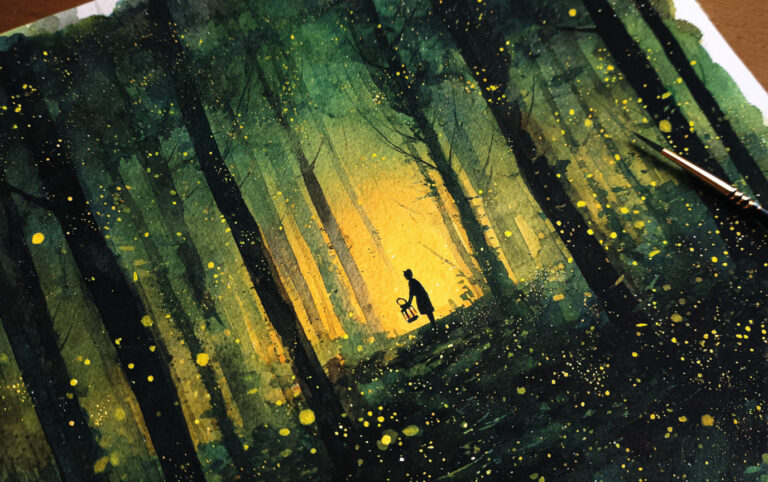
You can see below how I have been very vague with outlines. I am just mapping tones onto the paper really to get the balance of dark to light right.
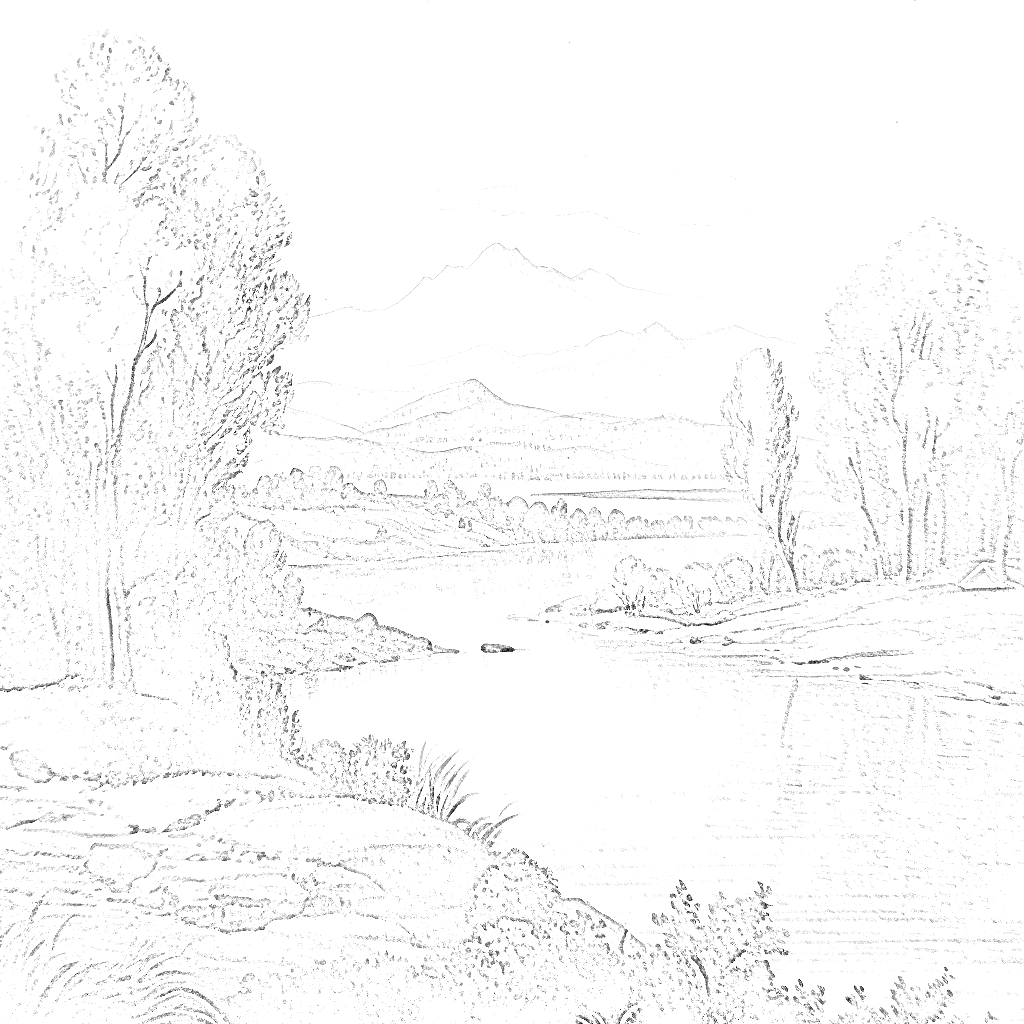
Adding Detail and Texture
Now that you have your base layer, you can start to add some more detail and texture. Gradually work from light to dark being careful not to add too much paint. I often use a soft round brush to cover larger areas and they make blending and gradients of color very easy, A smaller round brush can be used to highlight details and for when you need to apply more paint to the areas that need more color.
Using lots of thin washes of color allows you to build up the depth of the painting in a natural and realistic way. Allowing the paint to dry between washes can help you see the progression of the painting but isn’t always necessary.
Dry brushing is another technique you can use to create texture and depth. There is some useful information here to improve your watercolor painting skills.
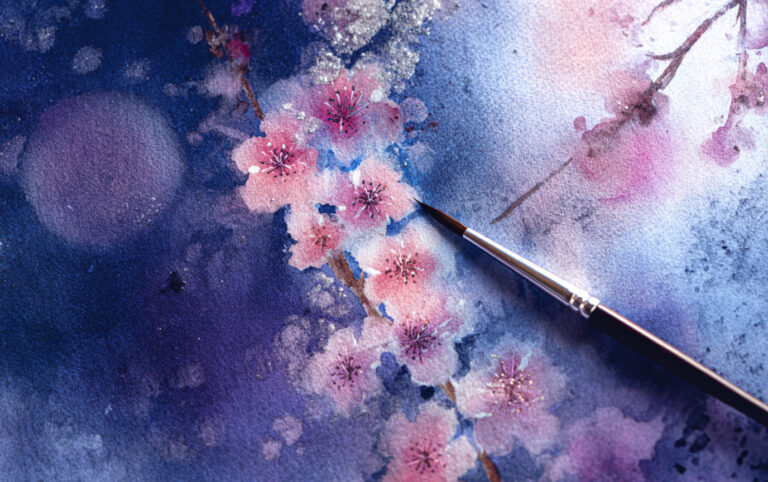
Below you can see how I have added more detail to the feature trees in the painting.

Creating Shadows and Highlights
Always remember, your paper is your best white with watercolors. You can use a white guache if needed but it is better to simply not let paint touch the areas you want white. If you need to you can use clean paper towel to lift off some of the color if it gets too dark.
With the shadows remember they will reflect the colors around them. Shadows are very rarely the same color everywhere on a painting.
You can use a darker paint to create the deep shadow and then gradually blend it across to the lighter areas with a soft round brush or you can add different colors to blend in if you are creating color gradients. Try and understand how each color will affect the existing colors you are painting over. Learning about color theory will help with your painting and can make a huge difference.
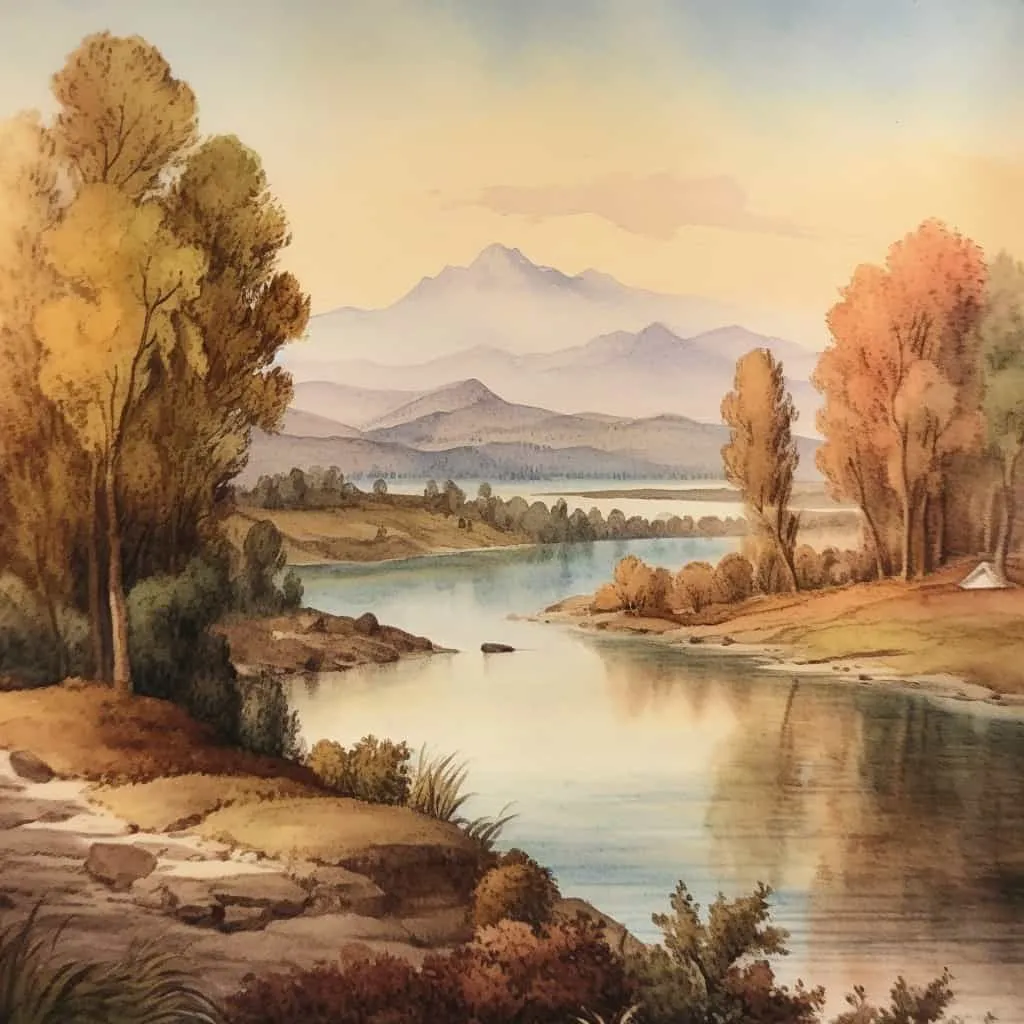
Below you can see the final stages of the landscape appear much more. Color is still kept muted and I will be honest I very nearly stopped here. However I wanted to show how far you can go with detail work so I did carry on. I do think this may well be where I should have stopped though. Sometimes less is more as they say.
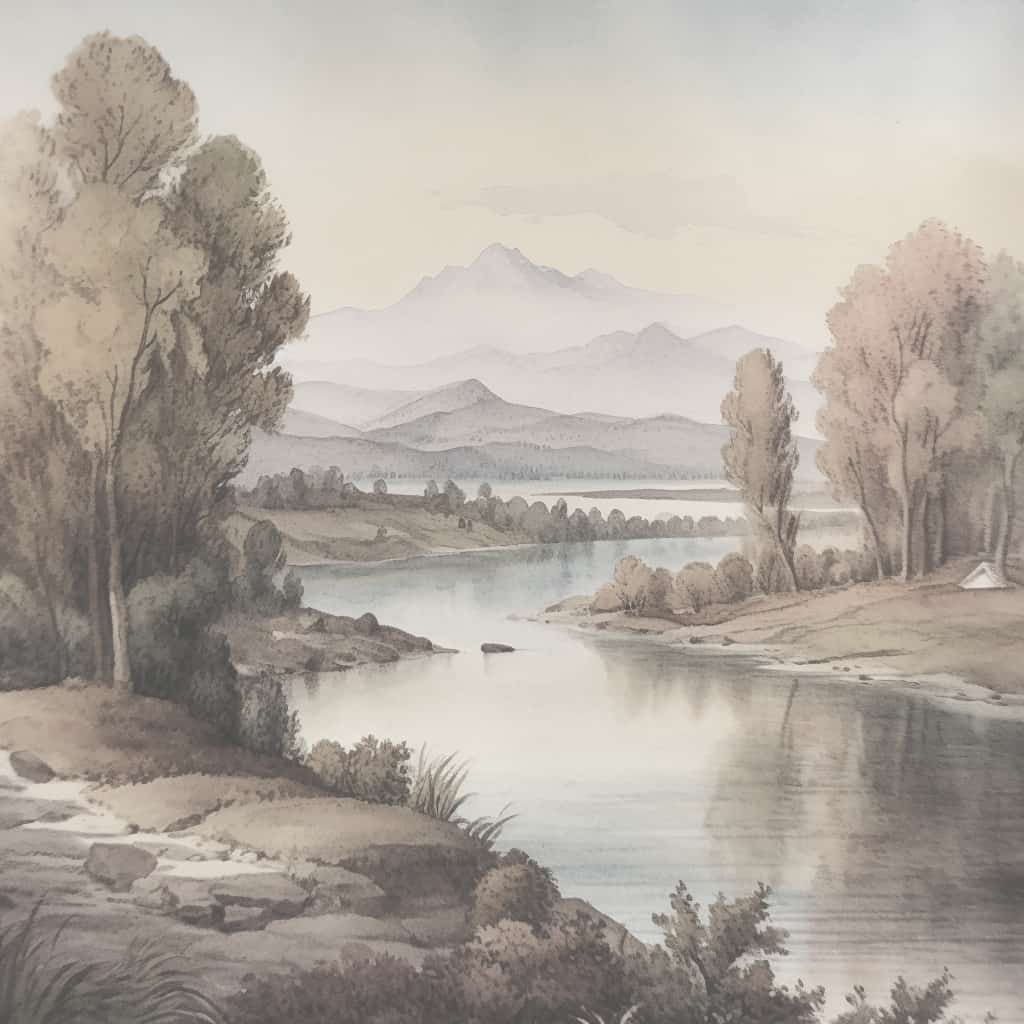
Adding the Final Details
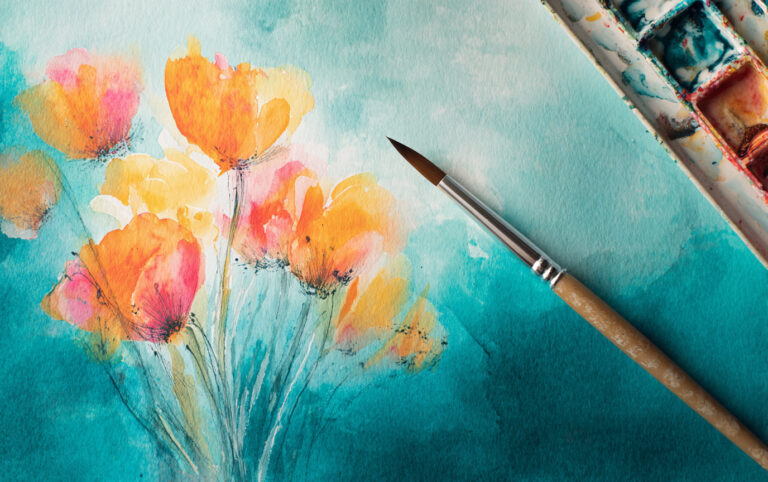
Finally, you can begin to add the final details to your painting. Use a small round brush to add the details that will bring your painting to life.
Using a fine brush you can add details like leaves, branches, and grass. Study the landscape and try to capture the natural color changes as nature has created them. Natural earthy colors arent always easy to get right so have a piece of paper you can paint test washes on so you can capture the colors properly.
If you are adding pencil or ink lines to your painting these are best done last unless you are using the lines to guide your painting. Do them when the paper is dry but still stretched on your board to avoid damaging the paper. With pencil there is no need to press on hard. If you want a darker line, use a darker B grade pencil.
All the fine detail in the painting here is done with a fine rigger brush. The longer bristles mean you can get longer flowing lines of color when you need them. Just remember to clean it properly and reset the bristles, as rigger brushes suffer badly from splaying.
Conclusion
Watercolor painting is a beautiful and rewarding art form that can be enjoyed by anyone. With the right materials and techniques, you can create stunning landscapes that capture the beauty of nature. Remember to take your time and enjoy the process of creating your painting. With practice and patience, you’ll be able to paint beautiful landscapes in watercolor.