Painting wet on wet is a way of mixing the colors you need on the painting itself, rather than mixing colors on your palette first. It is mainly associated with oil painting, but can be used with some other paint media. It is also sometimes called direct painting. One of the advantages is that it can make painting much faster.
How to Paint Wet on Wet
To paint wet on wet, you simply add colors on top of one another and mix them as you paint. This can be really useful when you have multiple shades of similar colors. It is a great way to create gradients. You can also work within a certain palette range really easily with wet on wet painting.
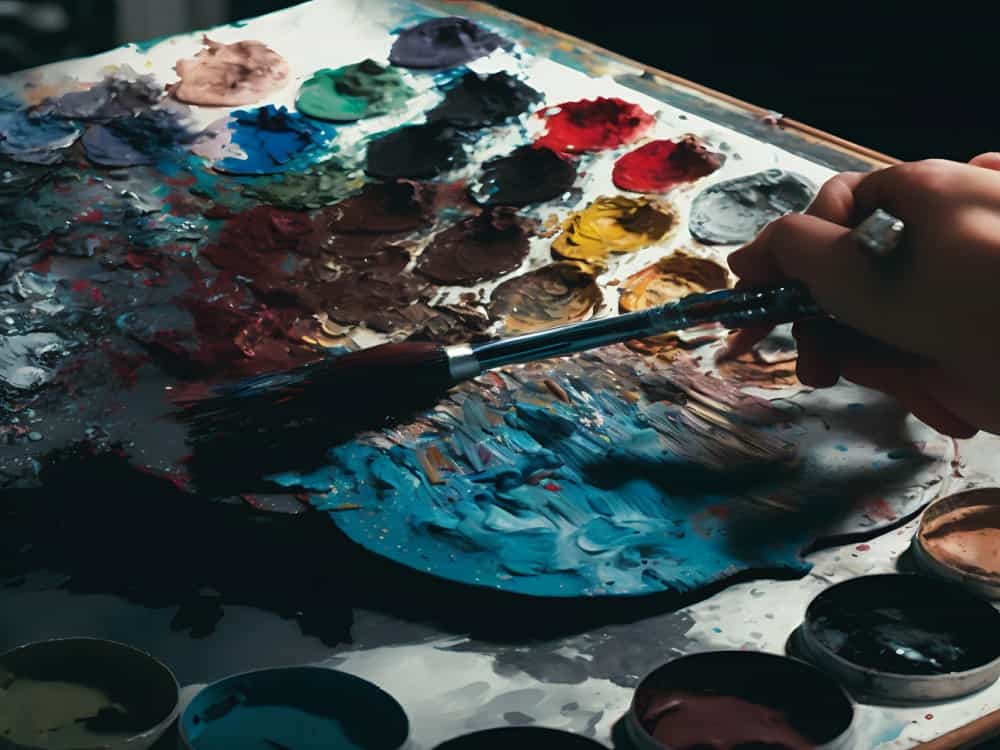
Wet on wet Painting with Oil Paints
If you are painting dark to light then first lay down a rough layer of the darker paint you are using, then add the lighter colors gradually. You can work them together if needed, but often leaving the paint less mixed will help create the effect you want too.
Most of the great impressionists painted wet of wet to create some of the most stunning landscape paintings ever done. Painting outside and watching the colors change as the light changed allowed them to see the colors of nature in a different way.
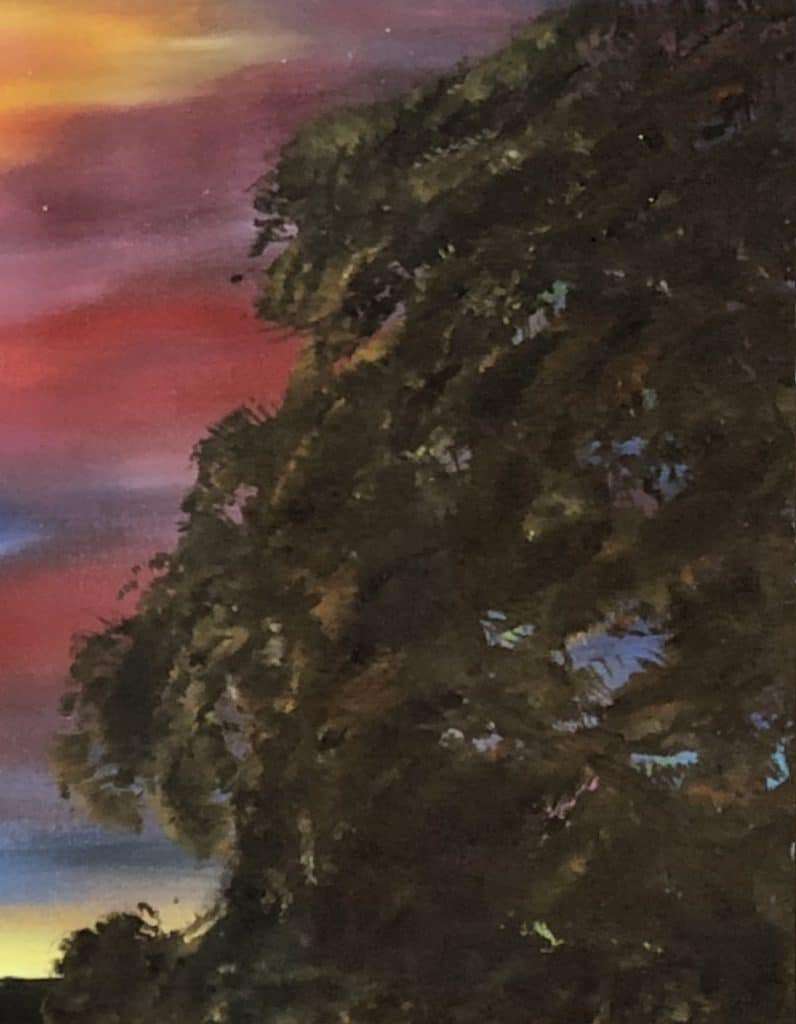
Imagine a tree. The leaves themselves might be a fairly dark green, but as you look at the canopy of the tree you will see the light reflecting off those leaves. You will see the dark green, but you will see many more different colors than the actual leaf color. You will see almost white highlights where the light hits the leaves at right angles. This will also create darker areas that are in shadow. You will also see many different shades and tones where the light is hitting the leaves at an angle and the light reflections create more different colors.
The late great Bob Ross was a master at this technique and it allows you to paint very quickly to create very natural colors. If you watch his tutorials you will see very quickly how he part mixes the colors and layers glazes to create fantastic landscapes and buildings.
A Practical Example
If we go back to our tree. First, roughly paint in the darker trunk, then you can paint in some of the lighter shades where the bark is catching the light. Wipe your brush if needed before applying the lighter colors, but this wont always be necessary.
As you apply the lighter colors they will mix a little on the painting. Some areas will be mixed more some slightly less, so you will immediately see different shades start to appear. The more you brush the more the colors will become. mixed.
I often add a little thinner to the base colors and paint them fairly flat to the canvas, but you don’t have to. Texture can be added later as required.
Choose the Right Tools
For the next stage, a big old brush with a splayed tip is a great tool, but fan brushes can be used too. Choose the brushes that work for you. We all paint in slightly different ways.
Keep everything fairly rough at this point. Details can be added later and tones can be adjusted as need be.
For an example I will start with some Burnt Umber, Ultramarine Blue, Raw Sienna, Cadmium Yellow Hue and Zinc White. Put a small amount of each spaced around your palette.
Dab your brush into the burnt umber and then dab it a few times on your palette to spread the paint on the brush. Dab the paint lightly in the areas of the painting that are darkest.
Then do the same with the Ultramarine Blue. Don’t dab it in the same places evenly, you want to start creating contrast even at this point. The 2 colors will mix a little to give you cold shadows where the blue is dominant and warmer shadow where the Burnt Umber shows through.
Next, if your brush is heavily loaded with paint still, wipe it, but don’t clean it completely. Dab some of the Raw Sienna to the centre of your palette and mix in a little of the Ultramarine Blue. Don’t mix it too much. Then start to dab on the mixed color to turn the darker colors a more green color in places. This is where you can start to expand and shape the canopy of you tree.
Adding Highlights
When you have added the main green color you can start to add the lighter areas of the canopy. Just wipe your brush, dab it into the Raw Sienna and apply that lightly in the areas of the painting you want to be lighter. Remember, the more you work the paint the more it will mix and the darker the color will get. Leaving areas with small amounts of unmixed paint will help you create the contrast of color and will also start to create depth in your painting.
There is a balance between mixing the colors to create shading and leaving unmixed areas to show the highlights where the sun is hitting the leaves. If you load the brush more heavily, when you dab you will create more lighter areas.
Finally, Lightly coat the bristles of your brush with some of the zinc white and add that in some of the very lightest areas. If you need to, wipe the brush and work the white in a little more if it looks too white.
Fat Over Thin NOT Thin Over Fat
There is one rule you need to understand before painting wet on wet. You will hear it called ‘fat over thin not thin over fat’ or several similar variants. It is a rule that is vital if you want to get the best from your oil paints and I have seen a lot of sites that get this completely wrong.
It is all about drying time. If a layer of paint you apply on top dries faster than the paint underneath it you run the risk of flaking and peeling when the painting finally dries completely.
Now this isn’t quite as obvious as it might sound. You can paint thinned paint over a thicker base coat. To do this, you need to thin the paint for the upper layer with oil not with white spirit, turpentine or any other solvent that decreases drying time.
You can use paint thinned with white spirit underneath subsequent layers of un-thinned paint as a base layer, but NOT the other way around.
Wet on wet Painting with Acrylic Paints
It can be more difficult to paint wet on wet with acrylic paints because they dry so much faster. You can buy retarding agents to slow down the drying process a little, but they will never be workable for as long as oil paints are.
You will need to paint faster with acrylic paints to paint wet on wet. However, it is possible to get some great results.
If you paint really fast you might be able to just use a little water to keep the paint surface wet, but as soon as the acrylic paint skins over it will not ‘wet’ again. If you use water it is a good idea to stretch your paper first. If you don’t the paper will buckle and wrinkle.

How to Stretch Your Paper
To stretch the paper use a solid board and water activated tape. Soak the paper thoroughly then tape the edges to the board, then just allow it to dry. When it is dry it will be stretched tight. This means when you paint onto it, the paper will retain its flat surface when dries.
You can follow a similar procedure as with using oils, especially if you are using a retarder, just be careful the paint doesn’t skin over before you have finished each section. You will need to wash your brushes more too, but having a wet brush will help keeping the paint workable so don’t dry the brush after washing it unless you need to.
Wet on wet Painting with Watercolor Paints
Painting wet on wet with watercolor paints is different again. You will need to stretch your paper like when using acrylics. Watercolor paints will re-dissolve whenever water is added to them though, so as soon as you touch a color with any new color they will begin to mix. If you want to keep some separation in the colors try to use as little water as you can.
This is easier if you are using tube colors because you can use them straight from the tube. With block watercolors just add a small amount of water and mix them well with a stiff bristle brush to give a concentrated solution of color and then use that.
Opposite to how you did with oil paints you will also need to paint from light to dark. Make sure all the lighter colors are applied before adding the darker colors and shadows. You don’t have the option to cover color with watercolor paints like you do with oil paints and acrylics.

Final Thoughts
Remember, painting ‘wet on wet’ or ‘direct painting is much more than a way to paint fast. It can be a much better way to create complex gradients of color. It is also a great way to capture the sort of dappled color of anything seen in real sunlight.
In France the Impressionists popularised the term ‘en plein air’ for painting complete paintings outdoors and this was largely made possible by their mastery of the wet on wet technique. In Italy the term ‘Alla Prima’ was used for wet on wet painting and literally it means first attempt.
Wet on wet is a great technique to use and can give you bold, startling results that are almost impossible to achieve any other way. It won’t suit every painting you do but it is a really important skill to learn and certainly not something to be fearful of.