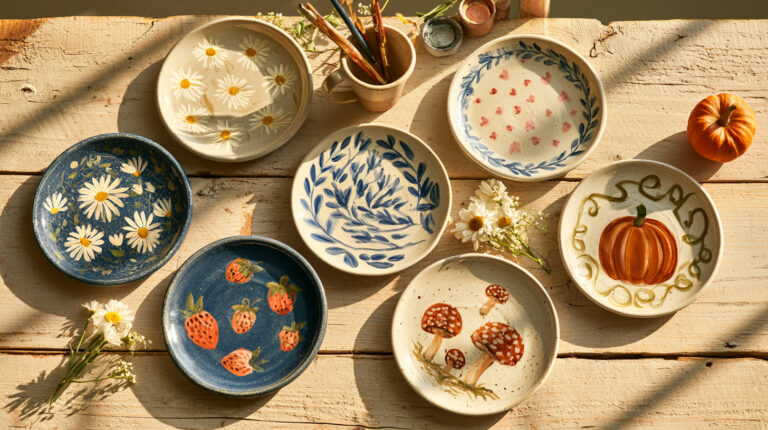
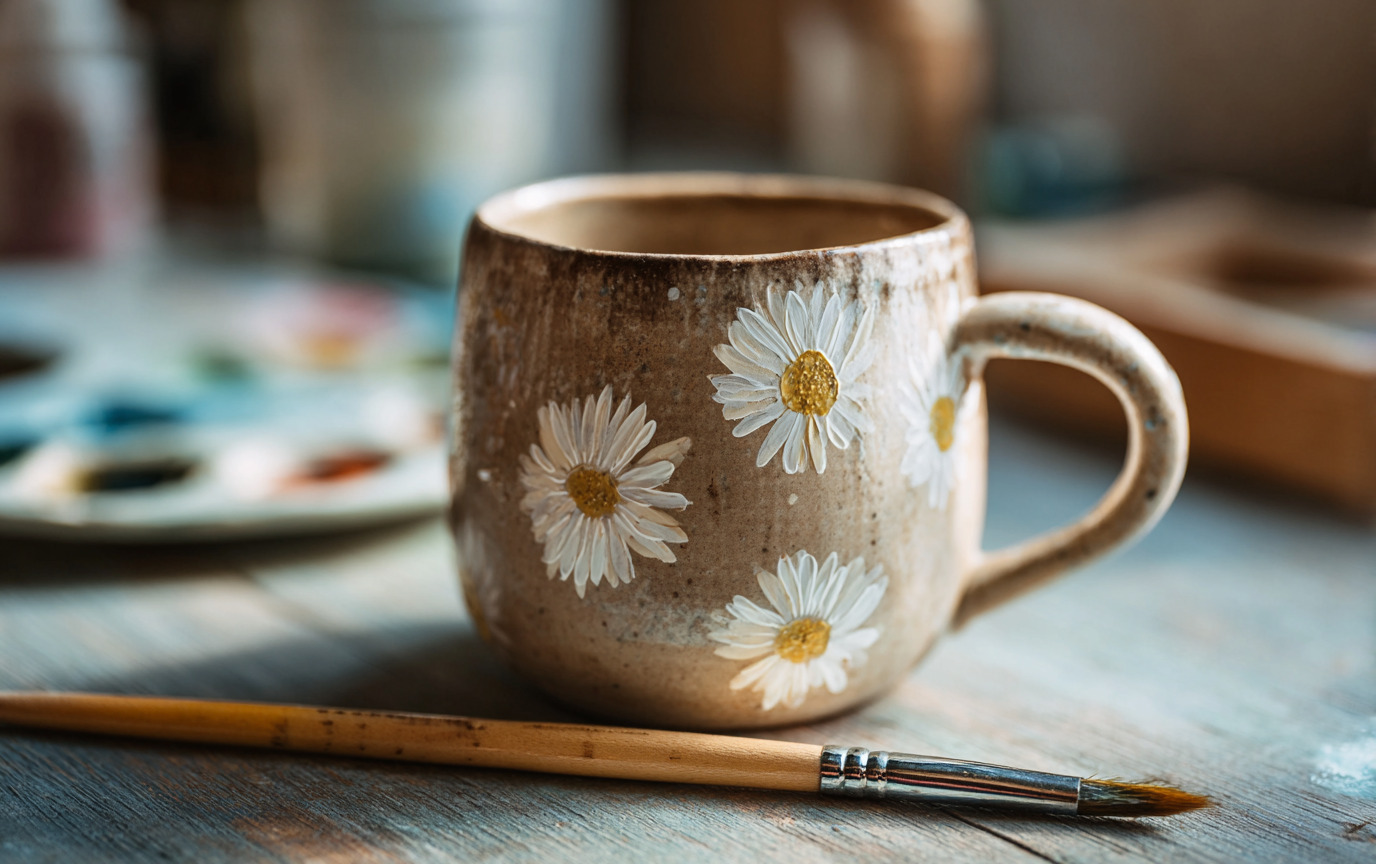
Pottery painting is one of the easiest ways to turn a plain mug, plate or bowl into something personal. These cute pottery painting ideas for beginners use simple shapes, manageable color palettes and patterns that are easy to adapt at a paint-your-own-pottery studio or for a decorative ceramic project at home.
Everything I used for these is listed further down. Jump to the kit ↓
You will find floral plates, fruit bowls, cozy mugs, playful animals and minimalist designs, plus practical tips for choosing an idea you can finish with confidence.
Today I’m sharing 30 pottery painting ideas specifically chosen for beginners. These aren’t intimidating masterpieces that require art school training. They’re approachable, forgiving designs that work beautifully even if your hands shake a little or your brush strokes aren’t magazine-perfect.
All images provided are original and can be used as a reference for your own paintings.
What Are the Easiest Pottery Painting Ideas for Beginners?
The easiest pottery painting ideas for beginners use simple shapes, a limited color palette and patterns suited to the pottery piece. Start with dots, stripes, flowers, fruit, hearts or a small animal face. Flat plates are easiest for detailed illustrations, while mugs and bowls work well with repeating or wraparound patterns. Choose a less detailed design if your pottery studio has a fixed time limit.
How to Choose Your First Pottery Painting Idea
The best design depends on the pottery shape, the time available and how comfortable you feel painting small details. Use this guide to narrow the options before you begin.
| Your situation | Best design to choose |
|---|---|
| This is your first pottery session | Dots, stripes, fruit, hearts or simple flowers |
| You have less than one hour | One central motif or a repeating pattern |
| You are painting a plate | Florals, food illustrations or animal faces |
| You are painting a mug | Wraparound vines, stars, names or small icons |
| You are painting a bowl | Interior fruit, dots or a simple rim pattern |
| You are making a gift | Initials, a meaningful date or a favorite animal |
| You are worried about mistakes | Organic patterns where uneven lines look intentional |
If you’ve chosen a plate, these easy plate painting ideas for beginners focus specifically on florals, fruit, borders, blue-and-white designs, and seasonal motifs that work beautifully with a plate’s flat, circular shape.
If you’ve chosen a bowl, these pottery bowl painting ideas include 22 easy designs built around the center, rim, and curved sides, from simple dots and stripes to florals and geometric patterns.
Which Paint Should You Use on Pottery?
“Pottery paint” can refer to different products. A paint-your-own-pottery studio normally supplies underglaze or glaze made for kiln firing, while an at-home decorative project may use paint formulated for an already fired ceramic surface. Follow the studio or manufacturer instructions for the exact product you use.
| Project type | Suitable option | Important note |
|---|---|---|
| Paint-your-own-pottery studio | Studio-provided underglaze or glaze | Follow the studio’s coat, drying and firing instructions. |
| Unfired or bisque pottery | Ceramic underglaze intended for kiln firing | Confirm the firing temperature and compatible clear glaze. |
| Decorative glazed ceramic | Paint formulated for ceramic or glass | Follow the product’s cleaning, curing or baking directions. |
| Decorative planter or vase | Suitable ceramic craft paint or acrylic | Best for surfaces that will not touch food or the mouth. |
| Plate, bowl or mug used for food | A tested food-safe ceramic system | Do not assume ordinary acrylic paint or craft varnish is food-safe. |
Why Pottery Painting is Worth Your Time
Before we jump into the designs, let me tell you why pottery painting has become such a beloved creative practice. According to recent studies, even brief art-making sessions can significantly reduce stress and boost mood. But pottery painting offers something extra—you walk away with a tangible, usable piece that reminds you of your creativity every time you reach for your morning coffee.
Unlike some art forms that require expensive equipment or years of practice, pottery painting welcomes complete beginners with open arms. Most studios provide everything you need, from brushes to underglazes to expert tips. If you’re painting at home, the supplies are relatively affordable and easy to find.
Plus, pottery painting has exploded on social media lately. Scroll through TikTok or Pinterest and you’ll find thousands of creative designs—from minimalist modern patterns to whimsical characters. The current trends lean toward personalized pieces, bold color combinations, and designs that mix humor with aesthetics.
What You Need to Get Started
Let’s talk supplies. The beauty of pottery painting is that you don’t need much to begin.
For studio painting, you’ll typically work with:
- Bisque-fired pottery (already fired once, ready to paint)
- Underglazes (special ceramic paints)
- Various brush sizes
- A clear glaze finish
For at-home projects, you’ll want:
- Ceramic or bisque pieces
- Acrylic paints designed for ceramics, or underglazes
- Fine and medium paintbrushes
- Painter’s tape for clean lines
- A clear sealant (if using acrylics)
One quick note about underglazes versus regular paint. Underglazes are designed specifically for pottery and require kiln firing to become permanent and food-safe. Regular ceramic acrylic paints work too, especially for decorative pieces, but they won’t be dishwasher-safe. Know which you’re using and plan accordingly.
Made with: Pebeo Porcelaine 150 paint markers → check price
30 Beginner-Friendly Pottery Painting Ideas
Wildflower Scatter Plate
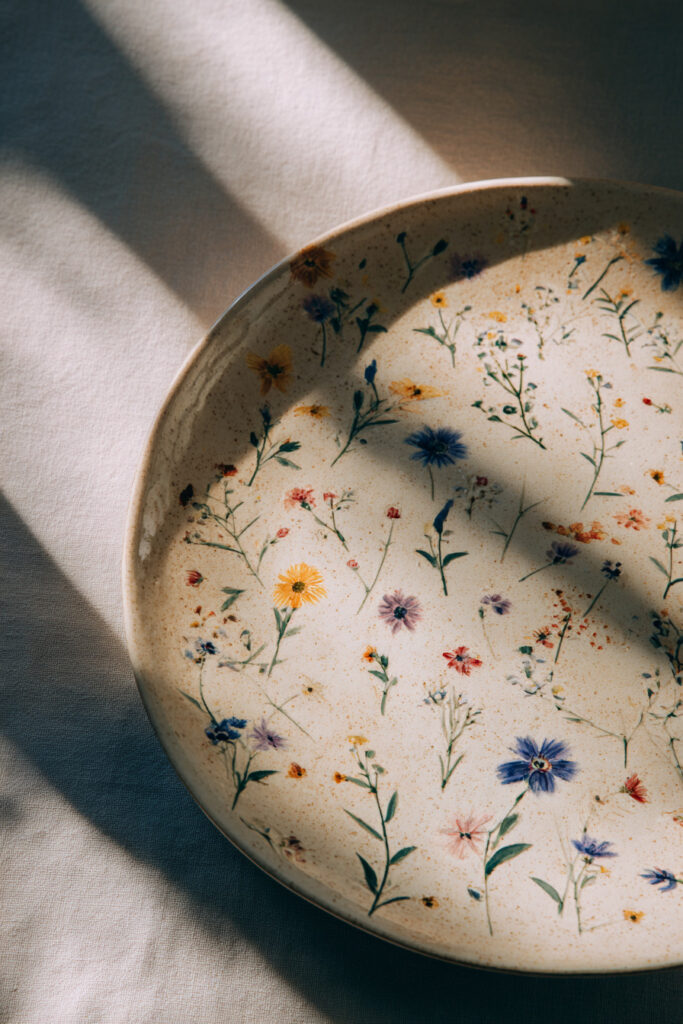
Difficulty: Very easy
1. Lightly map several curved stems around the plate, leaving open space between them.
2. Add small leaves and simple five-petal flowers with two or three colors.
3. Fill a few empty spaces with tiny dots, then follow the studio’s drying and firing instructions.
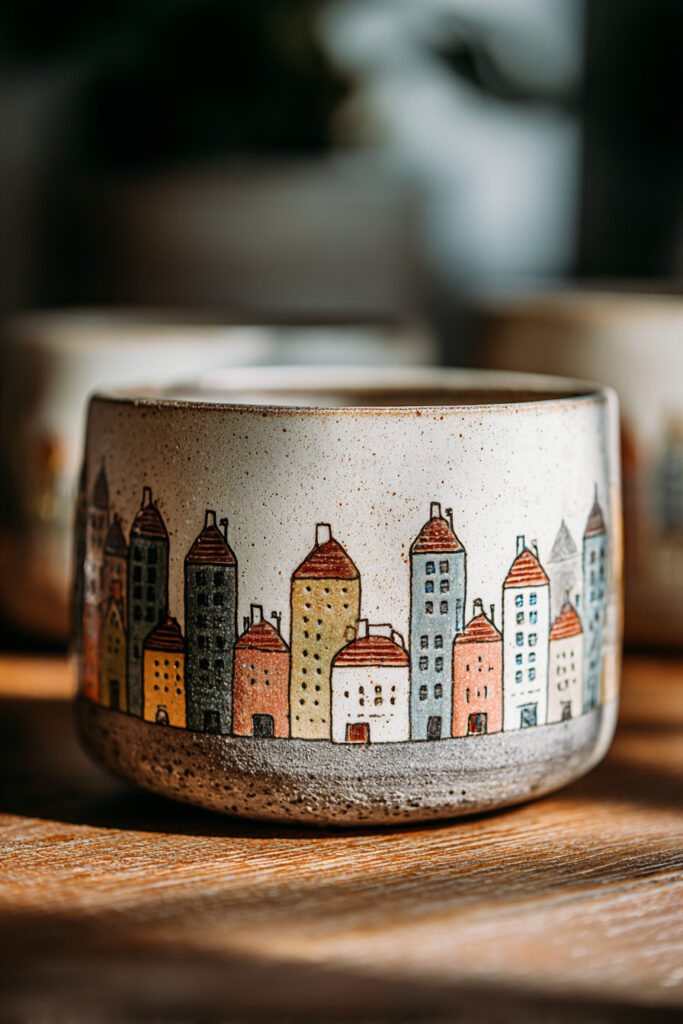
Tiny House Planter
Sunflower Smile Mug
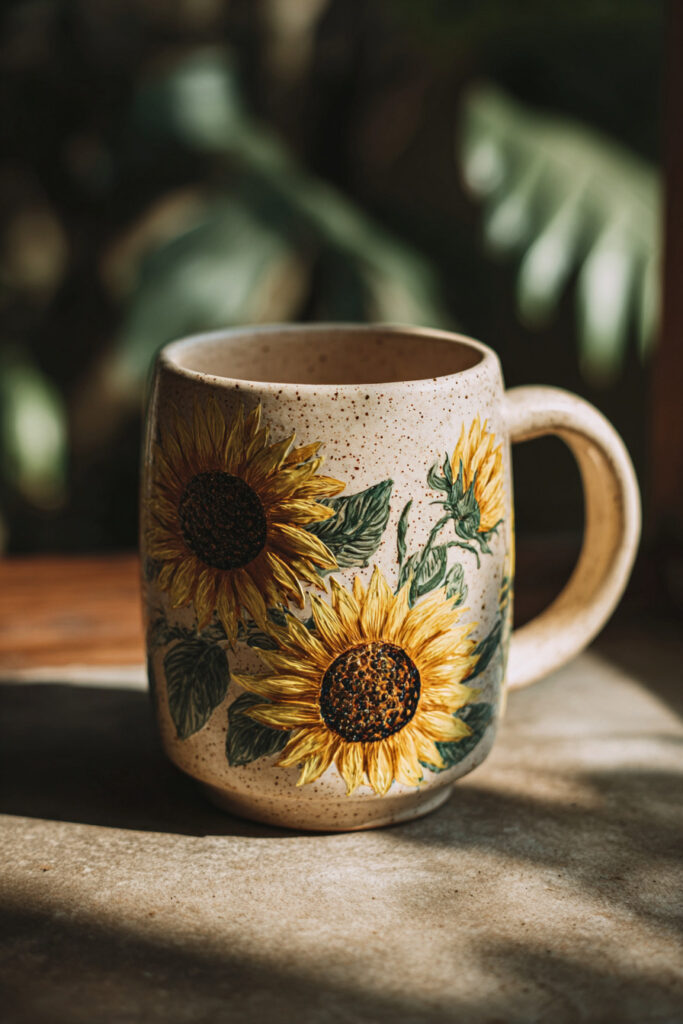
Difficulty: Easy
1. Place the sunflower face on the widest visible side of the mug, away from the handle.
2. Paint a brown center, yellow petals and a simple curved smile after the base layers begin to dry.
3. Add a few leaves or dots around the flower without overcrowding the design.
Strawberry Picnic Bowl
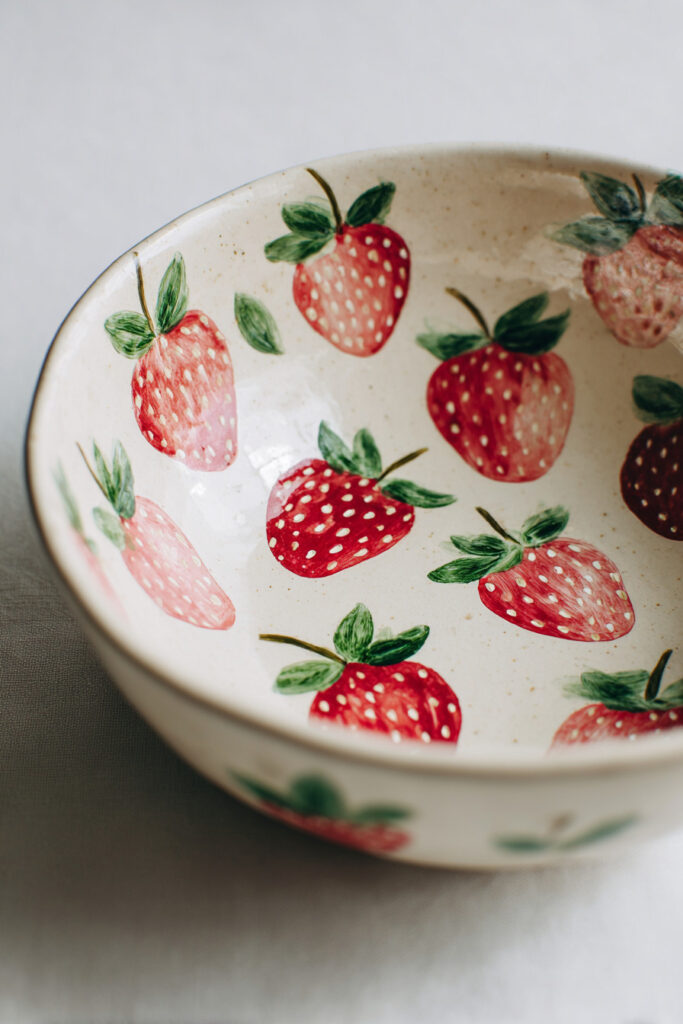
Difficulty: Easy
1. Paint several small red strawberry shapes inside the bowl and space them evenly.
2. Add green tops, tiny seed dots and a few simple leaves between the berries.
3. Finish with a narrow rim stripe or scattered dots to frame the interior design.
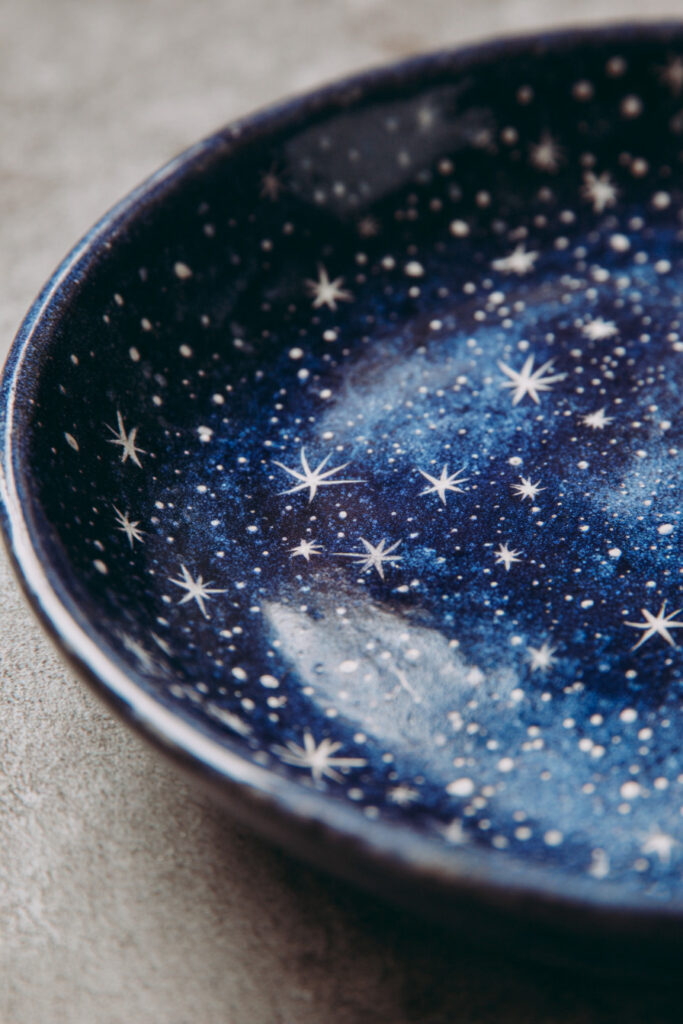
Starry Night Trinket Plate
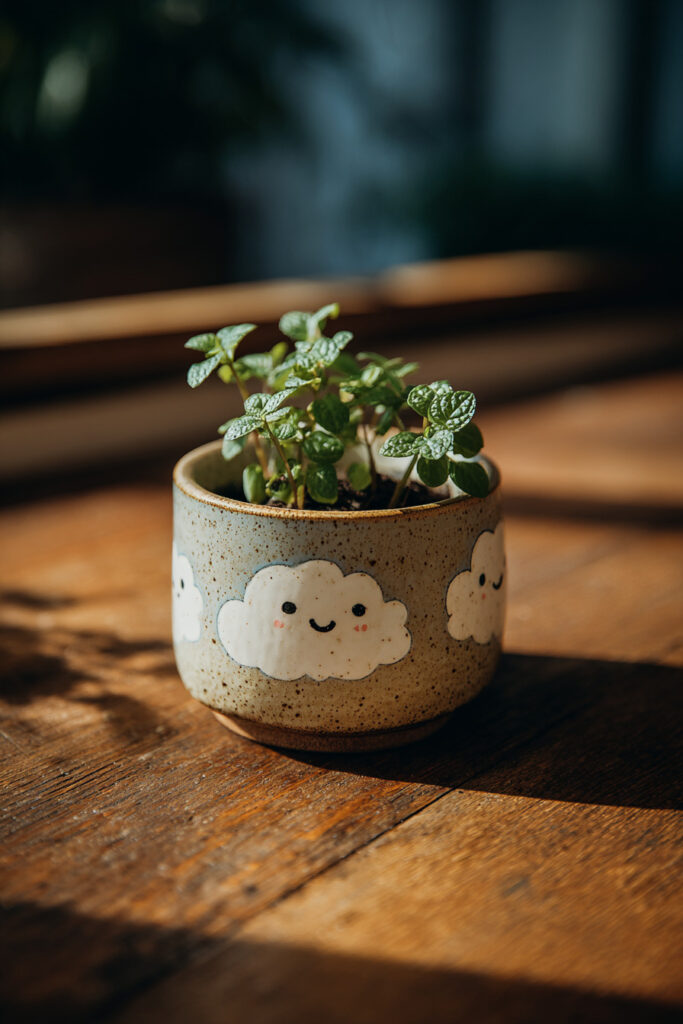
Smiling Cloud Planter
Smiley Face Espresso Cup
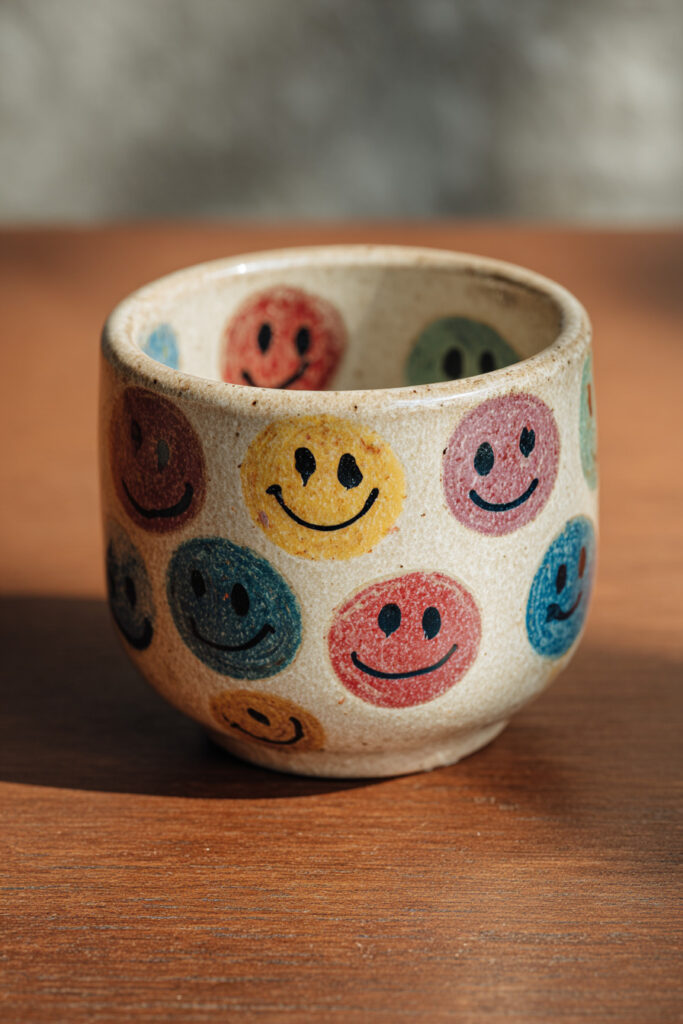
Want to personalize another piece for your morning coffee routine? Explore these cute mug pottery painting ideas for more cozy patterns, characters, and beginner-friendly designs.
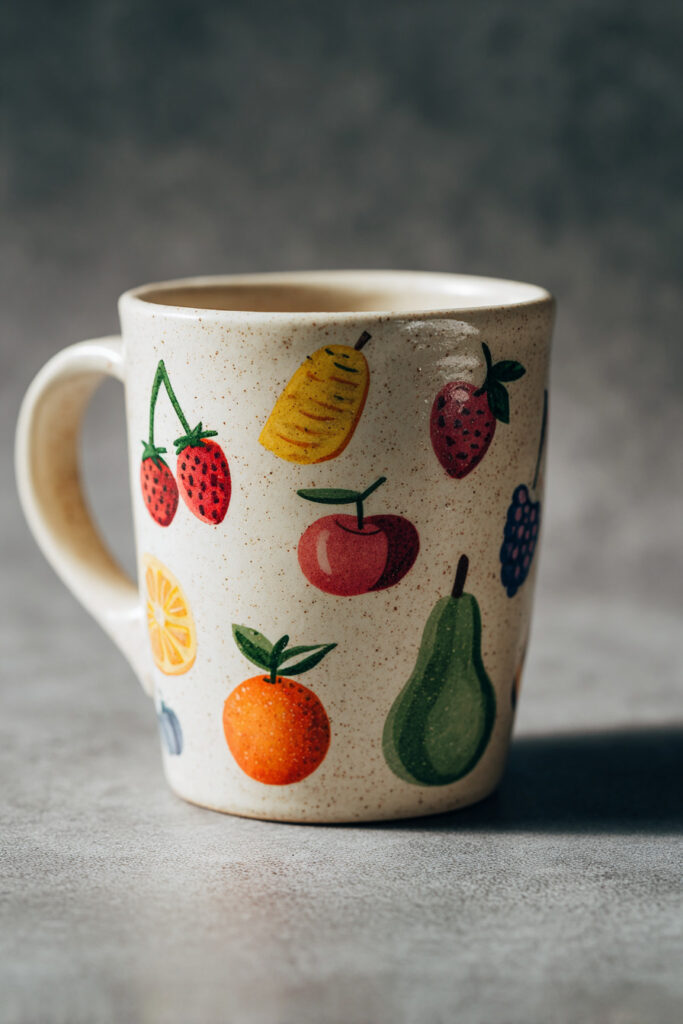
Simple Fruit Icons Cup
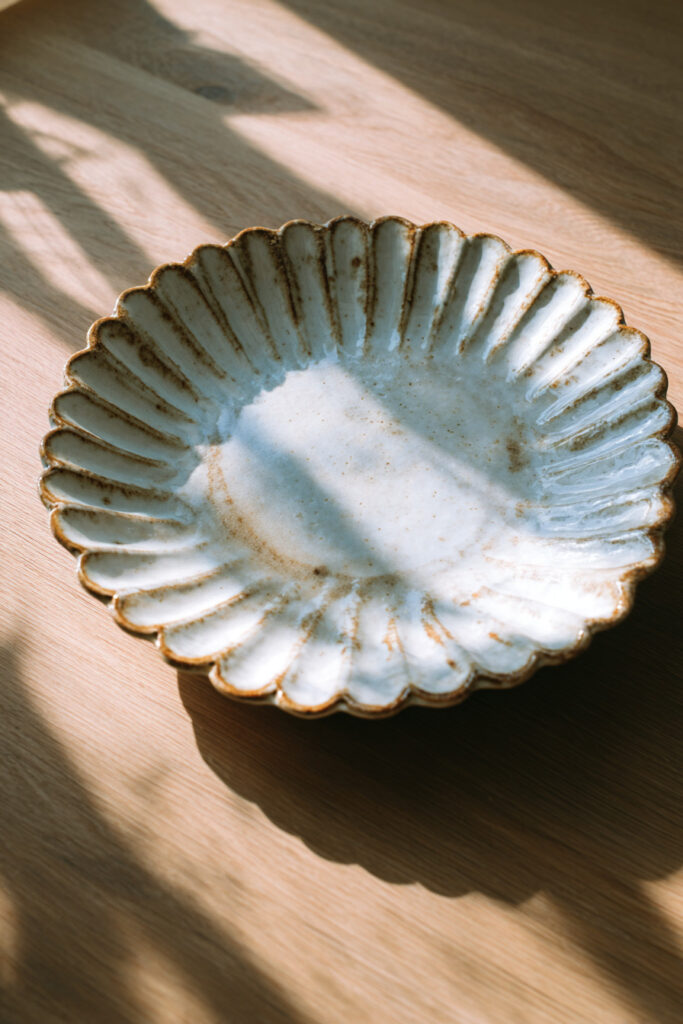
Scalloped Rim Plate
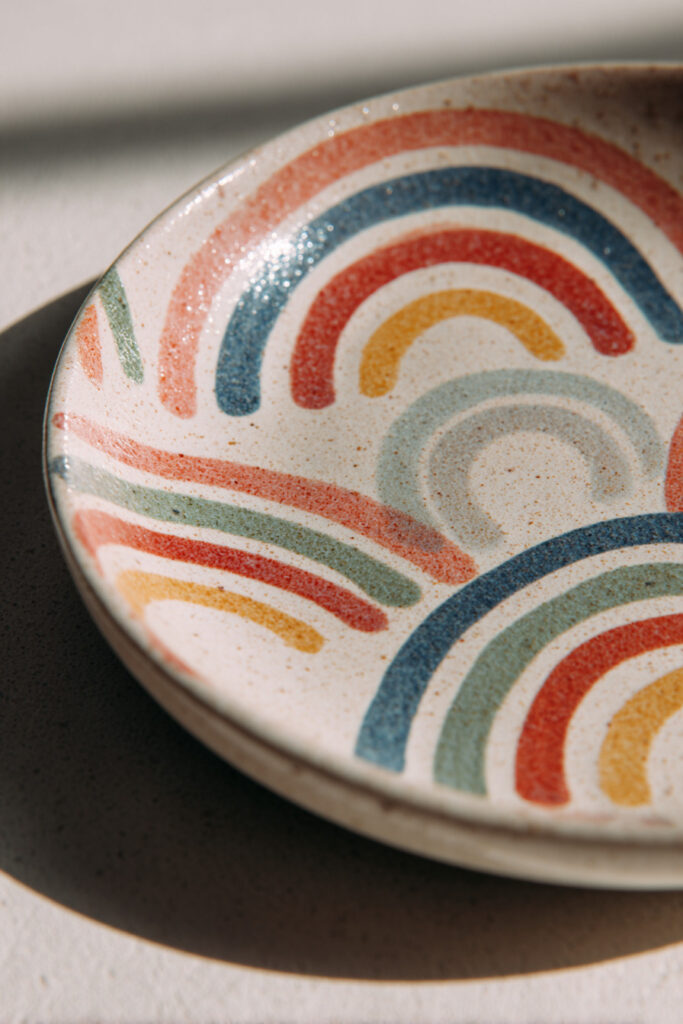
Rainbow Arch Dish
Polka Dot Teacup
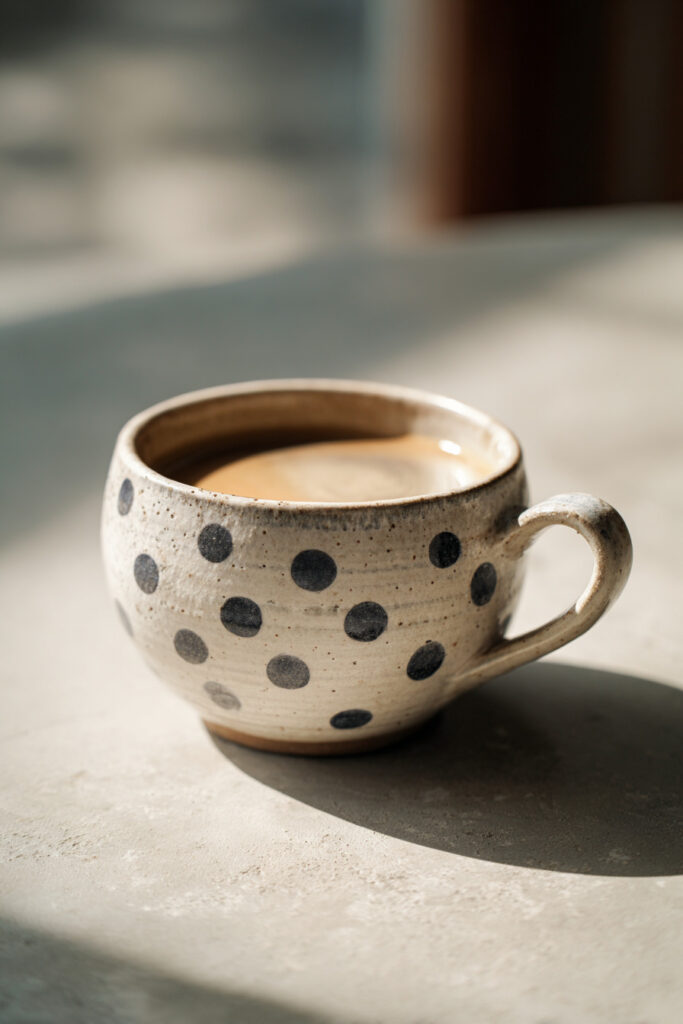
Difficulty: Very Easy
1. Choose three coordinating colors and decide whether the dots will be uniform or mixed in size.
2. Use the end of a brush or a dotting tool to place dots around the cup in loose rows.
3. Let each section settle before rotating the cup so your hand does not smear the design.
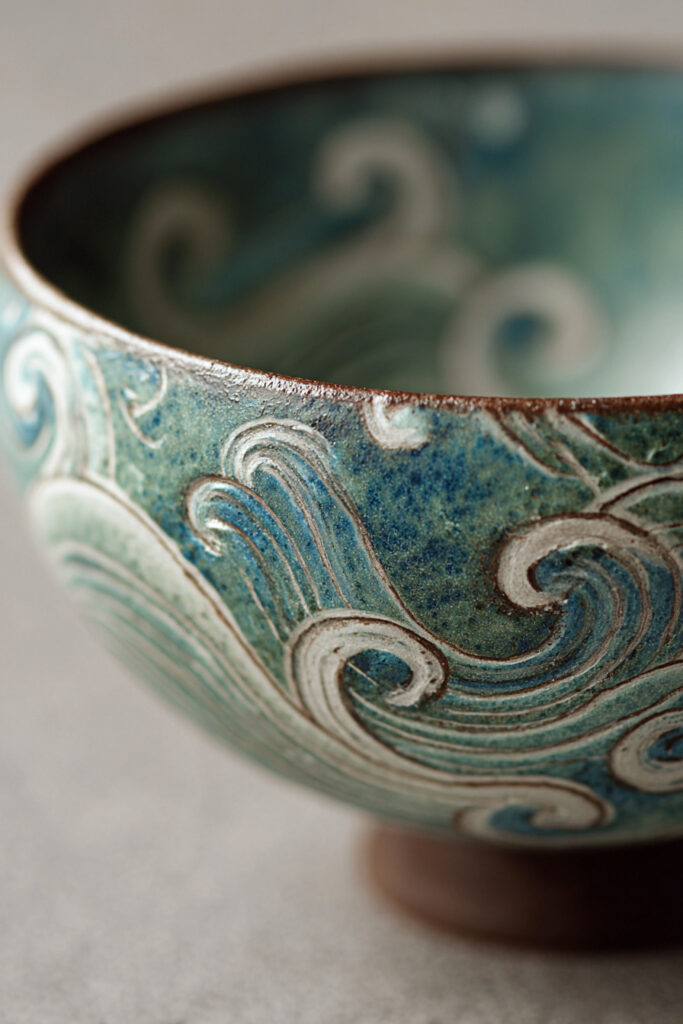
Ocean Wave Bowl
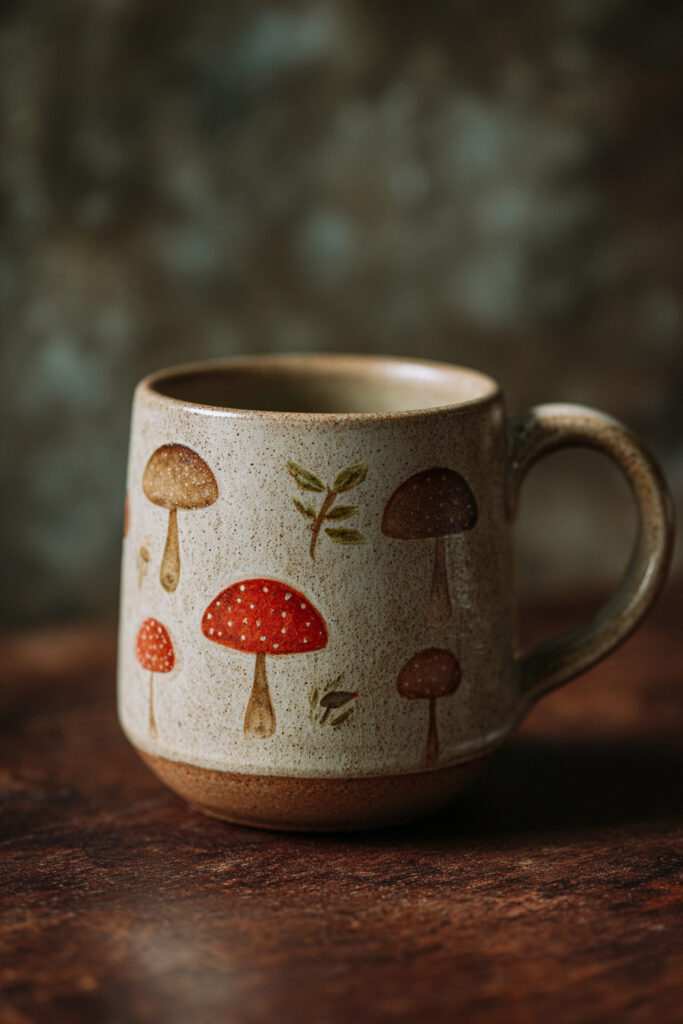
Mushroom Cottage Mug
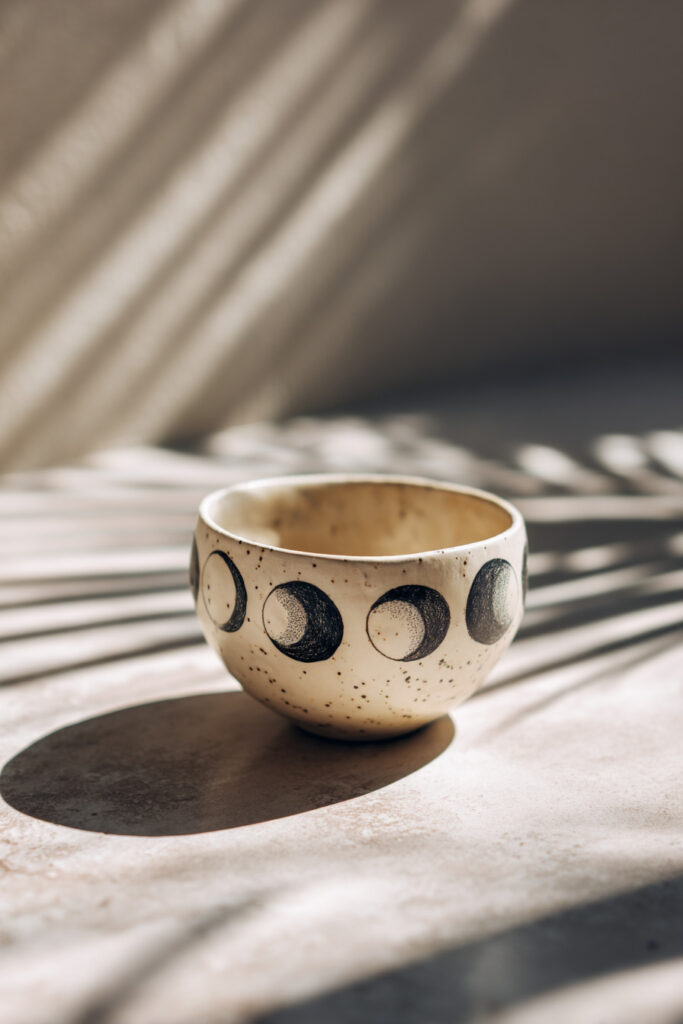
Moon Phases Bowl
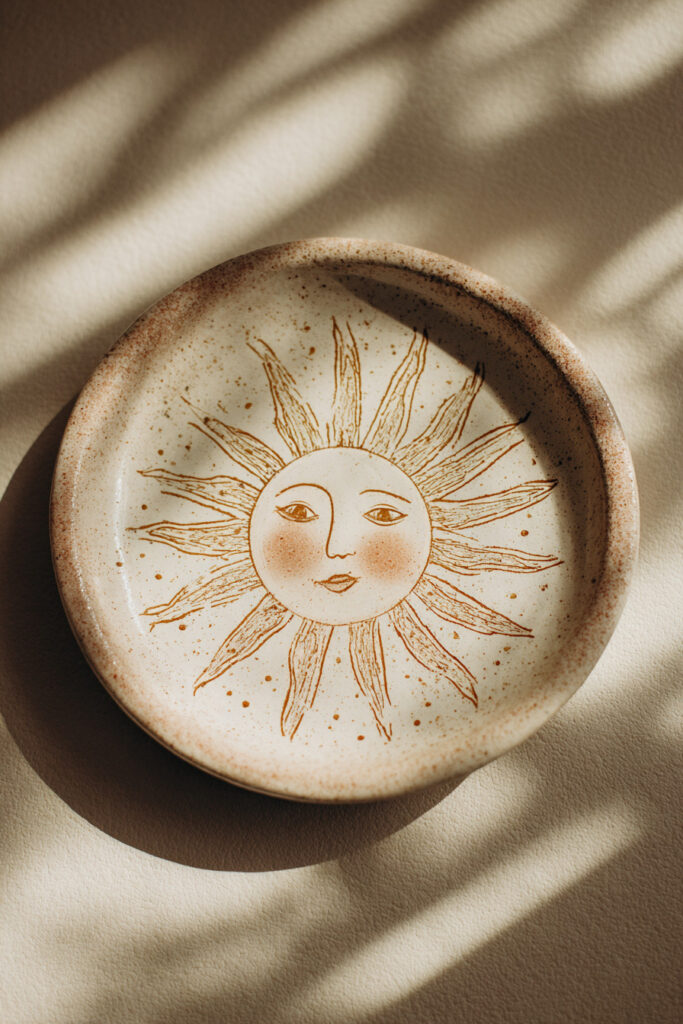
Minimal Sun Face Plate
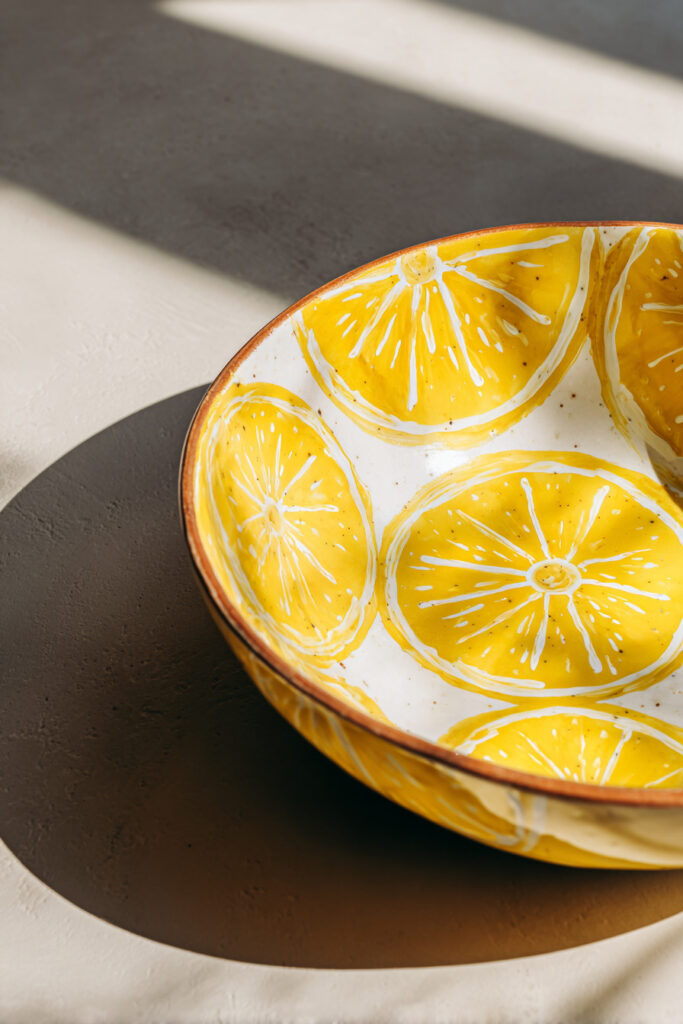
Lemon Slice Bowl
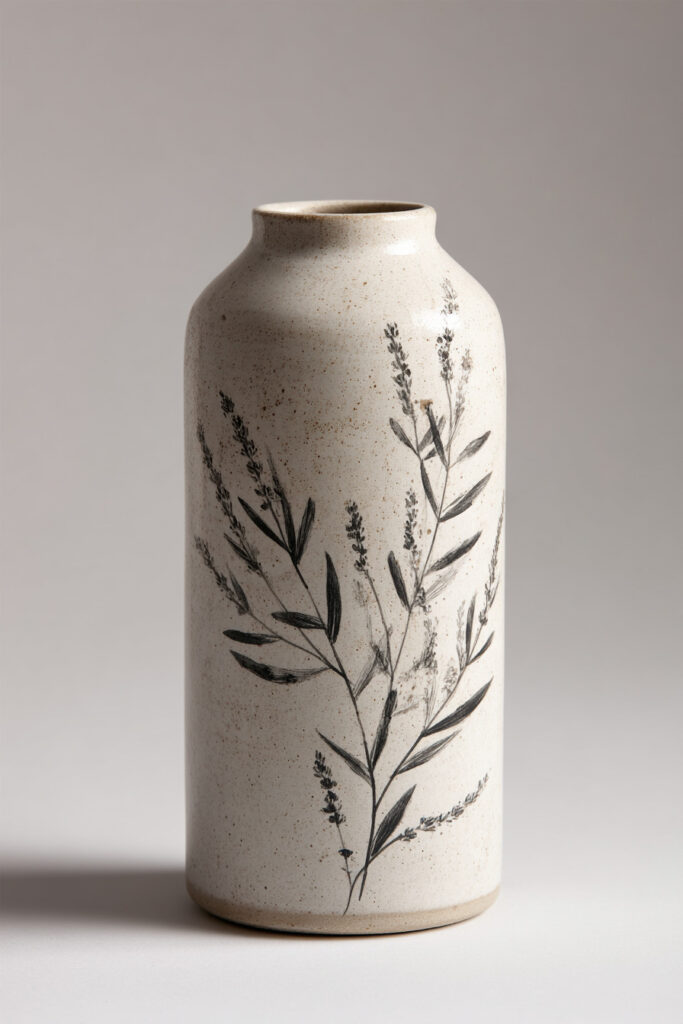
Lavender Stem Vase
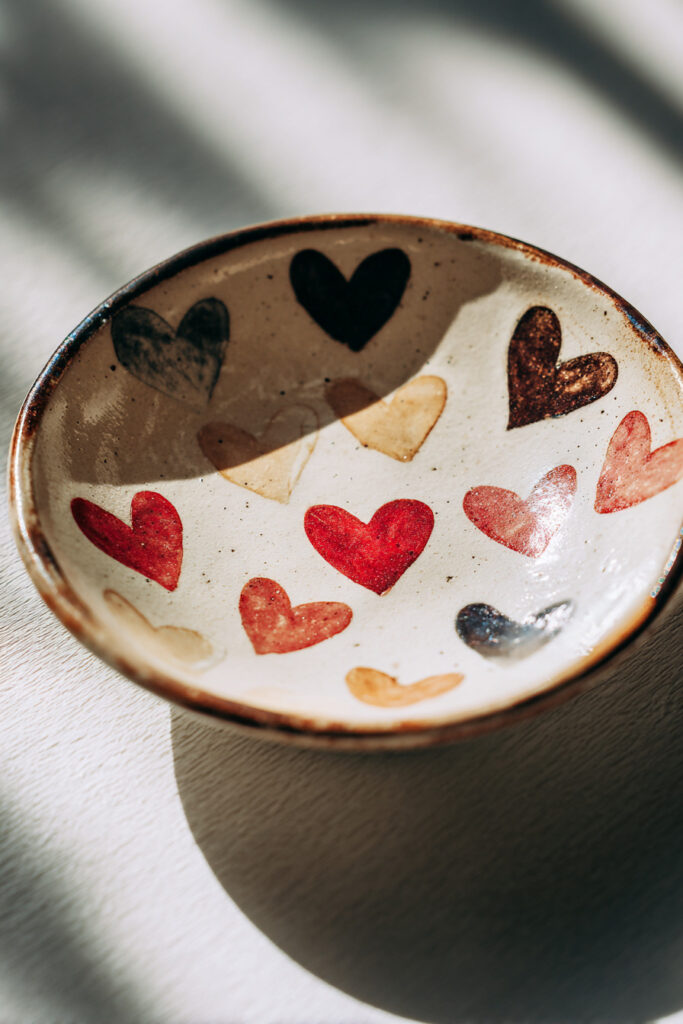
Heart Sprinkle Trinket Dish
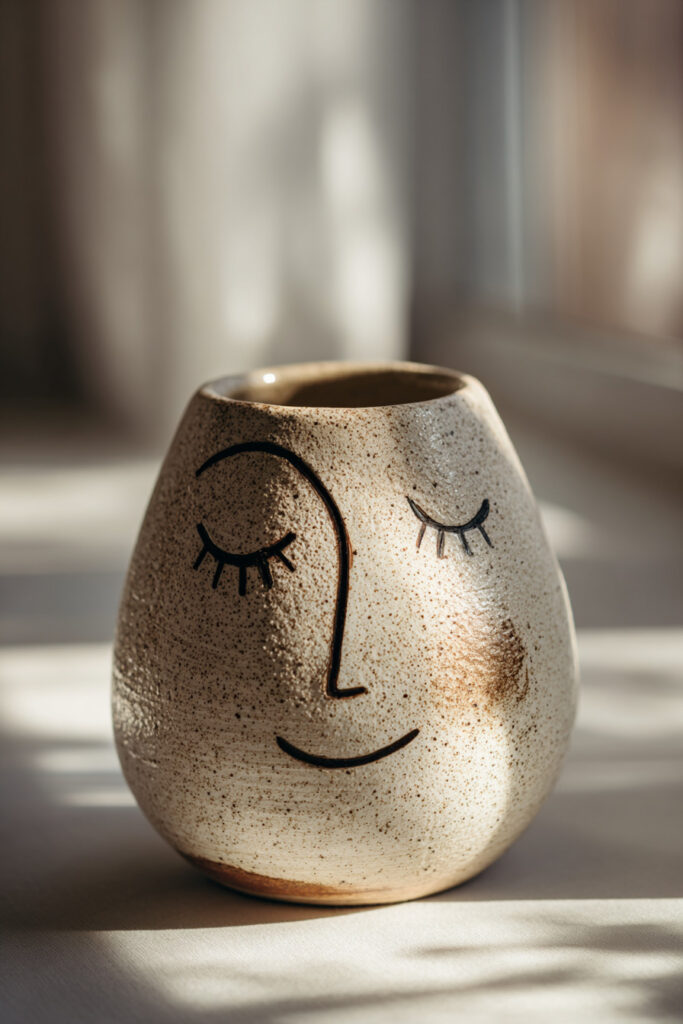
Gentle Face Vase
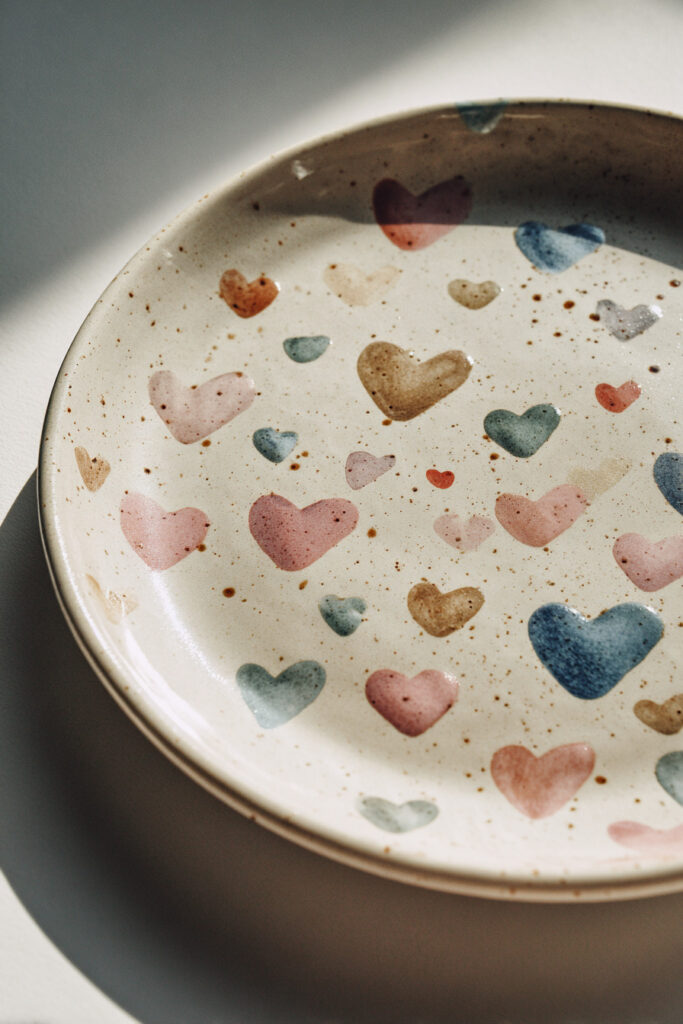
Floating Hearts Plate
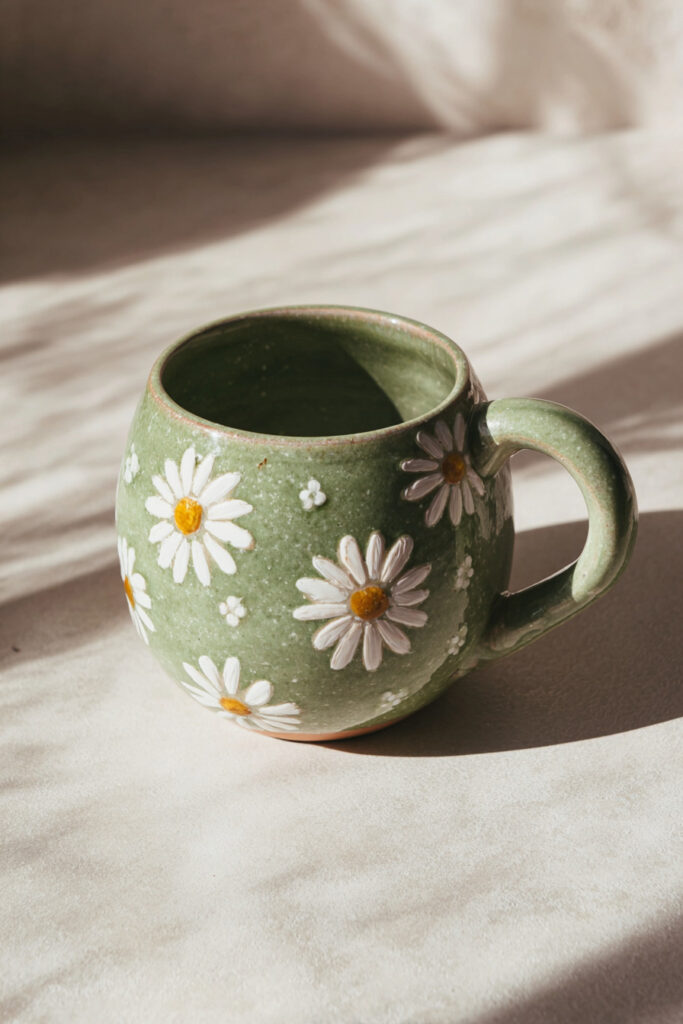
Daisy Daydream Mug
Cozy Sweater Mug
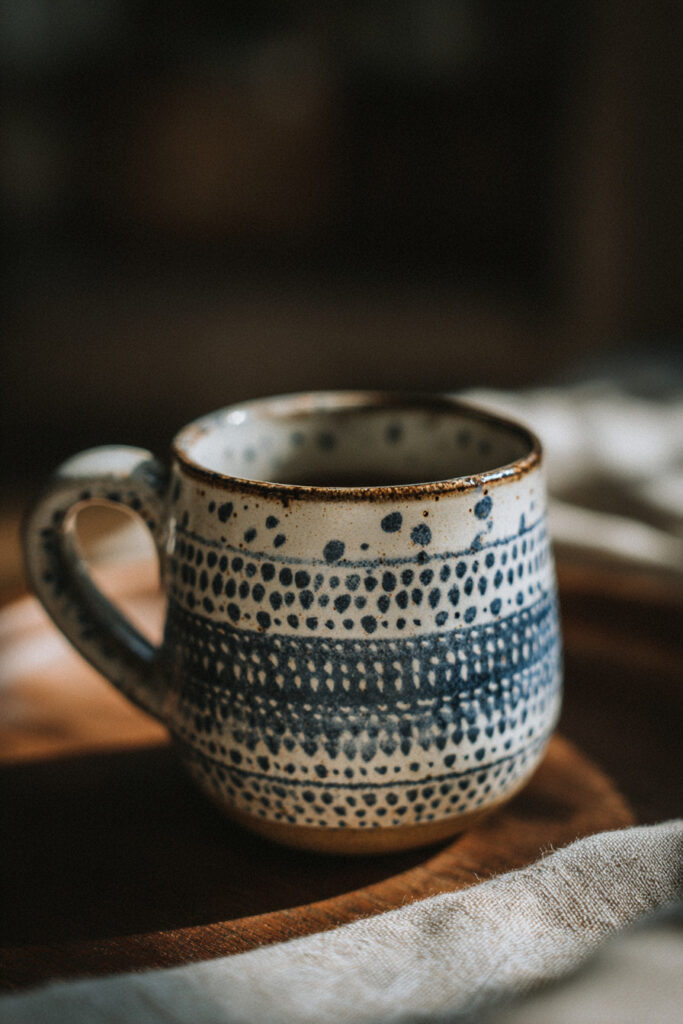
Cozy Cat Mug
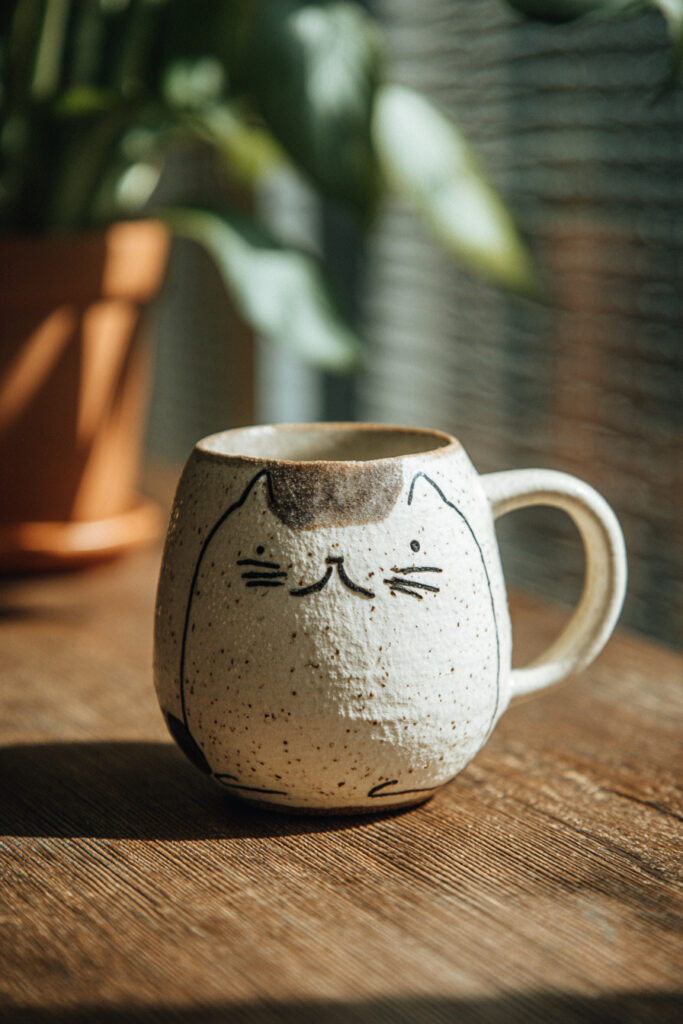
Cloud Rim Bowl
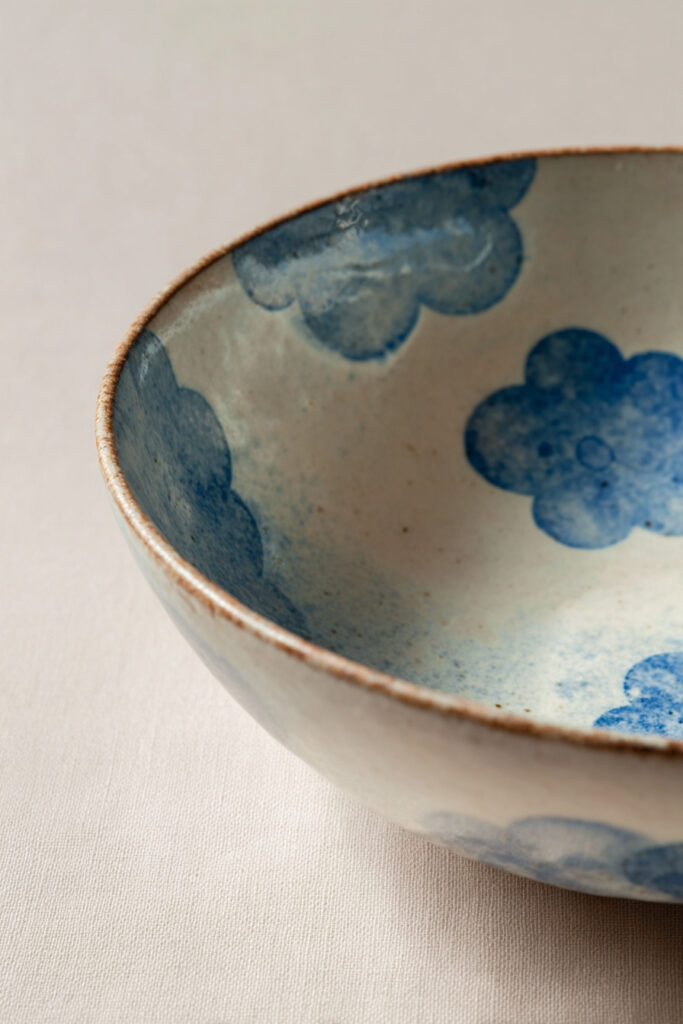
Cherry Pair Mug
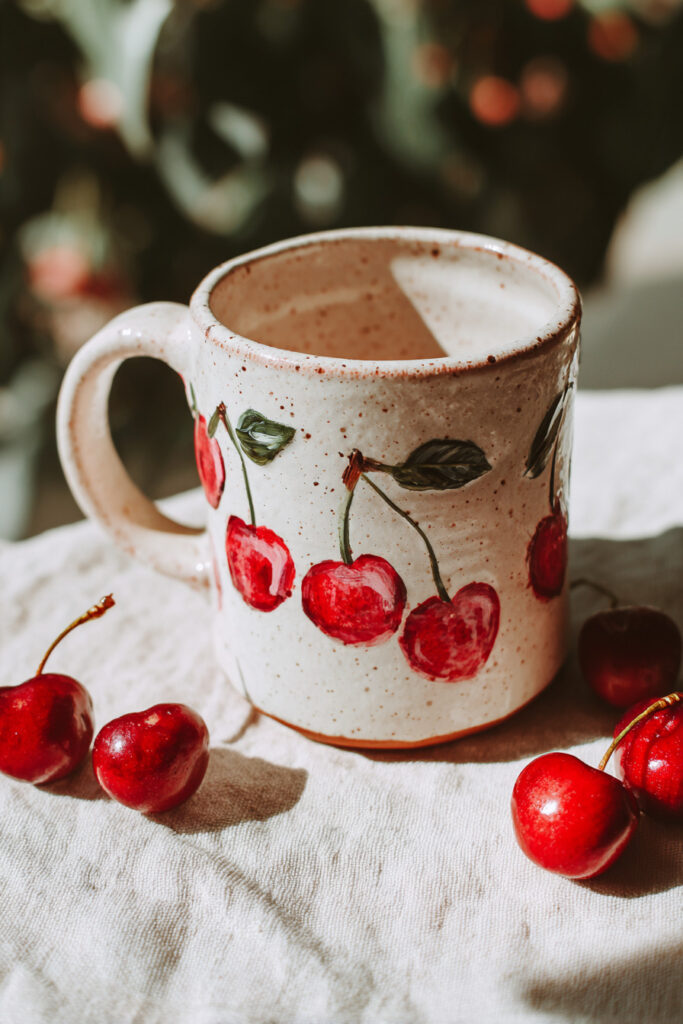
Checkerboard Jewelry Tray
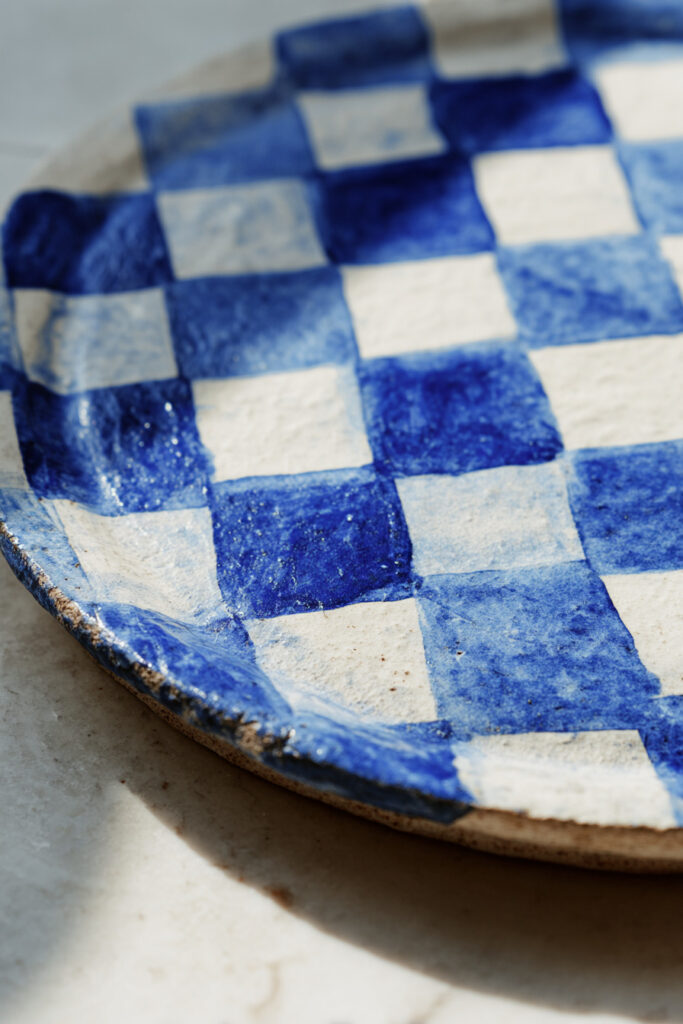
Difficulty: Moderate
1. Divide the tray into an even grid with a light removable guide approved by the studio.
2. Paint alternating squares, working from one side to the other to keep the pattern consistent.
3. Clean uneven edges with a small detail brush before the surface fully dries.
Butterfly Garden Planter
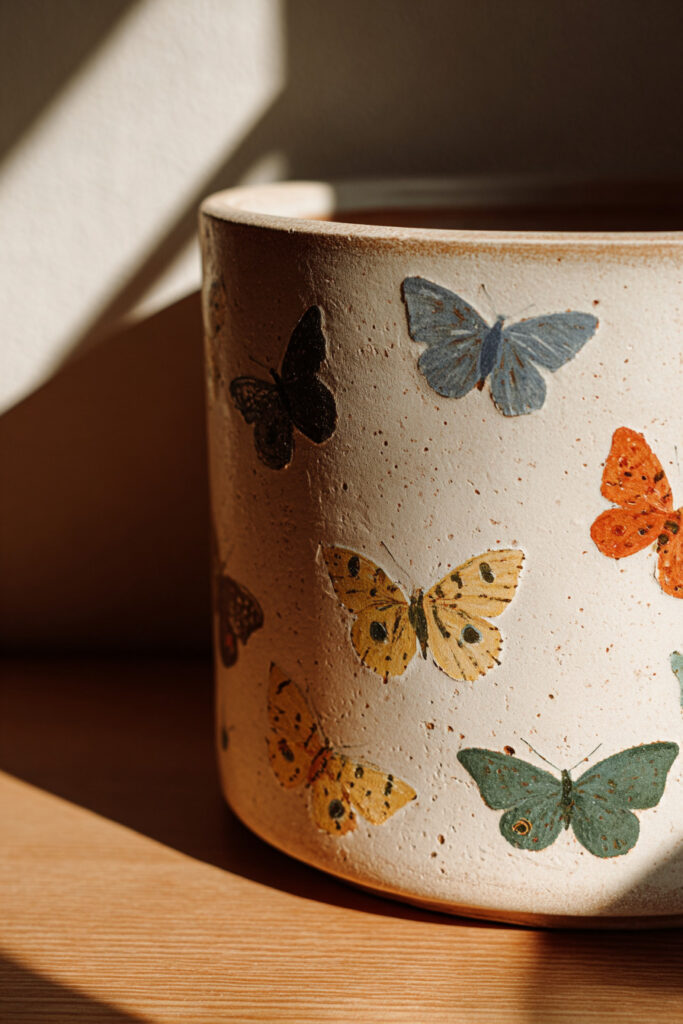
You can carry the same playful style into your garden or windowsill with these DIY painted pot ideas, including colorful designs for clay pots and planters.
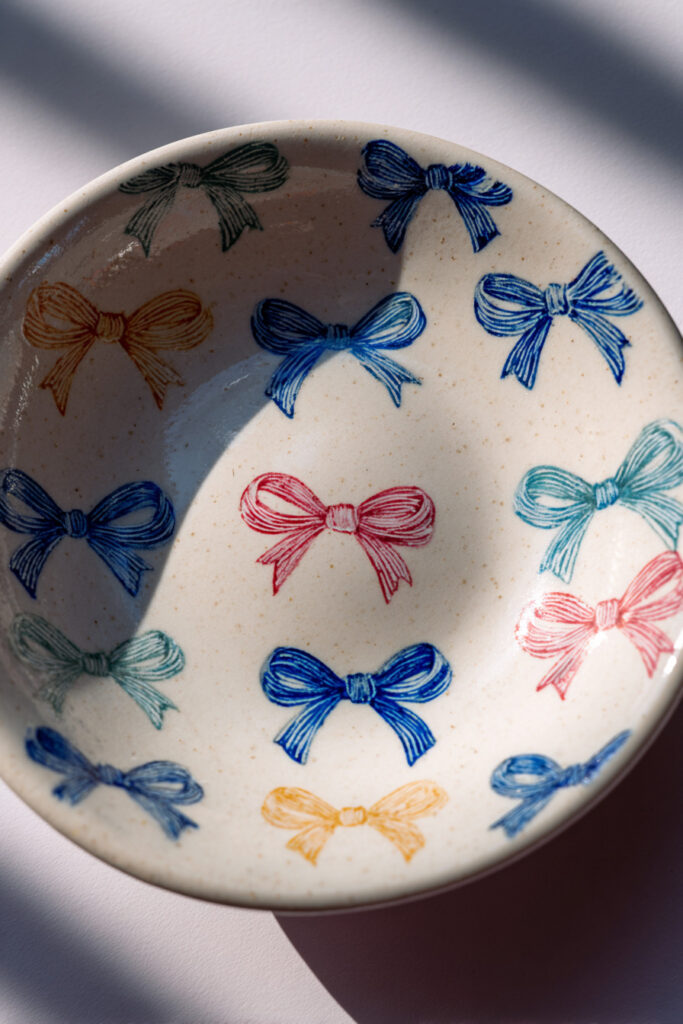
Bow Pattern Trinket Dish
Botanical Line Art Vase
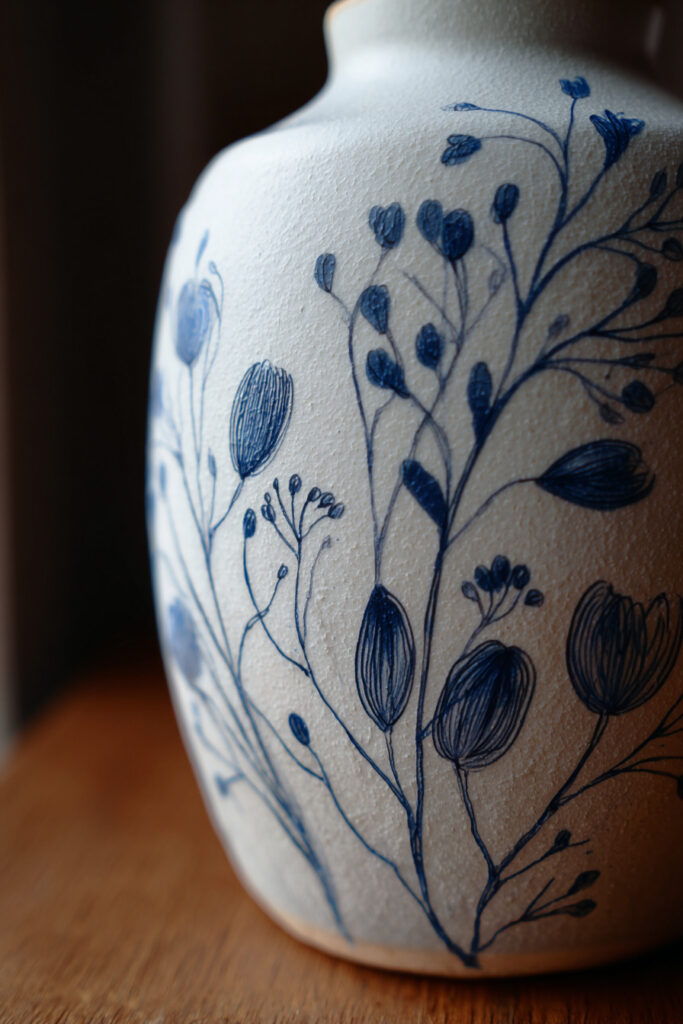
Difficulty: Easy
1. Sketch a few long stems that follow the height and curve of the vase.
2. Add simple leaves with one confident stroke on each side of the stems.
3. Repeat the motif around the vase and leave generous blank space for a clean minimalist finish.
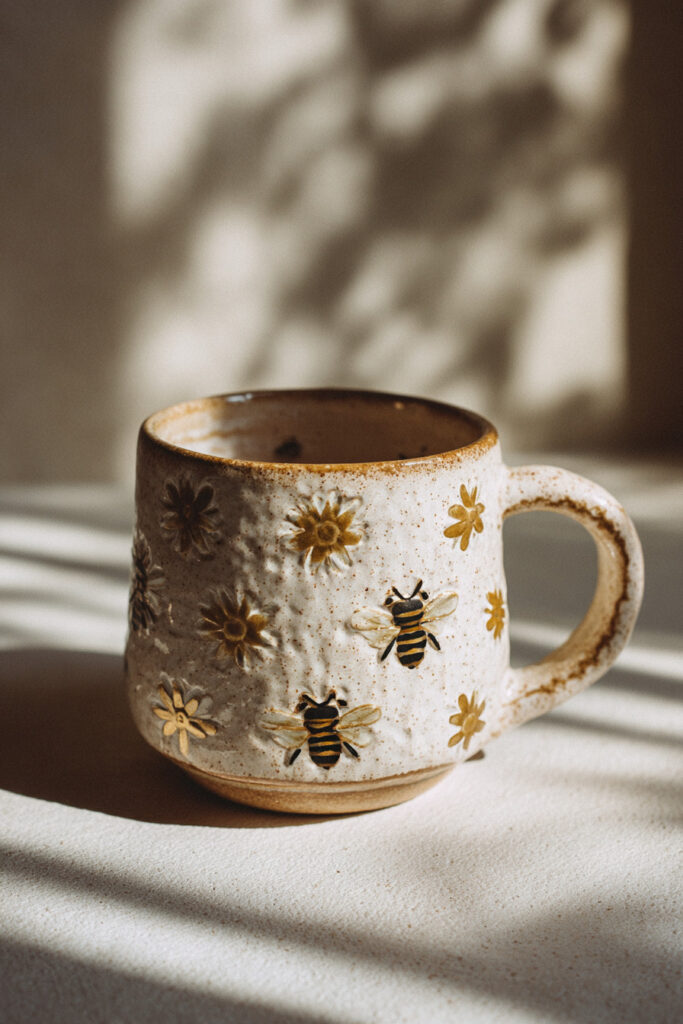
Bee & Daisy Mug
Pottery Painting Tips for Beginners
- Choose a design you can finish. Studio sessions can pass quickly. A central motif or repeating pattern is safer than a detailed full-surface illustration when time is limited.
- Check the fired color samples. Underglaze can look pale or different before firing. Use the studio’s test tiles or the manufacturer’s color chart rather than judging only by the wet color.
- Keep track of your coats. Write down the coat count or complete one section at a time so the coverage stays consistent.
- Load the brush instead of scrubbing the surface. Bisque absorbs moisture quickly, so repeated dry brushing can create streaky or patchy coverage.
- Avoid overmixing colors. Use a limited palette and clean the brush between colors to reduce muddy areas.
- Adapt the design to the shape. Flat plates suit detailed illustrations. Curved mugs and bowls are easier with repeating patterns, wraparound vines or small separate icons.
- Prepare the surface as directed. Do not soak bisque. When the product or studio recommends it, wipe dust away with a clean, lightly damp sponge and let the surface settle before painting.
- Follow the exact finishing instructions. Kiln-fired underglaze and decorative ceramic paint use different drying, firing or curing processes.
Common Beginner Mistakes (And How to Avoid Them)
We all make mistakes when learning something new. Here are the ones I see most often:
Loading the brush too heavily. This causes drips and uneven application. Wipe excess paint on the edge of your palette before applying to pottery.
Not waiting for layers to dry. I know it’s tempting to keep going, but patience pays off. Wet paint smears easily.
Choosing overly complex designs first. Start simple! Build confidence with basic patterns before attempting detailed illustrations.
Painting too close to the bottom. If your piece is getting glazed and fired, the glaze at the bottom can stick to the kiln shelf. Leave the bottom quarter inch unpainted unless instructed otherwise.
Forgetting to stir underglaze. Pigments settle. Give your paint a good stir before use to ensure consistent color.
What Happens After Painting
If you’re painting at a studio, they’ll typically apply a clear glaze over your design and fire it in their kiln. This process can take one to two weeks, so plan accordingly if you’re making gifts. The firing transforms your painted pottery into permanent, durable, often food-safe art.
The colors often look different after firing—they usually brighten and intensify. Don’t panic if your design looks pale or chalky before firing. The kiln works its magic.
If you’re working with acrylic paints at home, you’ll seal your design with a clear acrylic sealer spray. These pieces won’t be dishwasher-safe and should be hand-washed gently.
Building Your Pottery Painting Practice
Once you’ve completed a few pieces, you’ll likely catch the pottery painting bug. Here’s how to keep the momentum going:
Consider starting a collection—match mugs for your morning coffee, a full dinner set with coordinating patterns, or seasonal pieces you rotate throughout the year. Having a theme or collection goal makes each painting session more purposeful.
Join pottery painting communities online or in person. Instagram and TikTok are full of pottery painters sharing their work, techniques, and inspiration. Following other creators keeps your ideas fresh and your motivation high.
Challenge yourself to try one new technique each session. Mastered polka dots? Try stripes next time. Comfortable with stripes? Move on to simple florals. Gradual progression builds skills without overwhelming you.
Take photos of your work. Not only does this let you share your creations, but looking back at earlier pieces shows how much you’ve improved. Trust me, that progress is incredibly motivating.
Gift-Giving with Hand-Painted Pottery
Hand-painted pottery makes incredibly meaningful gifts because of the time and thought involved. A mug you painted specifically for someone, choosing colors and designs you know they’ll love, carries more emotional weight than anything you could buy.
For birthdays, paint pieces incorporating the recipient’s interests—flowers for gardeners, books for readers, coffee themes for caffeine enthusiasts. Personalization shows you really know them.
Wedding gifts can include matching “Mr.” and “Mrs.” mugs, personalized plates with the couple’s initials, or a serving bowl with their wedding date. These become cherished keepsakes.
Holiday pottery makes great gifts too. Paint pumpkin bowls for Thanksgiving, snowflake mugs for winter, or heart plates for Valentine’s Day.
Don’t forget practical occasions—paint welcome home mugs for college students, new apartment housewarming plates, or “You’ve got this” mugs for friends going through tough times.
Finding Your Pottery Painting Style
As you work through these ideas, you’ll naturally gravitate toward certain styles. Maybe geometric patterns speak to you, or perhaps whimsical characters make you happiest. That’s your style emerging.
Don’t force yourself to paint designs you don’t enjoy just because they’re trendy. The best pottery painting happens when you’re genuinely excited about what you’re creating. If rainbow unicorns make you happy, paint rainbow unicorns. If minimalist lines feel right, lean into that aesthetic.
Your style might also be influenced by how you plan to use the pieces. Pottery for your own kitchen might skew more playful, while pieces you’re giving as gifts might be more refined. Both approaches are valid.
Over time, you’ll develop signature techniques—maybe you’re known for perfect polka dots, or your friends request your lavender mugs specifically. These signatures make your work recognizably yours.
Made with: Pebeo Porcelaine 150 paint markers → check price
When Things Go Wrong
Let’s be real—not every pottery painting session goes perfectly. You’ll accidentally smudge wet paint, choose colors that clash, or realize halfway through that your design isn’t working.
Here’s the secret: most “mistakes” can be fixed, especially before firing. Wet underglaze can be wiped away with a damp sponge. Dry underglaze can sometimes be scraped off carefully. And in worst-case scenarios, you can paint over mistakes with new designs.
I once painted what I thought were cute strawberries on a mug. They looked like red blobs. Instead of scrapping the piece, I turned them into abstract roses by adding a few strategic lines. Problem solved, and I actually liked the result better.
Sometimes a piece genuinely doesn’t turn out well, and that’s okay too. Not every creation will be a masterpiece. The important thing is that you learned something—what colors work together, which brush size works best, how much paint to load.
Keep those “failed” pieces for practice. Use them to test new colors or techniques. Or embrace the imperfection and use them anyway. Some of my favorite mugs are the wonky ones from my early painting days.
The Joy of Using What You’ve Made
There’s something magical about using pottery you’ve painted yourself. That morning coffee tastes a little better from a mug you decorated. Dinner feels more special on plates you designed. Those pieces carry your creative energy.
I paint pottery during particularly memorable times—trips with friends, quiet winter evenings, celebration weekends. Now when I use those pieces, they trigger specific happy memories. My lavender mug reminds me of the rainy afternoon I painted it while listening to my favorite podcast. My polka dot bowl brings back the laughter from the pottery painting date with my best friend.
Your hand-painted pottery becomes part of your daily life story. These aren’t just functional objects—they’re creative artifacts documenting your journey as an artist, even a beginner artist learning as you go.
Your First Pottery Painting Session
Ready to try pottery painting? Here’s how to set yourself up for success:
Visit a local pottery painting studio for your first experience. The staff provide guidance, quality supplies, and handle the firing process. It removes all the technical barriers so you can focus purely on creating.
Go with friends or family for your first session. Pottery painting is wonderfully social. You can chat while painting, share supplies, and inspire each other’s designs.
Choose a simple piece for your debut project—a mug, small plate, or bowl. Larger or more complex shapes can wait until you’re comfortable with the basics.
Pick one design from this list that genuinely excites you. Your enthusiasm will carry you through any nervous moments.
Give yourself time. Don’t rush. Most beginner projects take one to two hours. Enjoy the process rather than racing to finish.
Take a photo when you’re done. You’ll want to remember your first piece, and it’ll be fun to compare it to your tenth, twentieth, fiftieth creation down the road.
The Bigger Picture
Pottery painting sits at this beautiful intersection of art, craft, and mindfulness. It’s creative expression that produces something useful. It’s meditative focus that yields tangible results. It’s artistic skill-building disguised as fun.
Whether you paint pottery once a year for special gifts or make it a regular creative practice, these 30 ideas give you a solid foundation. They’re starting points, not rigid rules. Feel free to mix, modify, and make them your own.
The pottery painting community welcomes everyone—from people who swear they can’t draw a straight line to experienced artists trying a new medium. Your beginner status doesn’t matter. Your willingness to try does.
So grab a brush, pick a design that makes you smile, and transform a blank piece of pottery into something uniquely yours. The best part about pottery painting? Every single piece is an original. Even if a thousand people paint polka dots, yours will be different from everyone else’s.
That’s the beauty of handmade.
Once you have finished your pottery project, browse more beginner painting ideas to find approachable watercolor, acrylic, floral, landscape, and seasonal projects.
Frequently Asked Questions
What should a beginner paint on pottery?
Beginners should start with dots, stripes, small flowers, fruit, hearts, leaves or a simple animal face. These designs use recognizable shapes and are easier to adjust if a line or brushstroke is imperfect.
Is pottery painting difficult?
Pottery painting is beginner-friendly, but curved surfaces and absorbent bisque can feel different from paper or canvas. A simple design, limited palette and enough time between sections make the process much easier.
What type of paint is best for pottery?
At a pottery studio, use the underglaze or glaze supplied for kiln firing. For an already fired decorative ceramic piece, use paint formulated for ceramic or glass and follow its curing instructions. Food-contact pieces require a tested food-safe ceramic system.
Should you wet pottery before painting?
Do not soak the pottery. If the studio or product instructions recommend surface preparation, use a clean, lightly damp sponge to remove dust from bisque and allow the surface to settle before applying color.
Can you paint pottery with acrylic paint?
Acrylic paint can be used on some decorative ceramic projects, such as planters or display pieces, when the product is suitable for the surface. Do not assume ordinary acrylic paint is safe for areas that touch food or the mouth. When painting a decorative piece at home, these acrylic painting tips for beginners can help you practice color mixing, layering, and brush control.
How do you make pottery painting look neat?
Choose a manageable design, use the right brush size, work in thin controlled sections and keep the coat count consistent. On curved pieces, rotate the pottery instead of twisting your wrist, and leave a little blank space so the design does not feel crowded.