

Drawing portraits can seem like a daunting task, but with the right techniques and a little practice, anyone can master the art of capturing a person’s likeness on paper. In this guide, we will walk you through the process of drawing portraits from start to finish, covering everything from proportions and shading to facial features and hair. So, whether you’re an experienced artist looking to improve your skills, or a complete beginner just starting out, this guide is for you.
Table of Contents
Understanding the basics of portrait drawing
Portrait drawing is all about capturing the likeness of a person. To do this, you’ll need to use your observational skills and pay special attention to some key elements, including:
- Proportions: The proportions of the face are critical in portrait drawing. It’s important to understand how the different parts of the face relate to each other in size and placement.
- Features: The eyes, nose, mouth, and other facial features all play a role in creating a recognizable portrait. You’ll need to learn how to draw each of these features accurately.
- Expressions: A person’s expression can reveal a lot about their personality, and capturing it in a portrait is key to creating a successful piece.
- Shadows and highlights: The way light falls on a person’s face can have a big impact on the overall look of a portrait. You’ll need to learn how to use shadows and highlights to create depth and dimension.
Choosing your materials
Before you start drawing portraits, you’ll need to gather the right materials. Here are the essentials:
- Sketchbook: A sketchbook is an essential tool for any portrait artist. Look for one that has a heavy, high-quality paper that can handle the weight of graphite or charcoal.
- Pencils: Graphite pencils are a great choice for beginners, as they are easy to control and allow you to make light and dark marks. Charcoal pencils are also popular, but they can be messier to work with.
- Eraser: An eraser is a must-have tool for making corrections and removing smudging.
- Blending tool: A blending tool, such as a blending stick or a paper stump, can help you create smooth, even tones in your portrait.
Learning the proportions of the face
One of the most important aspects of portrait drawing is understanding the proportions of the face. Here are a few tips to help you get started:
- Use a grid: A grid can be a helpful tool for breaking down the face into smaller, more manageable sections. You can either draw your own grid or use a pre-made one.
- Measure the proportions: Use a ruler or your pencil to measure the different parts of the face and make sure they are proportional.
- Study reference images: Look at photographs or drawings of faces to get a better understanding of how the different parts of the face relate to each other in terms of size and placement.
Each section of the face has specific proportions that relate to each other and you will need to stick to these proportions in order to create a realistic portrait.
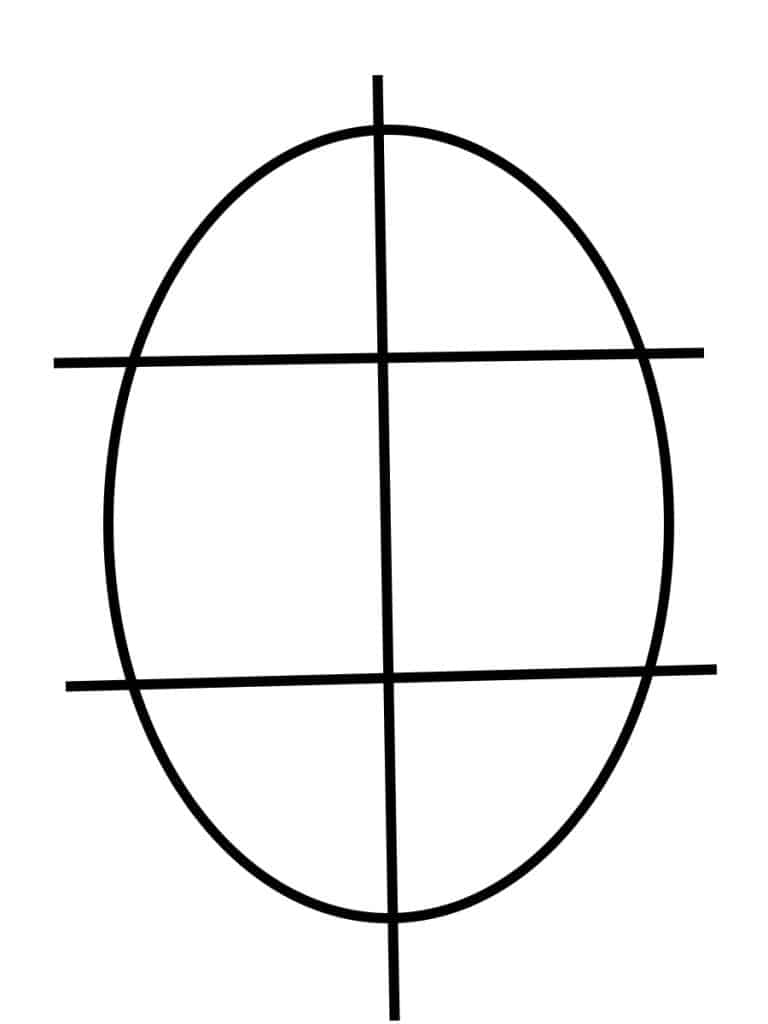
Proportions of the Forehead
The forehead is the largest section of the face and makes up about one-third of the total length of the face. Draw a straight line horizontally across the face a third of the way down. This will give you the point where the ears actually join the face. This line will guide the lower edges of the eyebrows and upper limits of the eyelids. The highest point of the forehead should line up vertically with the centre of the eyebrows and the nose.
Position and Proportions of the Eyes
The eyes are typically placed just below the horizontal line you drew from where the ears meet. The top of the eye should just touch the line. Roughly measure the length of this line and divide it by 5 and mark the line at each of the 4 points. This will give you the position of the end of each eye which should be approximately one eye-width apart. The bottom outer edge of the eyebrows should be level with the top of the eyes and the inner edge of the eyebrows should be slightly higher. The bottom edge of the eye should roughly be level with the center of the ear.
Position and Proportions of the Mouth
Draw a straight line horizontally across the face a third of the way up. That should be halfway between the horizontal line you drew earlier for the eyes. This will give you the line of the very top of the upper lip and the lowest point of the nose. It is roughly where the lowest point of the ear sits. The centre line of the mouth should sit slightly below this line, only just touching where the lips rise towards the centre.
If you lightly sketch 2 lines running vertically downwards from the centre of each eye, this will give you the position of the outer edge of the mouth.
Position and Proportions of the Nose
The nose forms the center of the face and takes up about one-third of the face length from top to bottom. The bottom of the nose sits just above the horizontal line you drew to give you the upper lip position. Note, that the gap between nose and mouth will vary from person to person, but the nose is usually an equal distance from this line as the uppermost area of the lips is.
The width of the nose will also vary, but it will be roughly lined up with the inner edge of the eyes. Draw a line vertically down from the inner edge of each eye and this will give you an indication of the outer edges of the nose.
Position and Proportions of the Chin
The shape of everyone’s chin is different but it will form the bottom-most part of the face. The width of the base of the chin will be somewhere between the centre and outer edges of each eye. With someone who has a wide jaw and a square chin, the chin will line up with the outer edges of the eyes, then rise sharply towards the ears. However, if someone has a narrower chin, it will line up more with the centre of the eyes and then rise towards the ears.
Capturing facial features
Once you’ve got a good grasp of the proportions of the face, it’s time to start focusing on details and shape of the individual facial features.
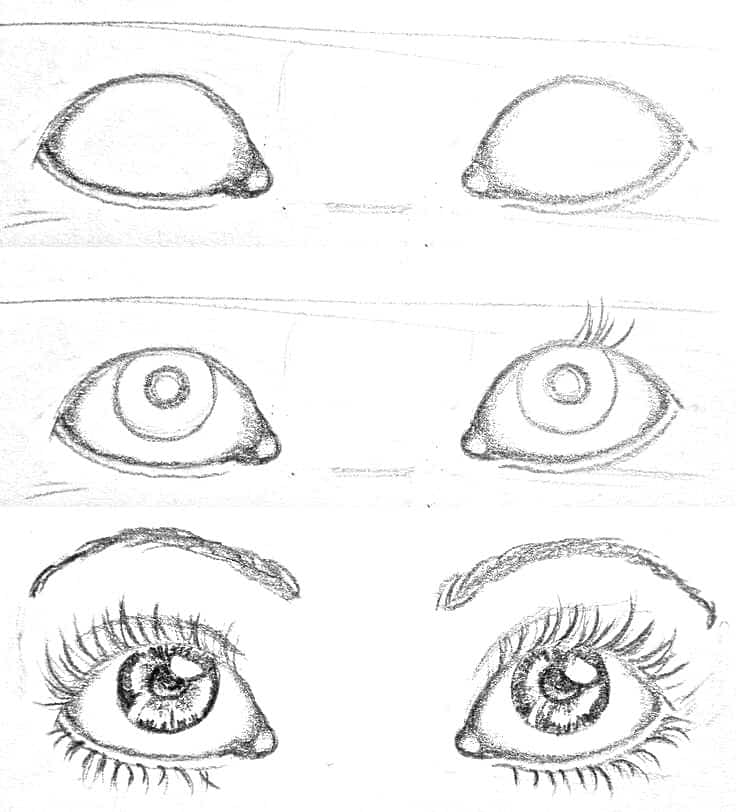
- Start with the eyes: The eyes are often considered the most important part of a portrait, as they are the first thing people notice. Draw in the curves of both the upper and lower eyelids and the shape and position of the Iris and pupil too. Once you have done that to get the basic shape move on to the nose
- Pay special attention to the nose as it is another dominant feature. Draw in the nostrils and the vague shape very lightly, as you will use shading a lot here to reveal the actual shape of the nose.
- The mouth in intricately linked to the expression of the subject so take your time here too. The size of the lips should be sketched in very lightly and you can use various shading techniques to give them life as you add more detail.
- The ears may be partially hidden by hair but they are still important. Take some time to really study the unbelievable differences in the shapes of ears in your reference material and use your observational skills to really see the sometime intricate shape they add to the outer edges of the face.
- When drawing the hair, pay attention to the texture, volume, and direction it flows in. You can use various shading techniques to create the volume and texture of hair and they will allow you to add depth to your drawing while retaining the flowing nature of the hair.
Shading Techniques
Shading is an essential technique in portrait drawing that brings depth and dimension to your drawing. There are several different shading techniques that you can use.
Directional Shading
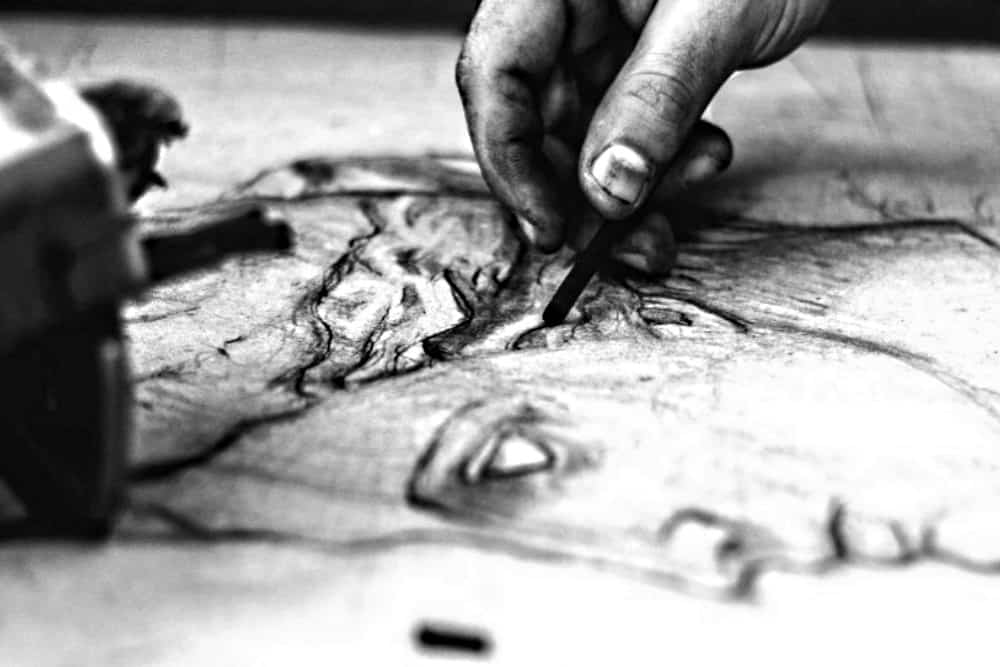
This is usually the first stage of your shading and may well sometimes be the only technique you use. You can get very different effects. Using a sharp, hard pencil and drawing very lightly will give you precise lines which you can gradually build up. However, using a wide, chisel shaped softer pencil will give you blend-able dark areas to enhance shadows very easily.
Keeping the direction of lines similar is particularly important when it comes to the hair. Try to follow the lines of the strands as you draw the hair and try to understand the effect the light has on what you actually see.
Cross-Hatching
Cross-hatching is a shading technique that involves drawing lines in the opposite directions to your initial lines of directional shading to create darker shadows and the illusion of depth. This can be accentuated by using dark soft pencils or even charcoal.
Stippling
Stippling is a shading technique that involves dots to create the illusion of depth. It is not a technique I use a lot personally but it can be useful. Building up layers of dots is a very controlled way to achieve even graduation of light to shadow.
Blending
Blending is a shading technique used with soft pencils and charcoal. First you need to lay down dark lines in the areas of shadow and then you can use your fingers or thumbs or if needed a smudge stick to gradually spread the lines to create smooth gradients of tones. It is the best way to create smooth transitions between light and dark areas.
Detailing
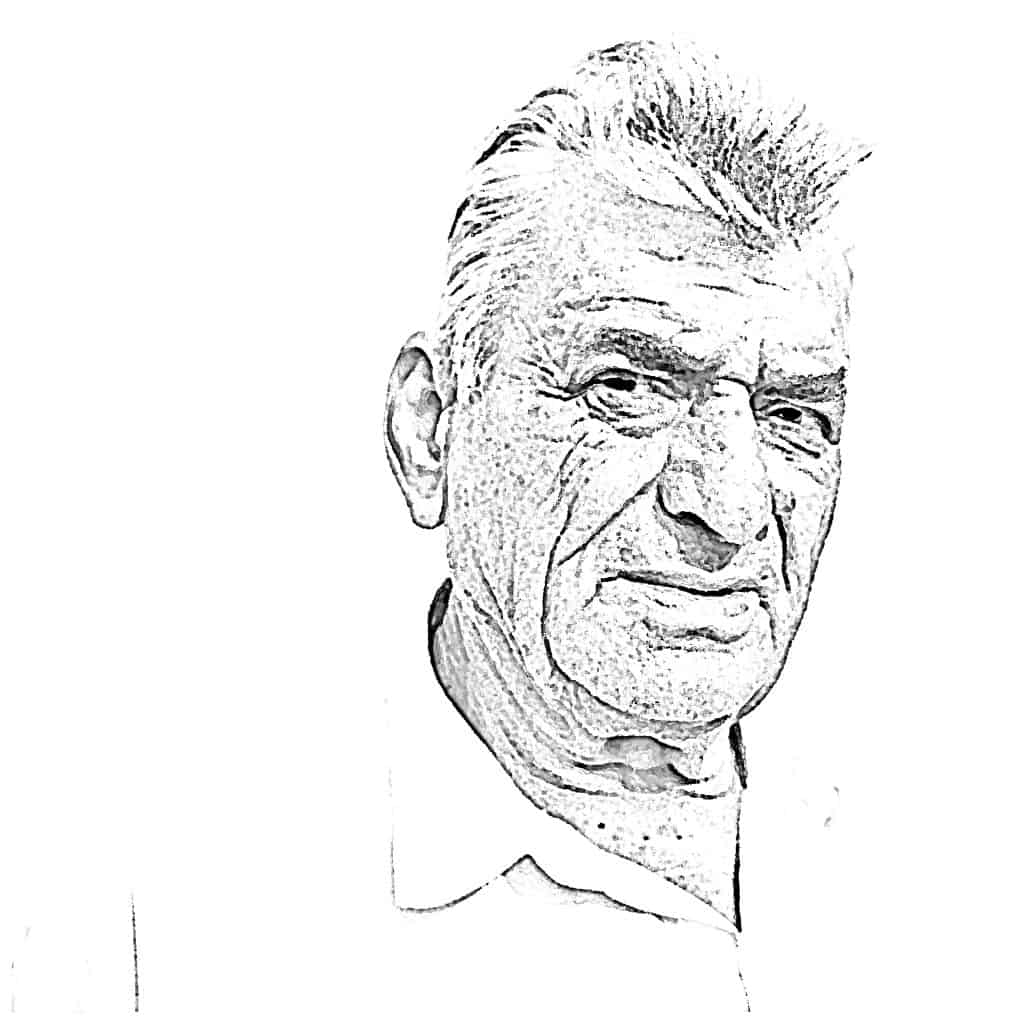
Once you have the proportions and shading down, the final step is to add the fine details to your portrait. This will include adding finishing touches to all the areas we have already sketched in. It will also mean adding final touches like the eyelashes, wrinkles, skin blemishes and any final touches to the hair.
Conclusion
Drawing portraits is a fun and challenging way to showcase your creativity and improve your drawing skills. By following the essential techniques of proportion, shading, and detailing, you can create stunning and realistic portraits that capture the essence of your subject. Remember that the key to success in portrait drawing is patience, practice, and persistence. Keep practicing and experimenting with new techniques, and you will surely become an expert portrait artist.

")
