

Hair is a living, breathing entity. It has volume and shape that can be difficult to capture in pencil or ink drawings but with practice you’ll find your skills improving quickly!
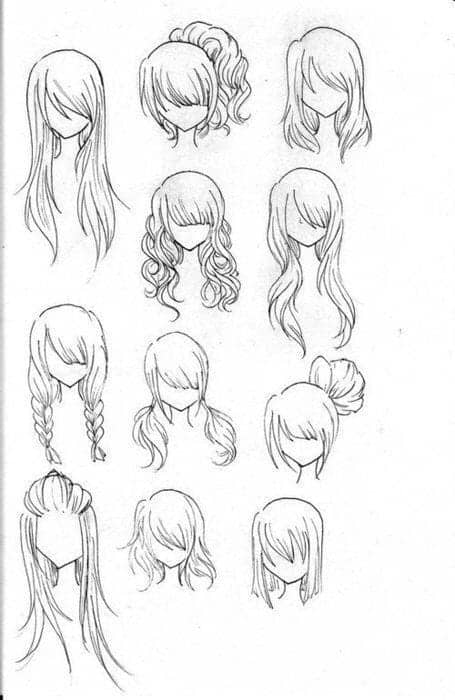
Hair doesn’t lie flat on the scalp so even the shortest hairdo will be bigger than your head. First lightly sketch in any parting line, then draw the outline of their hair around the subjects face
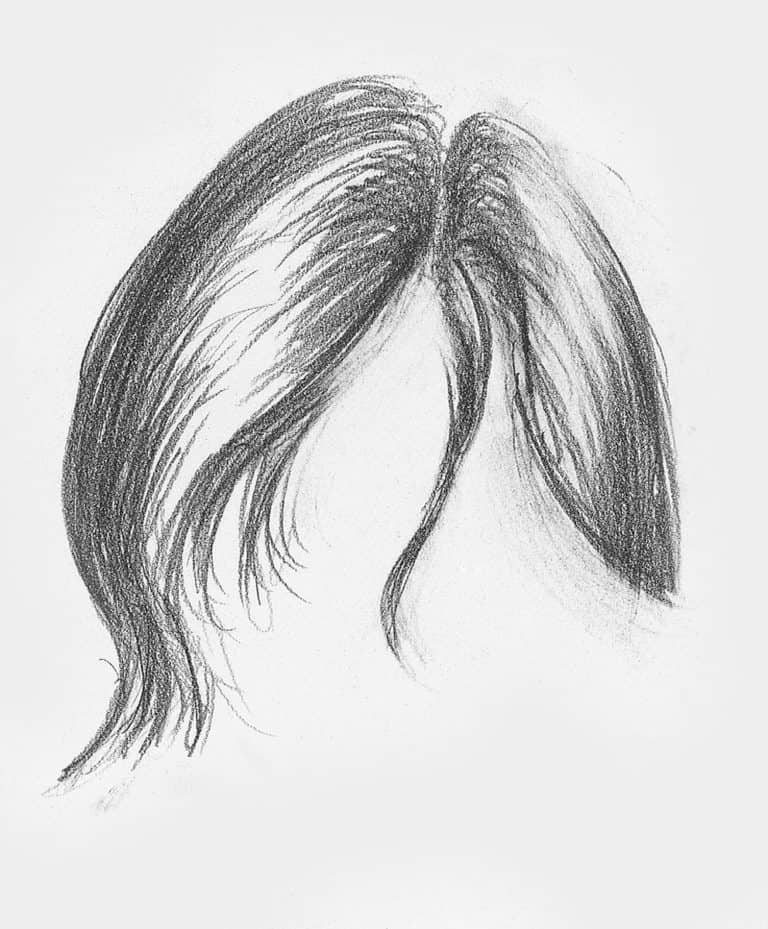
You should begin to develop the flow of the hair with longer lines. Draw them gently flowing down. Keep in mind that you’re not drawing single hairs here. Hairs group together as strands and it is the way these strands rise from the scalp and then descend that you are trying to capture.
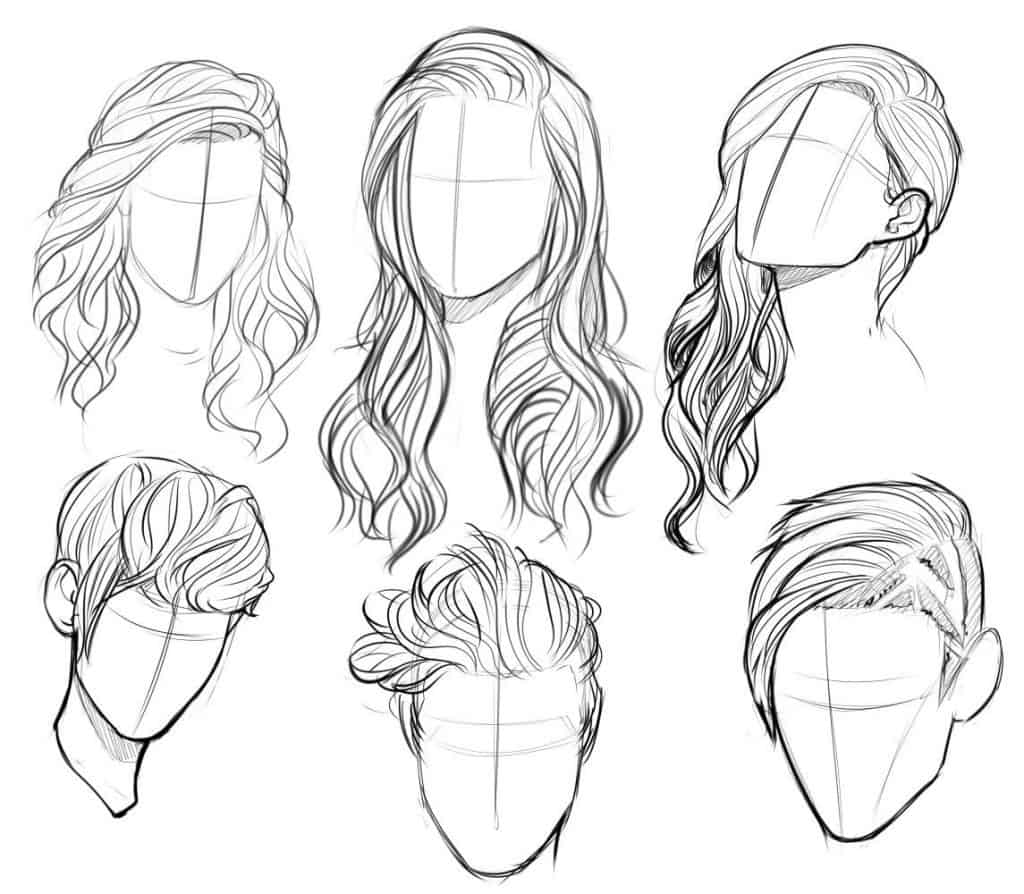
Table of Contents
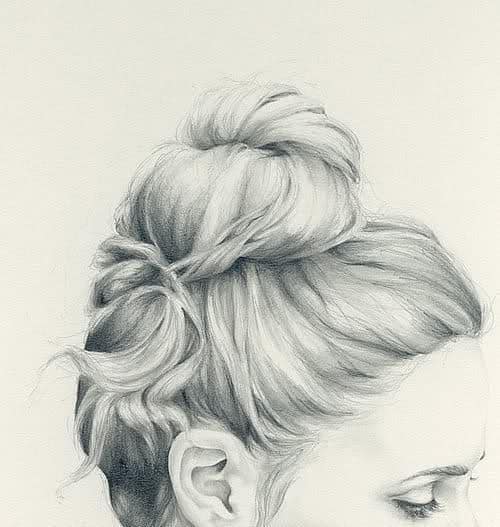
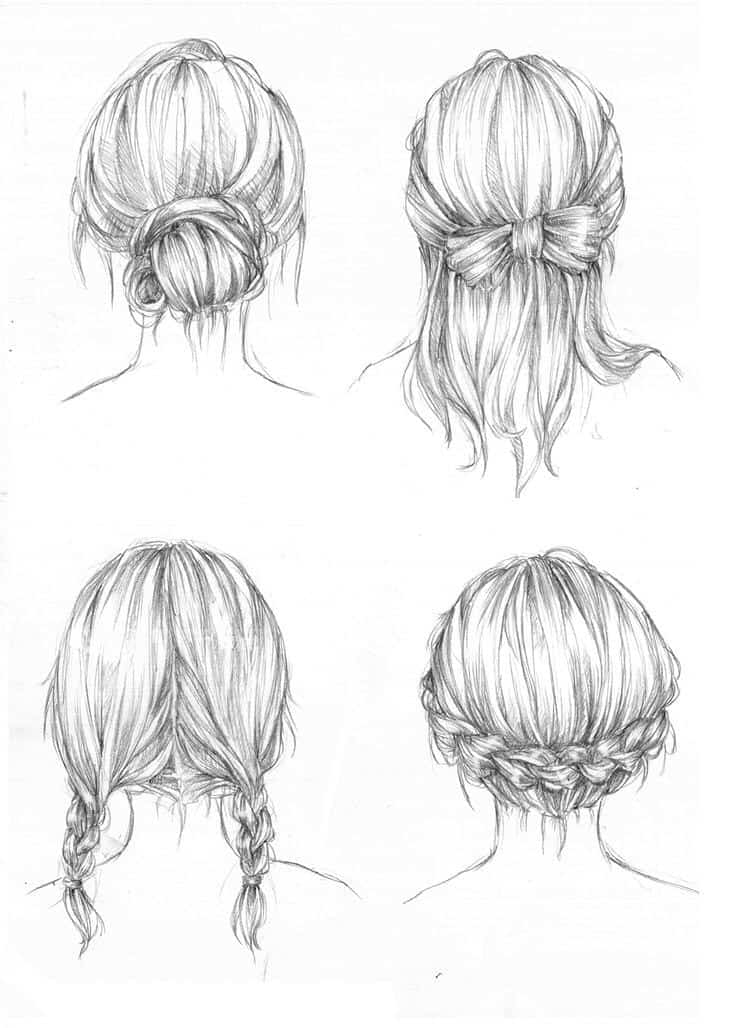
Creating volume
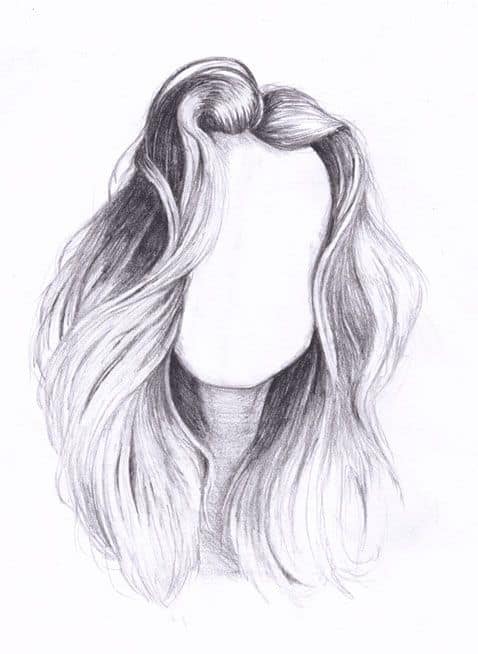
Remember, each hair is grouped into a bunch of strands and this is what you draw. Stray hairs will break up the edges of each strand so they arent just smooth as a hair would be. As the strands get longer they divide up into smaller sections. These are visible all around the head and fall down with subjects that have longer hair.
Adding Texture And Flow
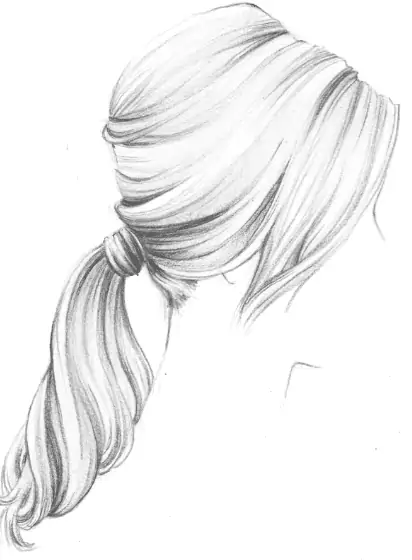
Emphasise the way the hair rises along the parting. Work on defining the outline of the whole hair. Draw smooth lines that emphasise the flow of the hair. Work lightly and don’t press too hard, hair is soft and you don’t want a hard outline.
You can add some texture too. The pencil lines create the waves in the hair’s, following its natural direction of growth as it gets longer.
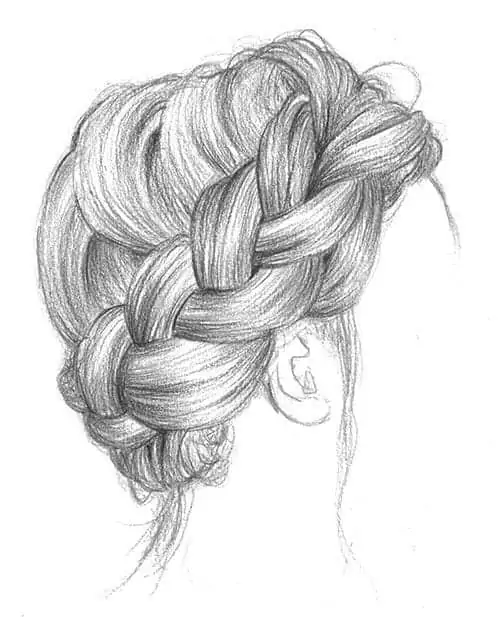
The highlights can be lifted out with a putty rubber. Don’t draw straight lines, hair just doesnt grow like that. The strands run into and away from each other to form narrow “Y” shapes. Allow the tails to separate too so you end up with “Y” shapes that are upside down as well as the right way up.
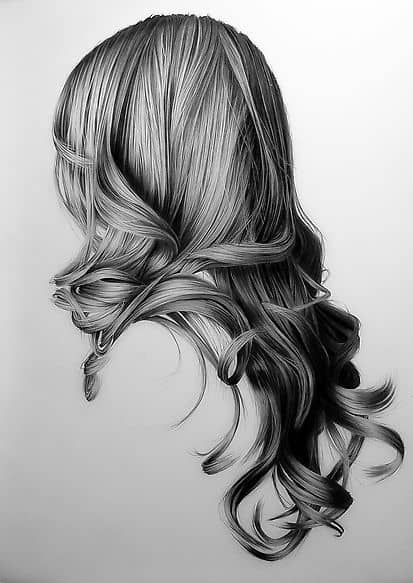
Shading Hair
Draw darker lines along the strands to give the hair more contrast. This will add depth to the haircut. You should still work lightly, but with a B or 2B pencil.
Remember the light areas are just as important as the darker areas of hair. Don’t make the lines too close together. When you are shading, think in terms of the strands and not single hairs. Adding stray hairs here and there will also make it look more realistic.
Build up the thickness of the hair using long pencil strokes adding shading to introduce the illusion of both depth and form. Blend everything out smoothly and then lift areas of light out of the hair with a putty eraser.
Some Things To Remember
Your pencil lines should always follow the direction of the hair.
The dark and lighter areas of your pencil lines are what will give depth to the subjects hair.
Everywhere there is a curled area of hair there will be bands of light and dark created by any light source. You can see it really easily in curls and around the sides of the head.
Blend the pencil lines into the paper to achieve a smooth, gray tone before you lift off any highlights. This will makes them look like they are part of the hair rather than an area of ‘no hair’.
With frizzy and permed hair, the curls are less distinct. Because of the random way the hair changes direction and overlaps with adjacent strands. There will be very few parrallel lines.
Check out our fantastic face drawing tutorial too.


")
