This easy Lion drawing tutorial will help you to express your artistic side. I have collected together some ideas to help and inspire you, and I hope these hints and tips help.
I love Lions; they are so majestic and expressive. Drawing is a passion, too, so the two things were always going to come together at some point. Trying to capture the expression and power of such a fantastic animal can make you smile long before any sketches are finished.
Table of Contents
Lion Drawing Tutorial:
Don’t Be Daunted
From rough single-line sketches to photo-realistic portrayals, you will never have a shortage of people who appreciate Lion drawings. It can seem daunting, but don’t be intimidated, as I have said about other things; break everything down into simple components. Look how those simple shapes fit together, and dont be upset by mistakes. You can then put each of the components together to create any animal in any pose you want.
Make A Lion Drawing Scrap Book
As always, I recommend collecting as much reference material as possible. Find as many pictures as you can of Lions in their natural habitat. Look for different poses and profiles, so you have a comprehensive library to look at. You can catalog them in different ways and then put them in a scrapbook, so the reference is easy.
Start Small
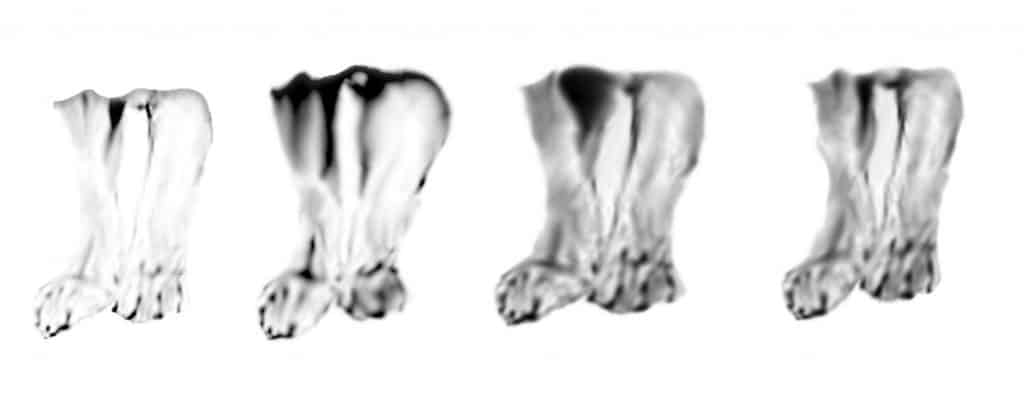
You don’t have to do the complete drawing all at once. Start with a leg or even just a paw. Draw it as you see it, not as you think it should look. You can gradually arrange the shapes of the rest of the limb and body over time. Do several sketches with the joints moved slightly further each way. Imagine the effect the movement of one section has on the next to capture that dynamic movement so often missing in some drawings.

Look Beyond The Fur
Break the image down into small, simple, manageable sections. The drawing will start to come to life quickly. Remember, as with many animals, many initial lines will be lost behind the fur. You will add that later, so don’t worry too much about adjusting lines. When you are happy with the basic shapes, you can begin to add more subtle shapes.
Look at how the shadows create the shape of the Lion’s muscles and tendons. Decide how you will try and capture that. Study how the tail falls and where it is attached. Try to look beyond the fur until you see how the skin folds and stretches.

Creating Depth In Your Lion Drawing
As you begin to add the fur, it will allow you to start creating more depth. It will make creating 3-dimensions in your drawings much easier. Start with the shorter fur on the body. You can begin to create the shape of the mane if it is a male, but leave most of that until later. Concentrate on creating the shapes of the body and legs. The stance of the animal will help you capture the emotion of the situation.

Capturing That Expression
You can start on the facial features next. The eyes give you the chance to build on the emotion created by the stance of the lion. A small change in the inclination of an eye can change the expression entirely, so take your time. Look at how the shape of the mouth and snout run forward from the eyes and throat.
Keep the emotions of stance and face in unison. Tired eyes on the face of a hunting lion will never look quite right. Match the emotion to the drawing.
Add Any Final Details Now
When you are happy with the facial expression, you can finish the face with shading and add any details of fur if needed. As you draw the mane, it will flow over parts of the face, so it is important to finish the facial details at this point.
The Mane
The longer hair of the male’s mane can help you frame the face. It will draw the viewer’s eyes into the picture, so use it to your advantage. Emphasize the swirls and waves if needed to create a more dynamic feel or smudge some of them to create that feeling of movement.

Final Shading
You can do the final shading in many ways. Cross-hatching in the darker areas helps to push them back in the image. Shading in a single direction can help you graduate the darkened areas more easily. You can also use it to emphasize the direction of the hair flow.
Add any other details with a sharp pencil if you need to, but try to finish any sections that will be affected by overlaying hair before you start the longer hair. Using Single direction shading can help draw attention to particular areas, emphasizing what may be very physically small but important parts of the drawing.

Creating The Texture In Your Lion Drawing
Using different sizes of pencil tips can also help create the textures you will need. Using a rounded worn-down pencil tip and then adding small, very fine lines on top of it can create interesting textures. Chisel-tipped pencils give you a lot of flexibility too. Both are effective for fur. Different grades of pencil and line size makes creating shape and depth in fur much easier.

Enjoy The Process Not Just The Results
Above all, always remember to enjoy your drawing if you have trouble, stop. Take a break and switch off for a while. When you return, you will often find it easier. Sometimes the fastest way to finish a drawing can be to stop and walk away. You may have that idea you needed to complete the drawing. Or maybe you approach it with a fresh set of eyes. Whatever the reason, it is often better than struggling when you are finding something difficult.
Nothing shows up better in a drawing than the frustration of the artist.
Why not try this Tiger Drawing Tutorial too for some more fantastic ideas. Perfection is rare but practice will definitely improve your results.


