

Acrylic paint is a versatile medium that is perfect for achieving a wide range of effects. You can use bold brushstrokes or create smooth finishes, whatever is needed for the painting you are doing. In this guide, we’ll show you how to use acrylic paint to create a smooth, brushstroke-free finish on your paintings.
You may want a flat primer or background color and Acrylic paint has a property which makes it ideal for this. The paint will try to flatten itself as it dries. It is actually harder to create bold defined brush-strokes with Acrylic paint.
Some people will tell you that you MUST use a Gesso primer for your base layer. Personally, I never have. I think it is a marketing ploy to get you to buy a product you don’t really need.
Table of Contents
Materials You’ll Need
- Acrylic paint
- Clean water and dry rags, with a second pot of water for washing your brushes
- Something to be painted
- A selection of paintbrushes or other applicator

Step 1: Prep Your Surface
Before you start painting, make sure that your surface is properly prepared. This may involve sanding, priming, or cleaning the surface, depending on what you are working with. Make sure there are no grease marks as they will affect the adhesive quality of the paint and may also affect the color.
You don’t always need to use a primer with Acrylic paints as they stick so well to most surfaces, but you can use a base coat as described below rather than trying to sand a rough surface flat.
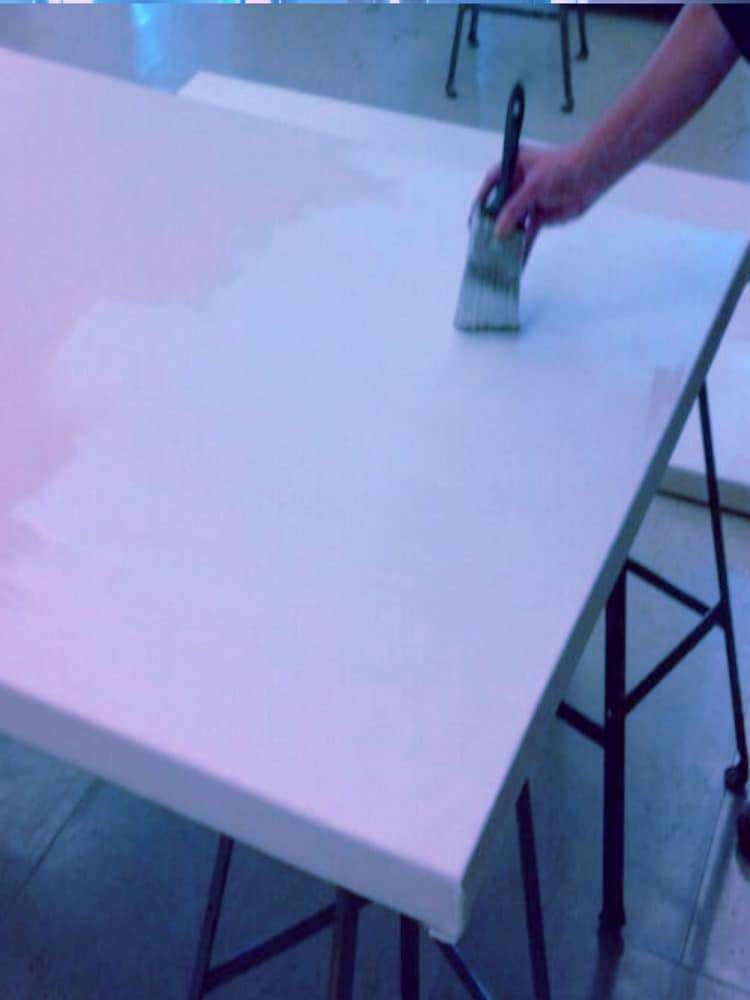
Step 2: Apply a Base Coat
Start by applying a base coat of paint to your surface. It’s a good idea to use a light color for this, as it will make it easier to achieve even coverage and avoid muddying the final color. Having said that, I often do not use white. I find using a slight almost pastel shade makes it easier if there is white in the painting.
Mix the Acrylic paint you have chosen with water. 1 part paint to 1 part water is usually about right. This will increase the drying time of the paint, giving it longer to dry into the flat surface you want. If you need to you can add more water in hot dry conditions to extend the drying time. The more water you add the longer the drying time will be.
Use a soft, fine bristed brush
Use a large fine bristled flat brush to apply the paint and try to keep the brush head flat to the surface. Dont allow either edge to press more firmly as you move it. Paint an even layer across the surface and keep your brush strokes flowing in the same direction. When you are happy that you have an even coverage, wipe any excess paint from the brush.
Keep the brush damp
Wet the brush with clean water, then wipe it again, but leave it damp. Then run it gently over the whole surface of the painting, keeping the brush flat to the surface as before. Follow the lines of the brushstrokes, and you will see the ripples in the paint become visibly smaller as you brush.
You can repeat this process several times if required as long as the surface remains damp. If you use a soft brush and gentle strokes it is rarely necessary though, as the smaller ripples will dry very flat. Keep the surface damp by adding a little clean water on your brush and quickly working it over the whole area if needed.
Remember, the flatter the base coat is the easier it will be to make any subsequent layers flat. If there are pronounced ridges in a dry base coat it is almost impossile to achieve a flat final surface.
Step 3: Load Your Brush
Next, you’ll want to load your brush with paint for the actual painting. Be sure to use enough paint to get good coverage, but not so much that it drips or runs. Work the paint in evenly across the canvas paying particular notice to the edges.
Having the smooth base coat will give you a great surface to start and using soft brushes will minimise the ripples from each brush stroke. Try not to overload your brush and keep the layers of different paint an even thickness to keep your surface flat.

Step 4: Smooth Out the Surface
Using a soft damp brush you can smooth out the surface of the paint while it is wet by gently sweepeing the brush across the whole surface in continuous strokes. This will help to eliminate any final brushstrokes and create a smooth, even finish.
Step 5: Add Additional Coats (Optional)
If you want to add more depth and colors to your painting, you can apply additional washes of paint. Just be sure to allow the previous coat to dry completely before adding the next one if you don’t want them to mix.
Final Tips for Achieving a Brushstroke-Free Finish
- Use a light color base coat. It will make it easier to achieve even coverage
- Dont let the paint dry while you are brushing
- Load your brush with enough paint to get good coverage, but not so much that it drips or runs
- Use a soft damp brush to smooth out the surface of the paint to get the smooth finish you want
- Apply any further coats as needed, but allow each coat to dry completely before adding the next one
With these simple tips, you will find it much easier to create a smooth, brushstroke-free finish on any of your Acrylic painting projects.
Happy painting!


