Watercolor painting is a beautiful and expressive medium that allows you to capture the essence of your subject. Painting flowers in watercolor can be particularly enjoyable, as it enables you to explore the delicate, translucent qualities of petals and leaves. In this article, I will guide you through the process of painting flowers in watercolor, from sketch to final product.
Table of Contents
Materials
Before we begin, let’s go over the materials you will need:
- Watercolor paper (I recommend using cold-pressed paper with a weight of at least 140 lb)
- Watercolor paints (I suggest using a set of high-quality watercolor paints as the pigment is more intense)
- Brushes (you will need a range of sizes, including small detail brushes, fan brushes and larger brushes for washes)
- Clean Water containers
- Palette
- Pencil
- Eraser

Sketch
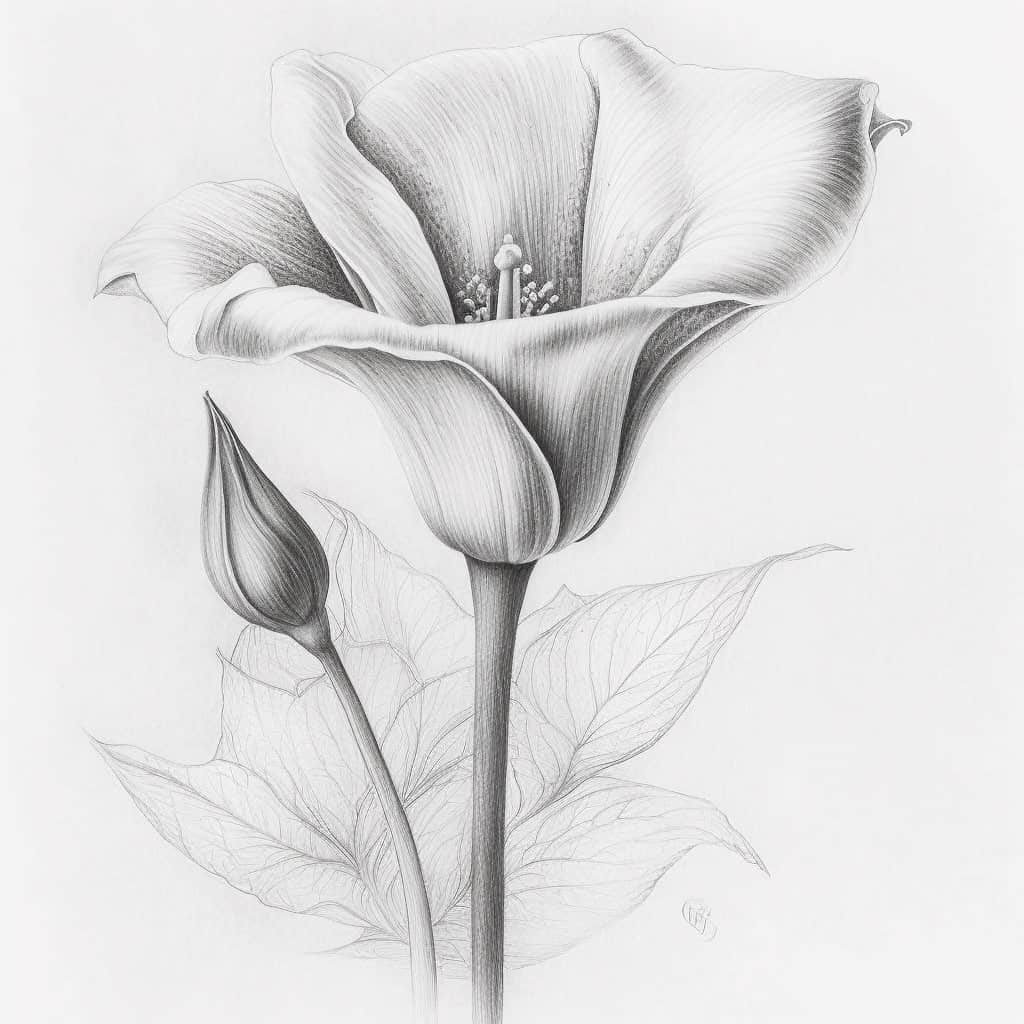
The first step when you are painting flowers in watercolor is to sketch out your basic composition. You can do this by lightly drawing the flowers and leaves onto your watercolor paper with a pencil. Take your time and make sure your sketch accurately reflects the overal shapes and sizes of the flowers, stems and leaves.
Everyones style is different, but because most flowers are quite delicate, I tend to use H grade pencils and I use them very lightly so the line is barely visible. This allows me to rely more on the shading of the colors to define the edges of the petals without making them look too solid. Having said that, especially when drawing tattoo designs, I often use a more solid line to define the edges of the different design elements. As with any design it does depend on the individual tattoo designs themselves. However I do use heavier lines more often with tattoos.
Tips for sketching:
- Start with the largest flower and work your way down to the smaller shapes within the design.
- Keep your sketch loose and fluid at this stage. This will help you capture the organic shapes of the flowers and leaves better.
- Draw lightly at first. You can add darker lines later if needed.

Painting Tips
Once your sketch is complete, it’s time to start painting! Here are some steps you can follow:
- Lightly dampen the area of paper you want to paint with a clean brush and small amount of water. This will help your paint flow smoothly. Dont get it too wet or the colors will just spread uncontrollably.
- Load your brush with paint and apply it to the dampened area. Start with the lightest colors and work your way to the darker shades gradually. Dont go too dark, the darkest areas are better added later. Don’t worry too much about details at this point, we will add those later too.
- Dont get the brush too wet. It is easy for watercolors to spread so if you need to, dry the brush on a clean cloth and begin adding paint again. Adding very wet paint to a dampened sheet of paper can cause excess bleeding which can ruin the definition of your edges.
- Allow each layer of paint to dry before adding the next layer unless you are painting tonal gradients. Allowing the paint to dry will help prevent the colors from mixing together too much.
- Where you have darker edges on the leaves you can paint right up to the edges you have sketched. However, where the edges are lighter and less defined on the petals, paint fairly close but not right up to the edges. When you add the final details you can define these edges more with slightly different tones, creating a light or darker edge as needed. If the edge is catching the light it will be lighter, if it is in the shadow it will be darker. Practice your observational skills to really see and capture the delicate shape of each petal.
- Once you have added all of the base colors, it’s time to add more details. Use a small detail brush and darker colors to add the shadows. More intense and lighter colors can be used to add any highlights to your flowers and leaves. Pay attention to the shapes and patterns of the petals and leaves, and use your brush to create tone, texture and depth.
- Continue adding details until you are happy with your painting. Don’t be afraid to experiment with different colors and techniques, but add the details slowly and carefully. It is easier to add more than it is to lift color off the paper.

Finishing touches
Once your painting is at this stage, it’s time to add any final touches. Here are a few things you can do to enhance your painting:
- Use a white guache paint to add highlights needed to your flowers and leaves.
- Add a background wash if required. This will help connect the background and foreground of your painting together. It will help you create a sense of depth in your paintings.
- Use a black ink pen or fine detail brush to add any final line details. If you are drawing a close up of a leaf or flower this can help you capture the veins on a leaf or the stamens on a flower and with many tattoo designs it is vital.

Conclusion
Painting flowers in watercolors can be a wonderful way to explore your creativity. It will help you capture the beauty of nature and improve your observation skills too.
By following the steps outlined in this article, you can create a beautiful and expressive painting that reflects your own unique style. Remember to have fun and enjoy the process – painting should be a joyful experience!


