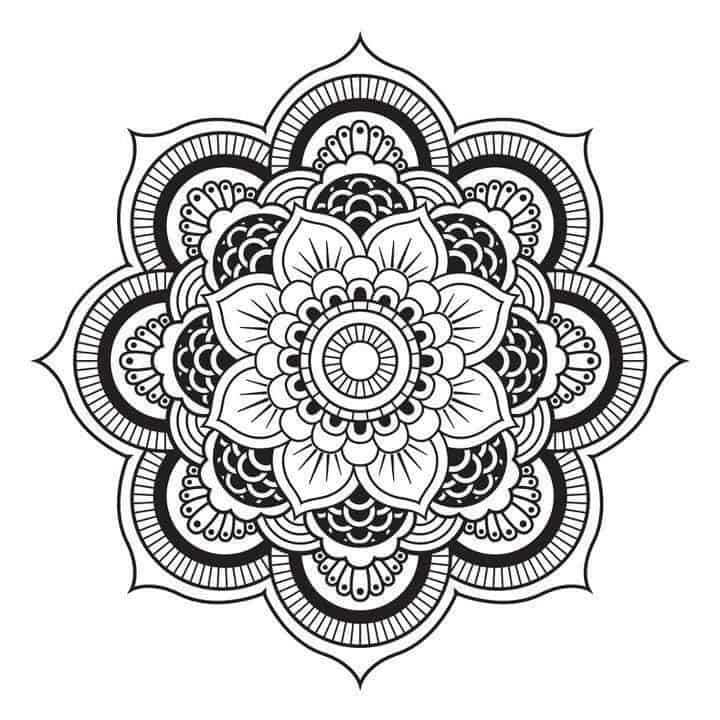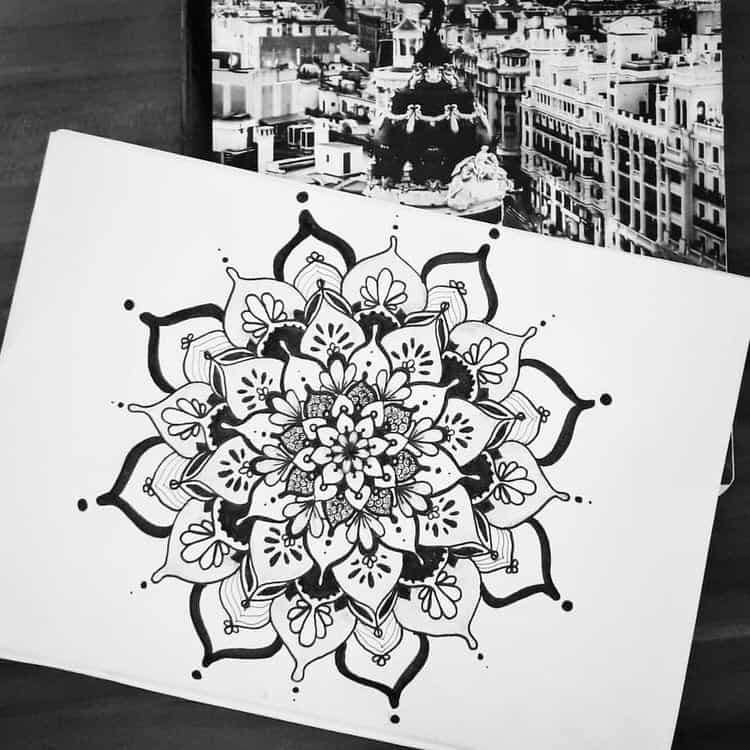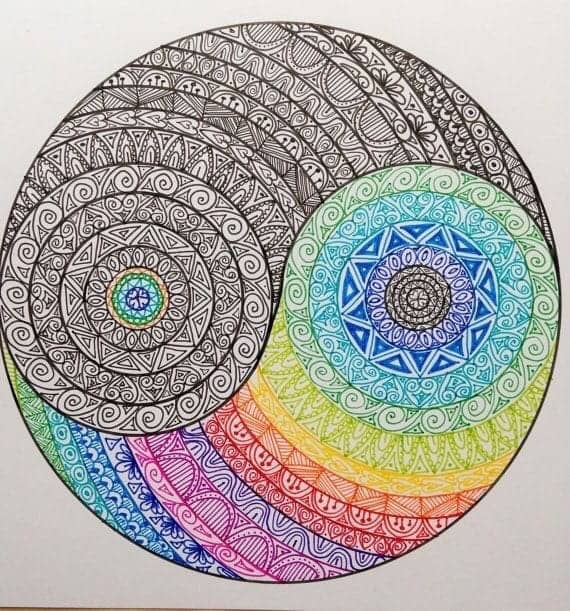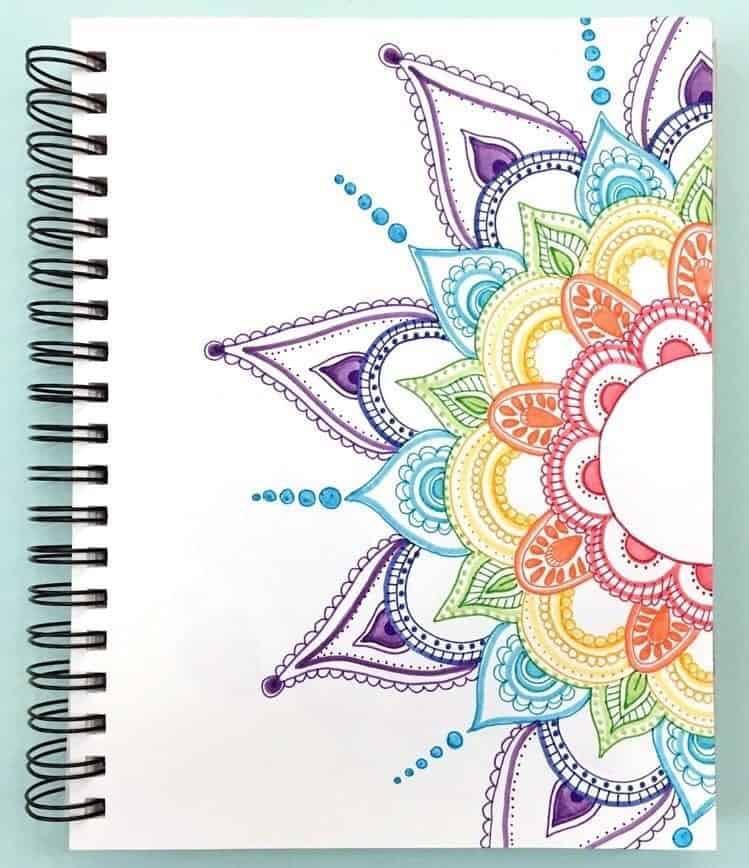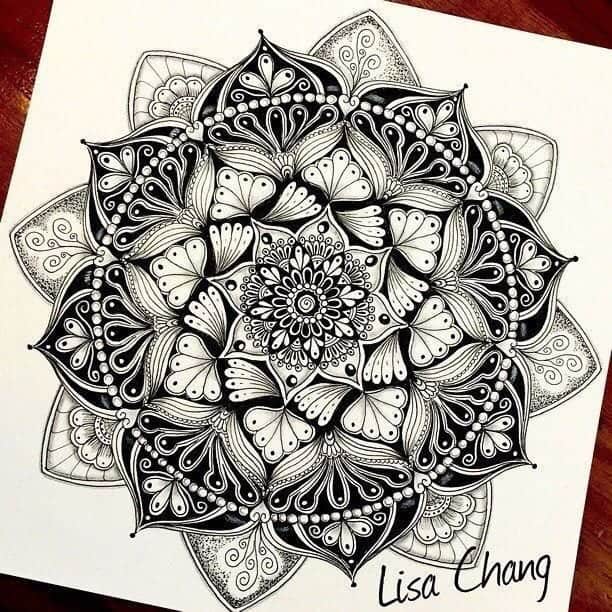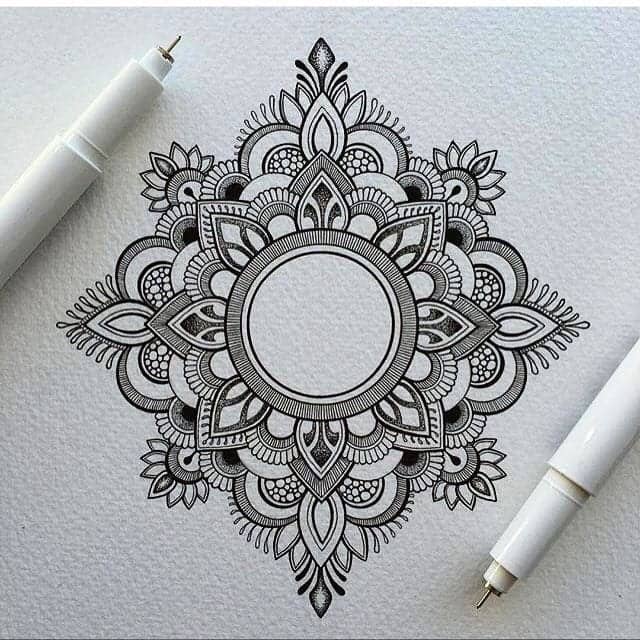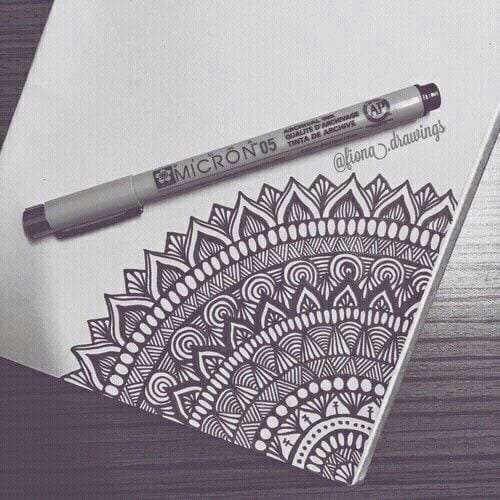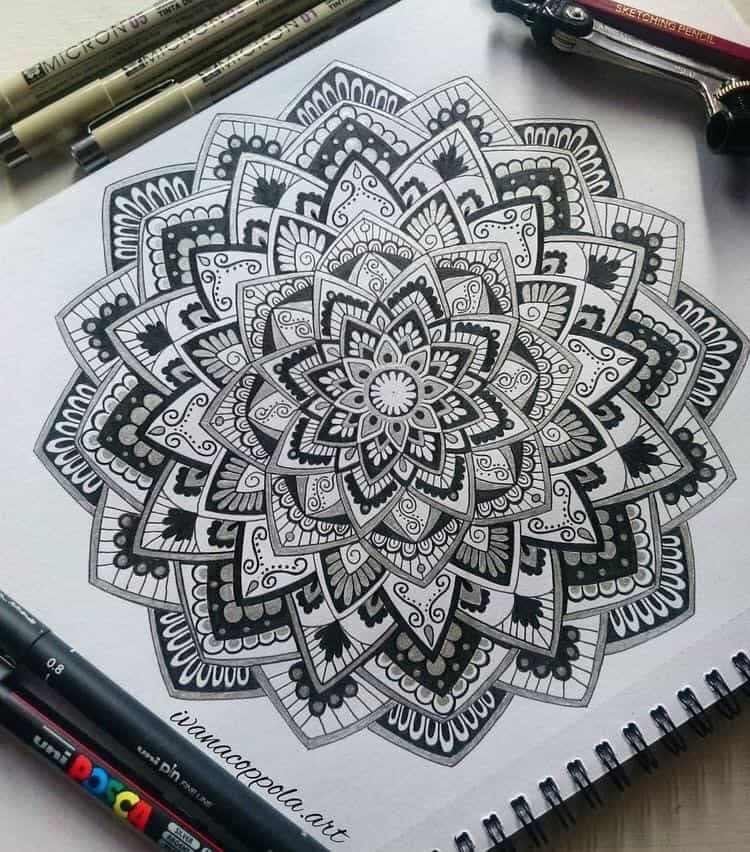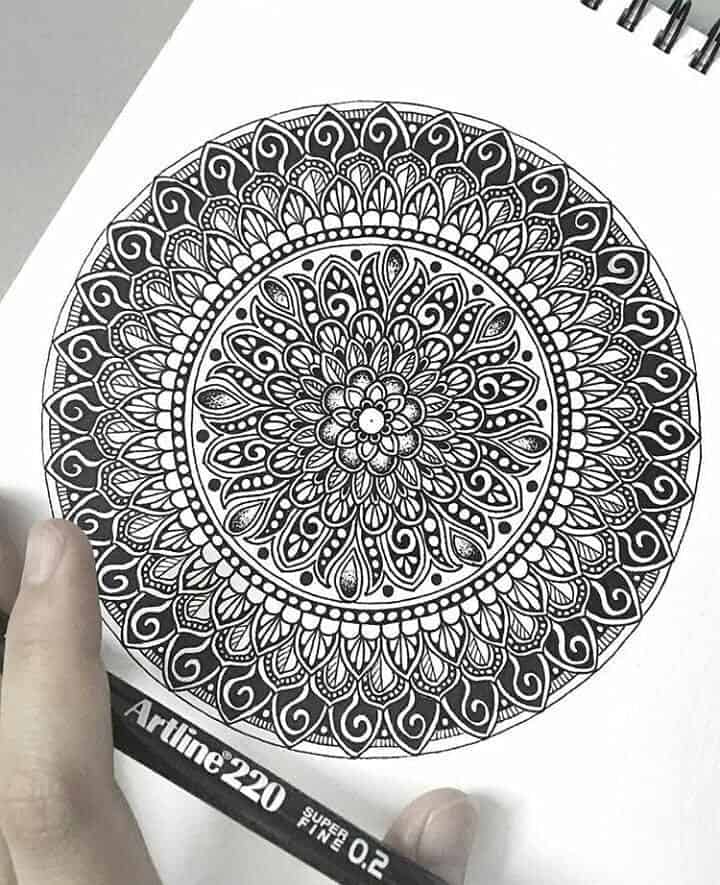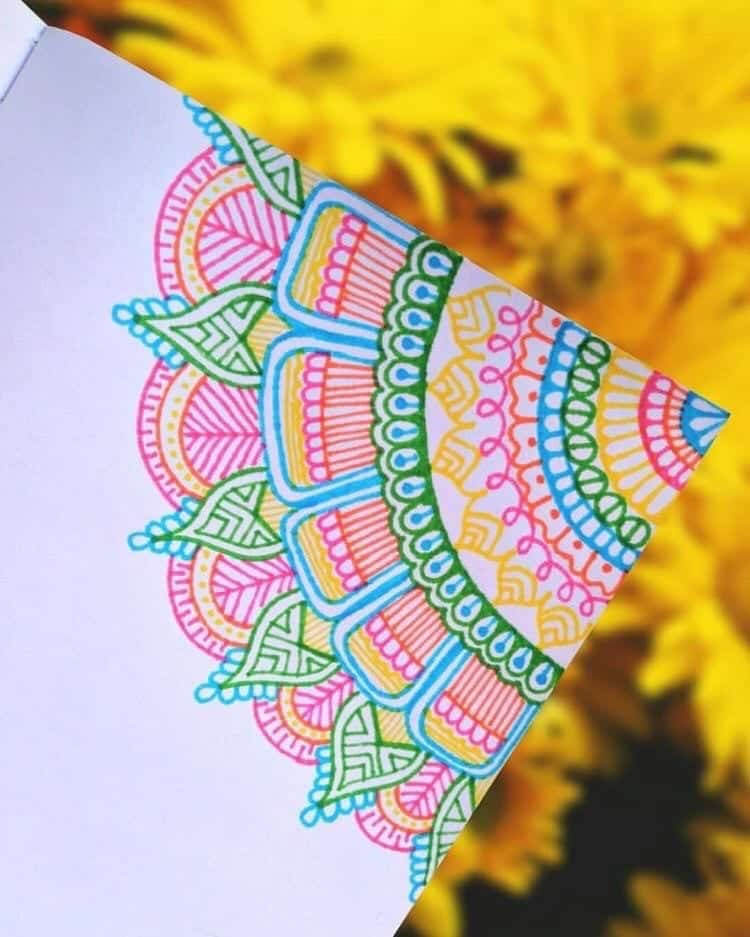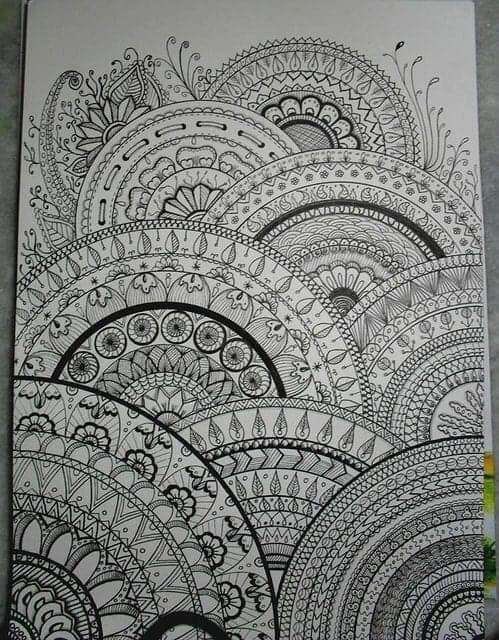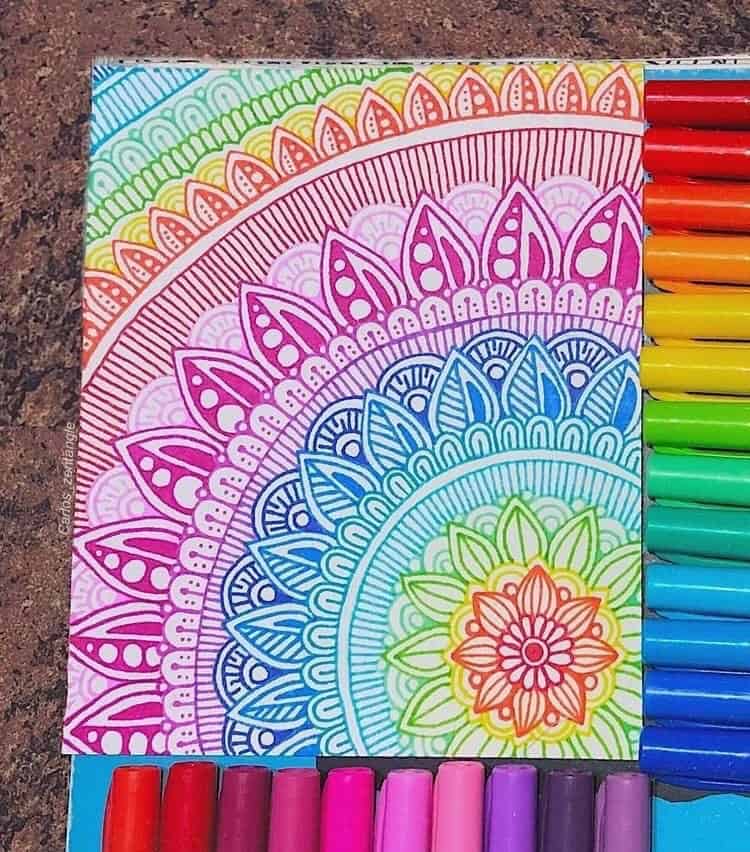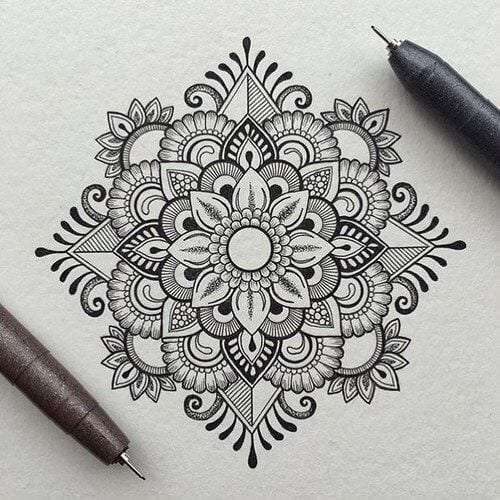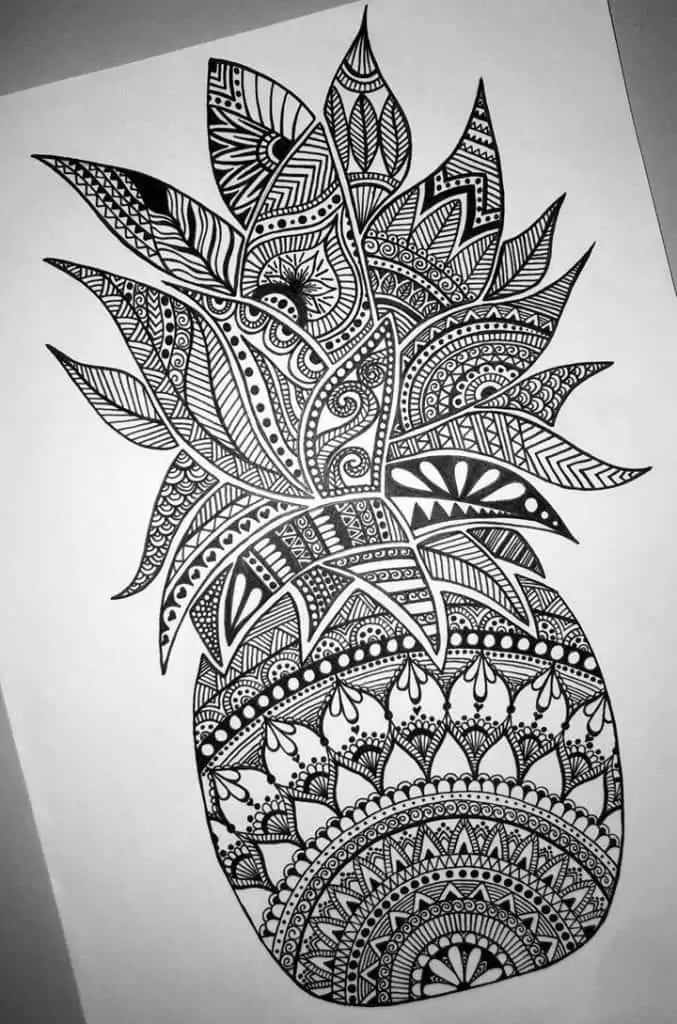
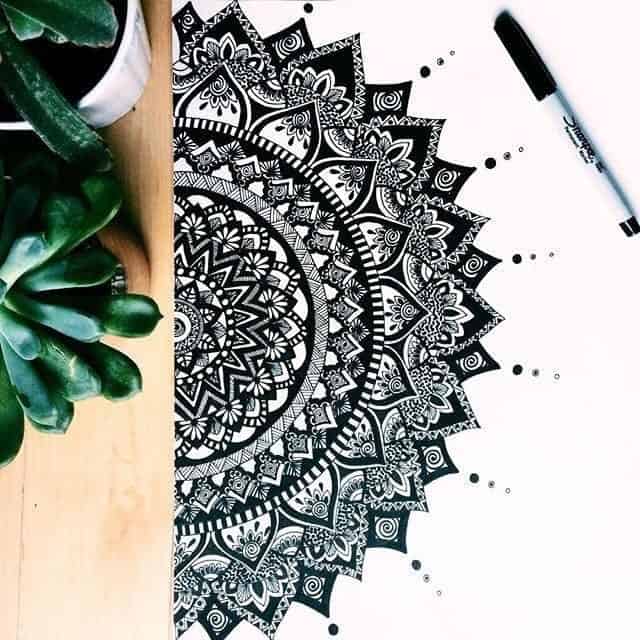
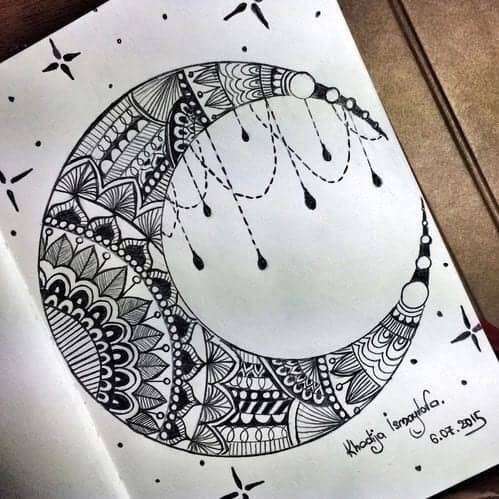
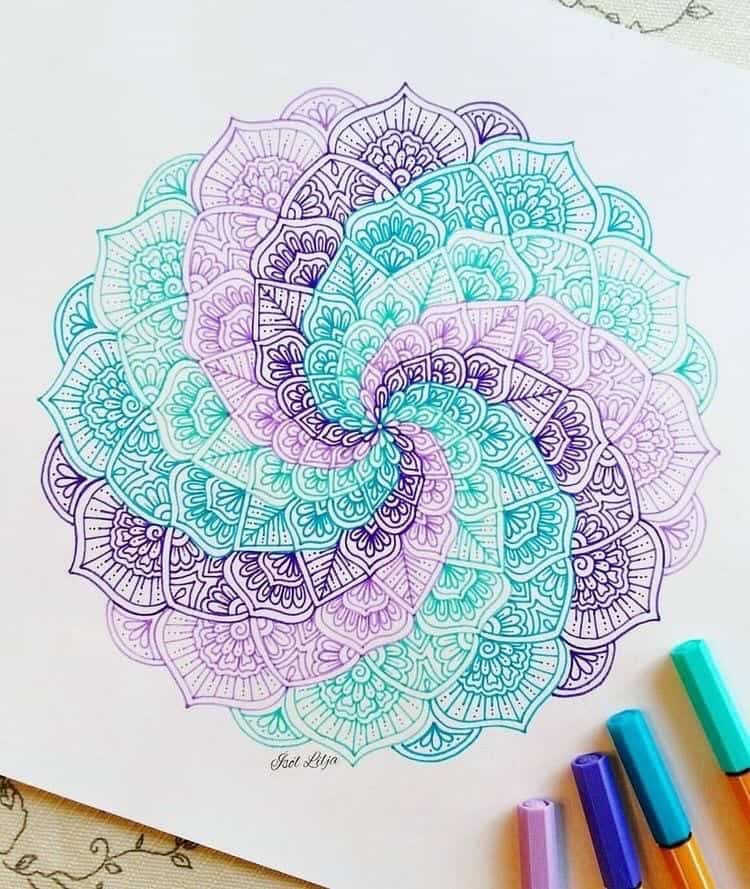
Traditionally, Mandala art is circular in design, but In modern terms a mandala can be any symbol that helps to focus the mind. They are often drawn with a square and four gates containing a circle with a centre point, but I have seen many that don’t necessarily fit the traditional description. One example would be the many ‘Hand Of Fatima’ tattoos I have seen, not circular, but definitely a mandala of sorts. Here are 40 beautiful mandala art designs, as well as how to draw one.
Drawing a mandala of any kind can seem like a daunting task. However, most mandalas are made up of quite simple shapes. By concentrating on the individual shapes you can make it much easier. In the step by step guide below I will take you through the whole process.
Disclosure: Some of the links in this post are affiliate links. If you go through them to make a purchase I will earn a commission. Keep in mind that I link these companies and their products because of their quality and not because of the commission I receive from your purchases.
The History
The word mandala comes from Sanskrit, an ancient Indian language. Literally it means “circle” and can mean anything that is round or circular.
In the modern era, it is often the circular repetition of shapes within the design that defines it as a mandala. Although, I have seen many that don’t necessarily fit the traditional description.
To me, a mandala is a symbol of spiritual awakening, or a search for enlightenment. They generally have one identifiable centre point, from which emanate an array of symbols, shapes and other geometric and organic forms.
Drawing Mandalas
Drawing Mandalas can be a mechanical and mathematical exercise. Some people find it laborious or even boring, but personally I would say that drawing the mandala is a spiritual journey itself.
Traditionally it is often the drawing of the mandala that forms the basis of the ‘Journey’ to enlightenment. The destruction of the final image can be an integral part of this process. When the mandala is finished, however long it takes for the monks to complete this divine geometry of the heavens, they pray over it, and then they destroy it. This is because the underlying message of any mandala ceremony is that nothing is permanent.
Spiritual awakening is something that is very personal. Using symbols or images that mean something special to you is vital in the creation of any mandala design.
A Focus For Meditation
A mandala is a symbol used to help people focus during meditation and achieve a sense of oneness with the universe.
It can be very difficult for some individuals to achieve this level of clarity but Mandalas can help to focus the mind, allowing the person using it to see beyond the physical existence we live in much more easily. Its creation can signify transformation of any kind, but often it is seen as a universal transformation of suffering, into joy.
A mandala is a complex abstract design that is usually circular in form. In fact, “mandala” is a Sanskrit word that means “circle”.
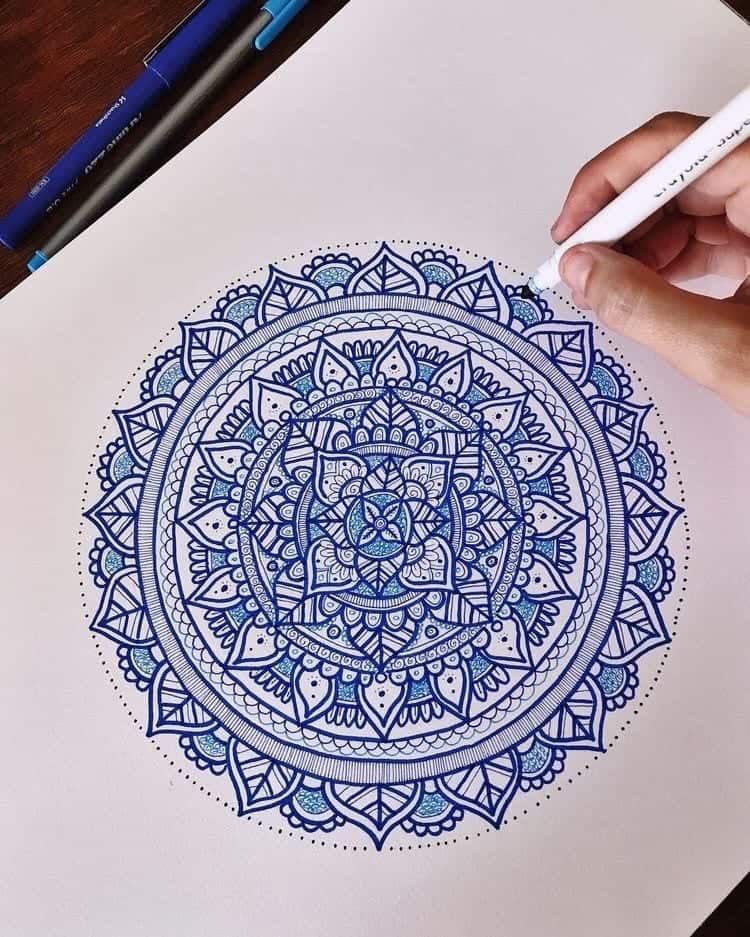
How To Draw A Mandala
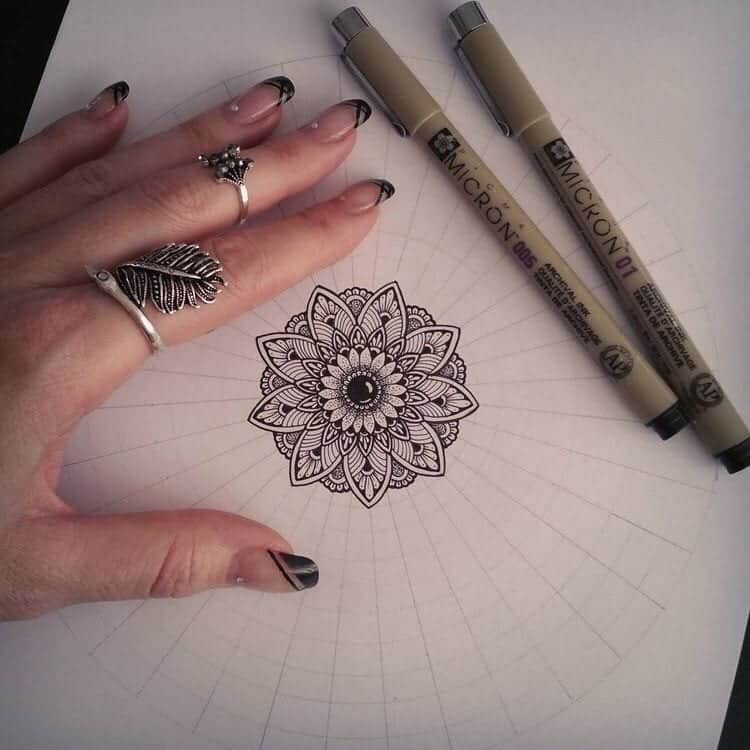
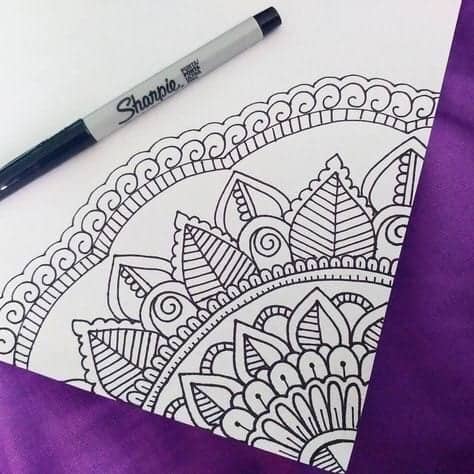
You will need a compass, protractor, Pencil and Eraser and Black Fine Point Pens (personally I use Sakura, but Micron, Pitt, and Sharpie are all good options).
Using your compass, draw a circle. I suggest starting with a circle about 7-8 inches in diameter initially to make things easier. In time you can make them smaller or larger to fit their use, but this is a good size to begin with. Find the centre of your mandala and line up the protractor.
Use a pencil to begin with until you have finished the design. Then you can easily erase any mistakes if needed. Afterwards you can go over all the lines with a marker pen or even a small brush if you prefer to paint.
Then draw a series of smaller circles inside to create the basic grid you will work from as in step 1 below.
Using Geometry
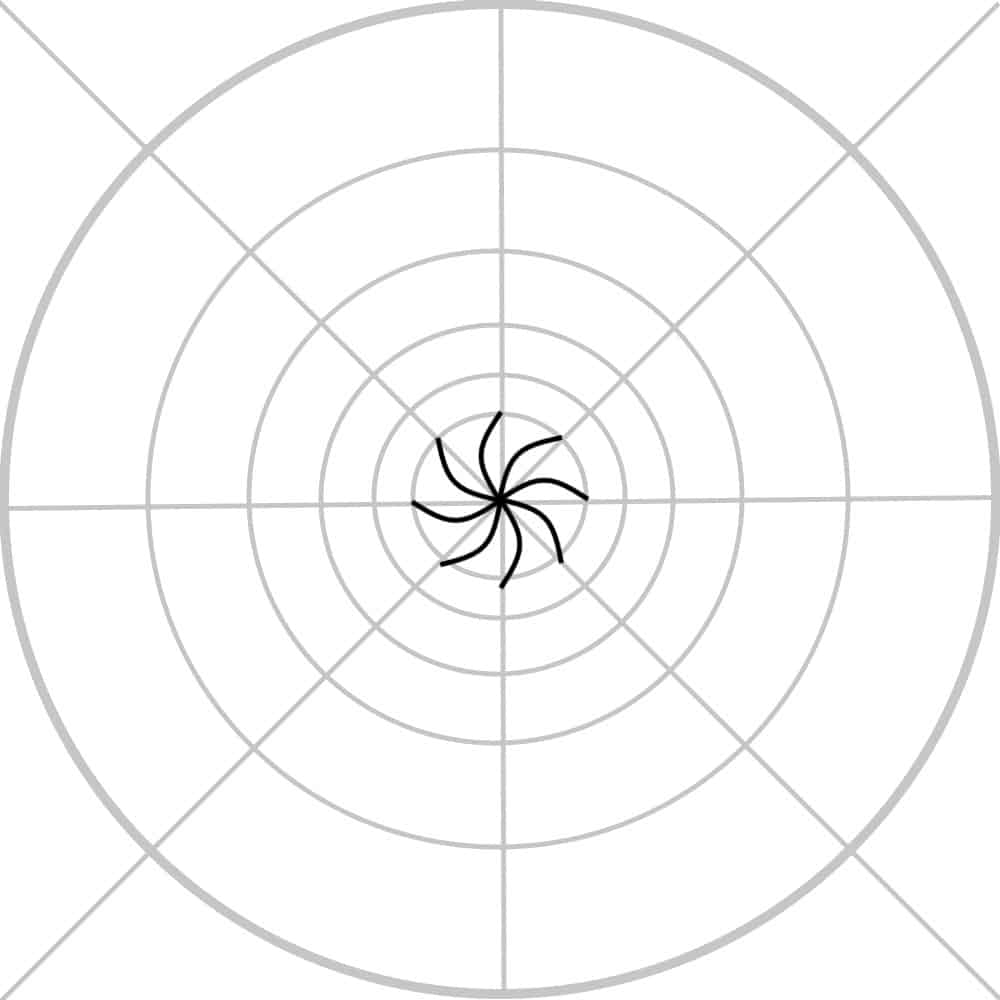
If the final mandala design is to be divided into 12 equal sections, divide 360° by 12 to tell you how big to draw each section. For example: 360° divided by 12 makes each section 30°.
Using your protractor and pencil, mark your circle in 30° increments: i.e. 30°, 60°, 90°, 120°, etc. (For an 8-sectioned mandala, 360°/8=45°: 45°, 90°, 135°, 180°, 225°). Personally I like to double the number of sections I mark, so I have “mid-point” guidelines. So in the example described I measured out 24 equal sections 15 degrees apart (360°/24=15°).

Measure Carefully
Use a ruler to connect the marks you made with the central point. Be sure to draw your lines lightly as they are only guides and you will want to erase them in a later step.
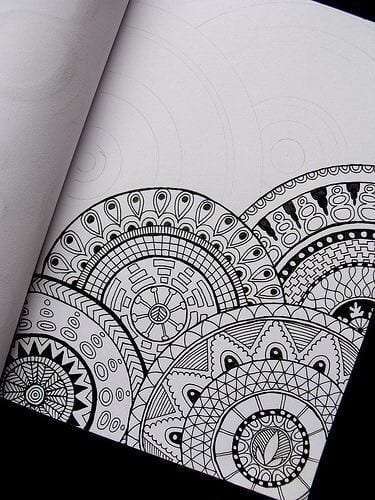
Using a compass, draw several more circles. Vary the size of each circle to create an interesting pattern. Whether you choose a geometric or organic design, each section should be very similar, it may be that you include 2 designs in one circle, repeating every 2 sections, but don’t get too complex, it is the repetition of the design that is vital for it to work.

Repetition Is The Key
Look at shapes that connect the bottom of one grid point to the top of the next guideline and then back down to the next grid point. Repeat the design around the entire circle. You may want to draw with a pencil and then trace over with a black pen later.
Move to the next row and draw another shape, repeating it around the entire circle. You can use same flower petal shapes, triangles, leaf shapes or simple radiating lines. Feel free to mix and match the shapes that you use.
Alternate The Patterns
Alternate the placement of the flower petals in each row when compared to the previous one. Change the shape for the third row. You may want to draw a geometric shape and this can be done using a ruler, but I like the look of hand-drawn designs within a carefully measured grid.
The little imperfections add character and charm. You will find your own style, and this will develop with each new mandala that you draw. You don’t need to plan out every design.
Start In The Centre
Simply start in the centre and work around and out until you fill the mandala with different layers of shapes. It is great fun to work like this and watch the mandala emerge before your very own eyes. Experiment with different shapes and patterns, you will be amazed at some of the designs you create.
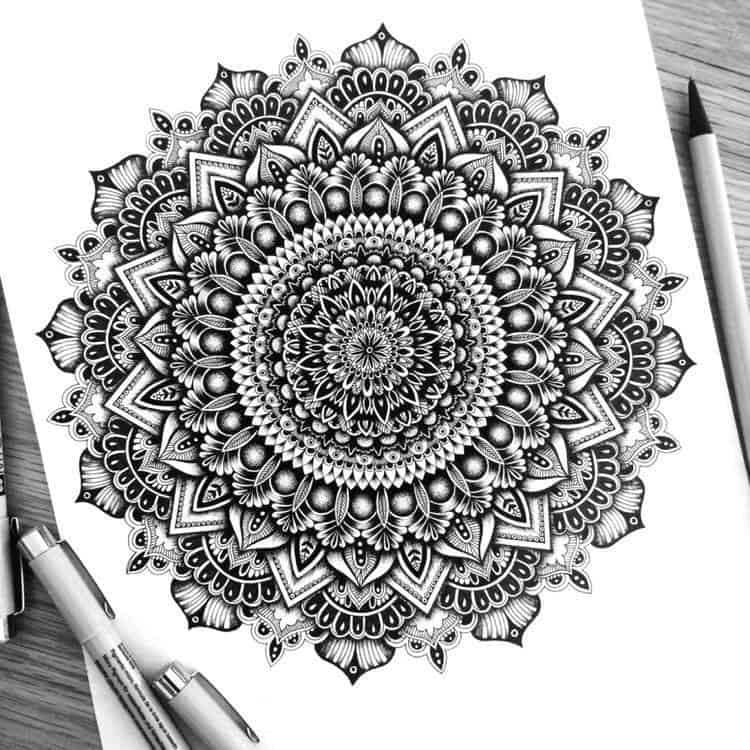
A Step by Step Guide
Step 1 – Drawing the grid
This mandala is divided into 8 equal sections. Divide 360° by 8 to tell you how big to draw each section. In this example: 360° divided by 8 makes each section 45°. Using your protractor and pencil, mark each sections in your circle.
Sometimes I like to double the number of sections I mark, so I have “mid-point” guidelines. In this example that would mean measuring out 16 equal sections 22.5 degrees apart (360°/16=22.5°).
Use a ruler to connect the marks you make with the central point. Be sure to draw your lines lightly as they are only guides and you will want to erase many of them later. I have drawn them here boldly so you can see how I have done it better.

Step 2 – Choose the shapes for each section of the mandala
When drawing the circles, you can vary the size of each circle to create any interesting pattern if you want to. They don’t have to be the same distance apart. Having some closer together and some further apart can create interesting effects.
Choose the shapes you want to use inside each band. You can choose a geometric or organic design for each segment. Each section within a band should be similar in size and style. Keeping the design consistent is key to the overall visual effect of the finished mandala.
Start from the central circle and make this central point something meaningful for you. You will see many that have a series of flower petals at the centre, but this is just one option. You really can use any image you want to.

Step 3 – Don’t make it too complicated
It may be that you include 2 designs in one circle as you move outwards. This will mean repeating them every 2 sections. Just don’t make it too complicated. It is the repetition of the design that is most important for it to work visually, not how complex the individual parts are.
You really can use as many sections as you want to. Just remember, the smaller you make each section the simpler the design within it will need to be. A complex design repeated in very small sections can become overpowering and is better done in larger sections.
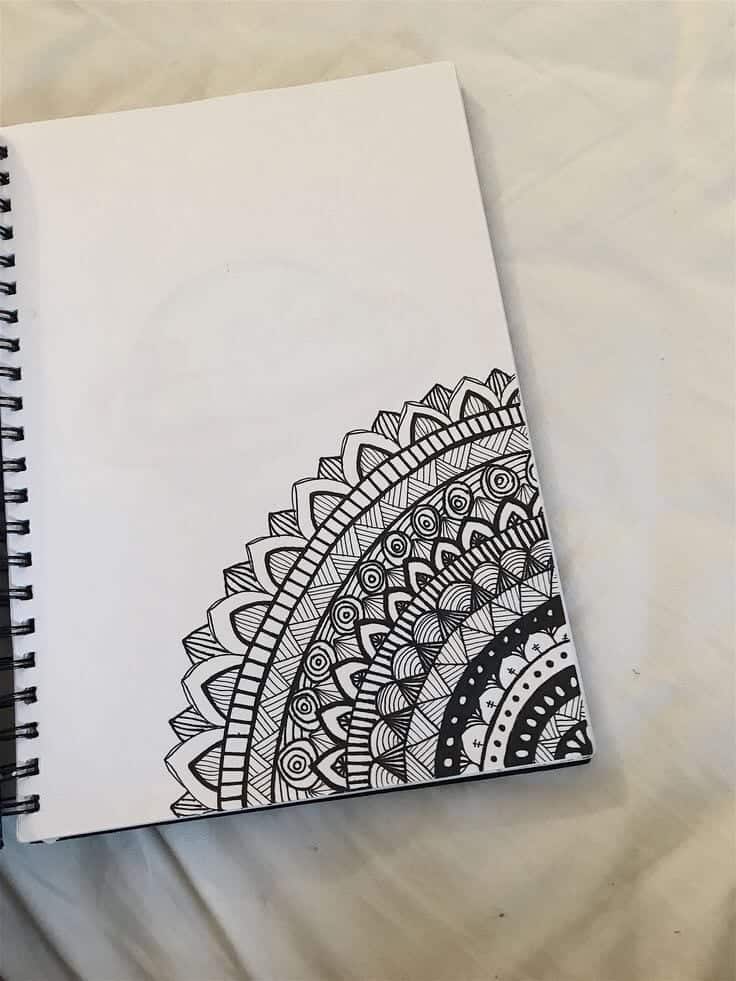
Look at shapes that connect the bottom of one grid-point to the top of the next grid-point. You can try simply reversing the next section so it is a mirror image of the first. Repeat the design around the entire circle. Use a pencil at first, you can go over with a black pen later.
You can separate each circular pattern with a solid line. However, this isn’t always necessary. You can merge one circular section into the next in different ways. You will still see the circular designs. They just become more of a bigger section within the mandala.


Step 4 – Work outwards section by section
Move to the next row and draw another shape, repeating it around the entire circle in a similar way. You can use flower petal shapes, triangles, leaf shapes or simple radiating lines.
Feel free to mix and match the shapes that you use, but keep the overall style consistent. Alternate the placement or position of the shapes in each row compared to the previous one to add variety.
You can change the shape completely for certain rows, but the small inner sections are usually best kept fairly similar.


Step 5 – Draw each section by hand
You may want to draw a geometric shape and this can be done using a ruler, but I like the look of hand-drawn designs within a carefully measured grid. The little imperfections add character and charm.


Step 6 – Find your own style
You will find your own style and this will develop with each new mandala that you draw. You don’t need to plan out every design. Your imagination is the most powerful tool you have so allow it to run free.
Start in the centre and work around and then outwards until you fill the mandala with different layers of shapes. It is great fun as you watch the mandala emerge before your own eyes.
Experiment with different shapes and patterns, you will be amazed at some of the designs you can create.


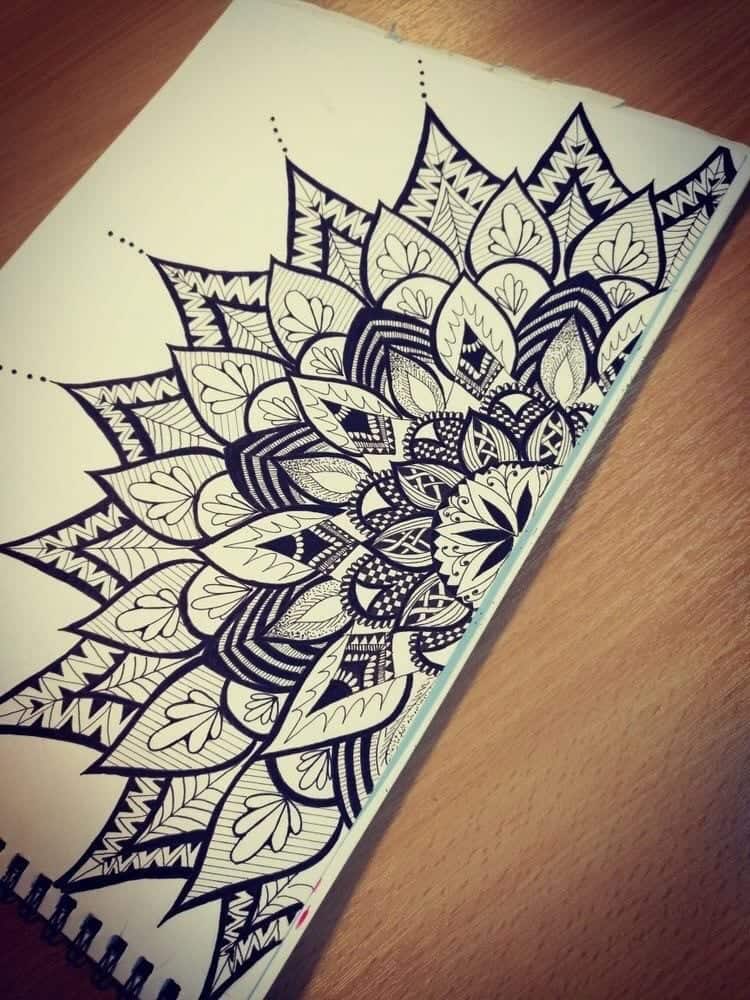
Creating a non circular Mandala
Non circular mandalas have become increasingly popular. Used as tattoo designs and art prints they can be seen in many homes. You can bring a sense of tranquillity and calm to any room with a well drawn Mandala.
You could start with a tribal or geometric design, or try to create your own ‘Hand Of Fatima’ mandala. Whatever shape you choose you need to create the same opportunity for repetition you have in the circle.
You could see it as simply using the shape of the animal or hand as a stencil to overlay a section of a circular Mandala.
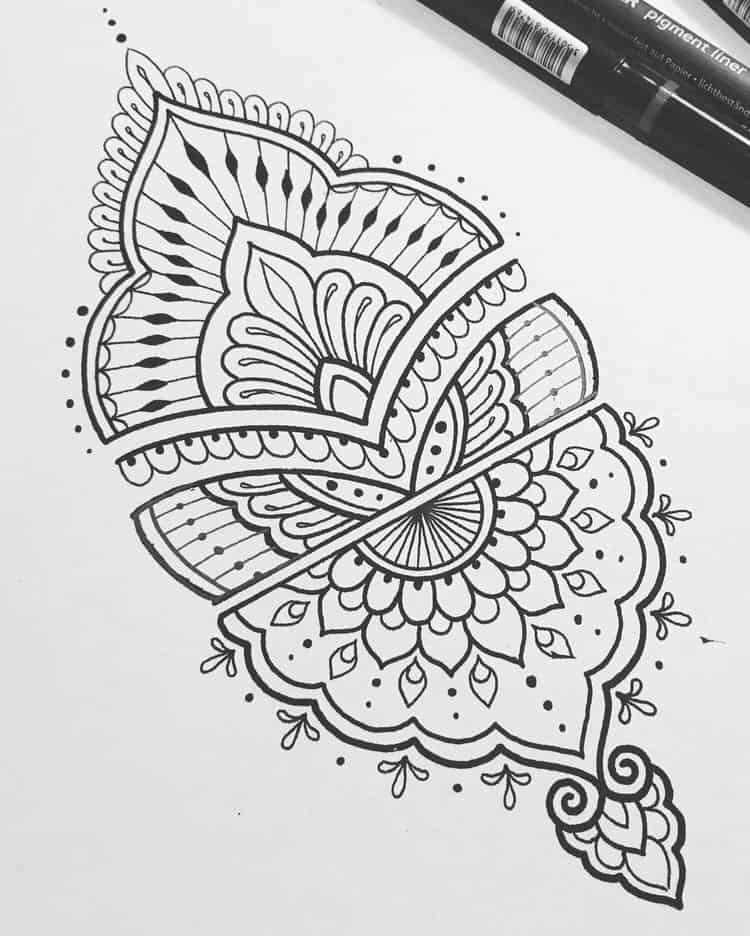
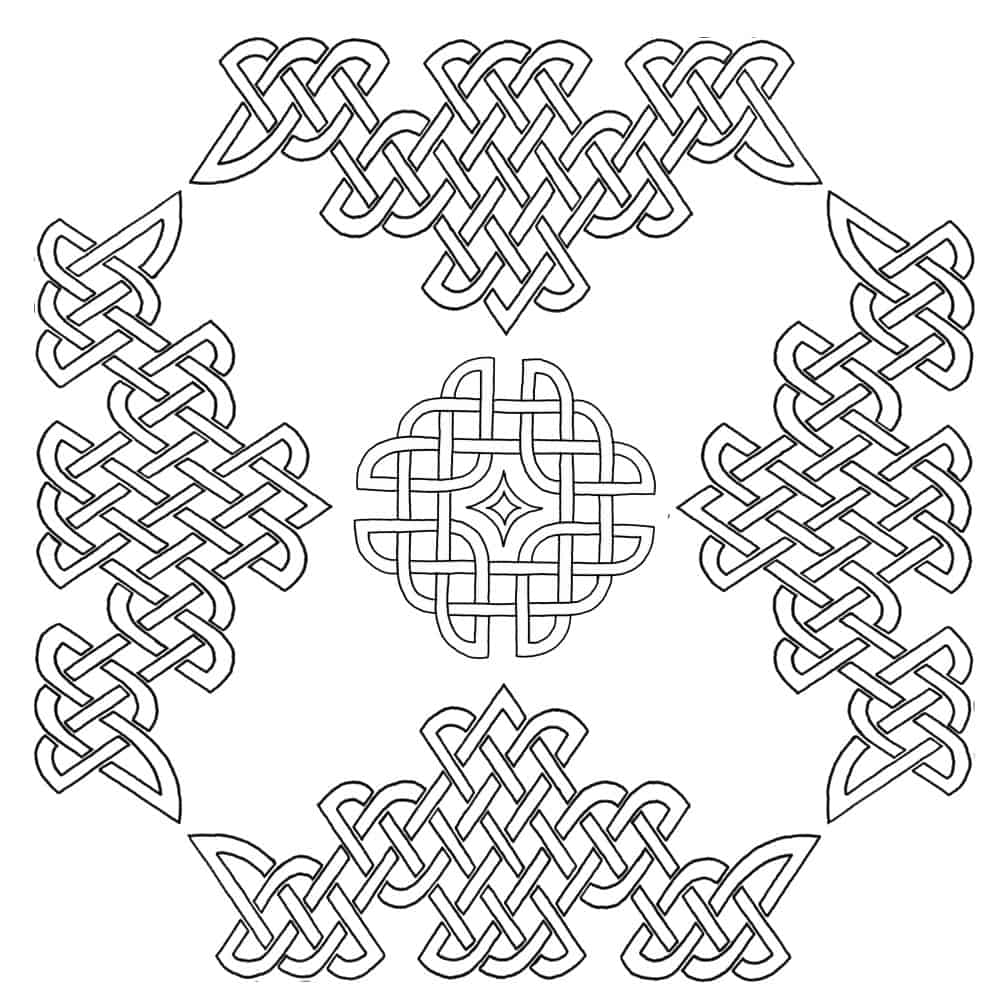
Below you will also see a mandala I drew using a Celtic knot-work design, it creates an interesting but different effect. Remember, choose something that means something to you.
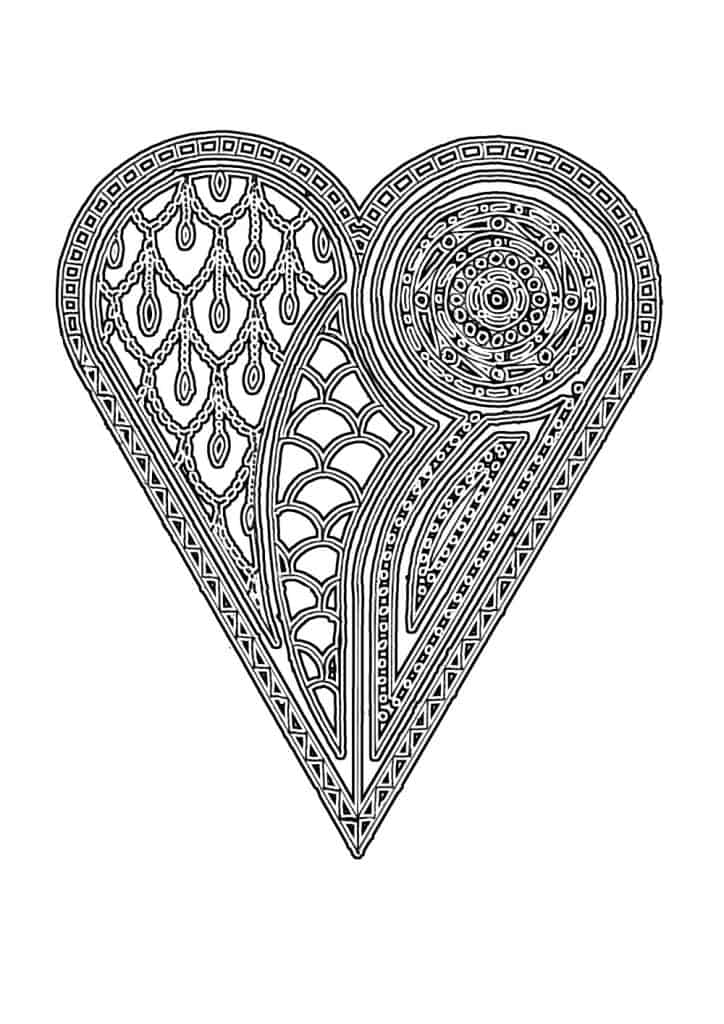
The heart mandala I have drawn below breaks many of the rules, but it worked for me. Why don’t you just experiment and see what you can come up with.
Try different approaches
You can simply draw a similar grid of radiating circles as you did with the circular mandala but only within the shape of the outline you define.
You can create a different effect by simply drawing a grid of parallel lines vertically and horizontally to form a squared grid.
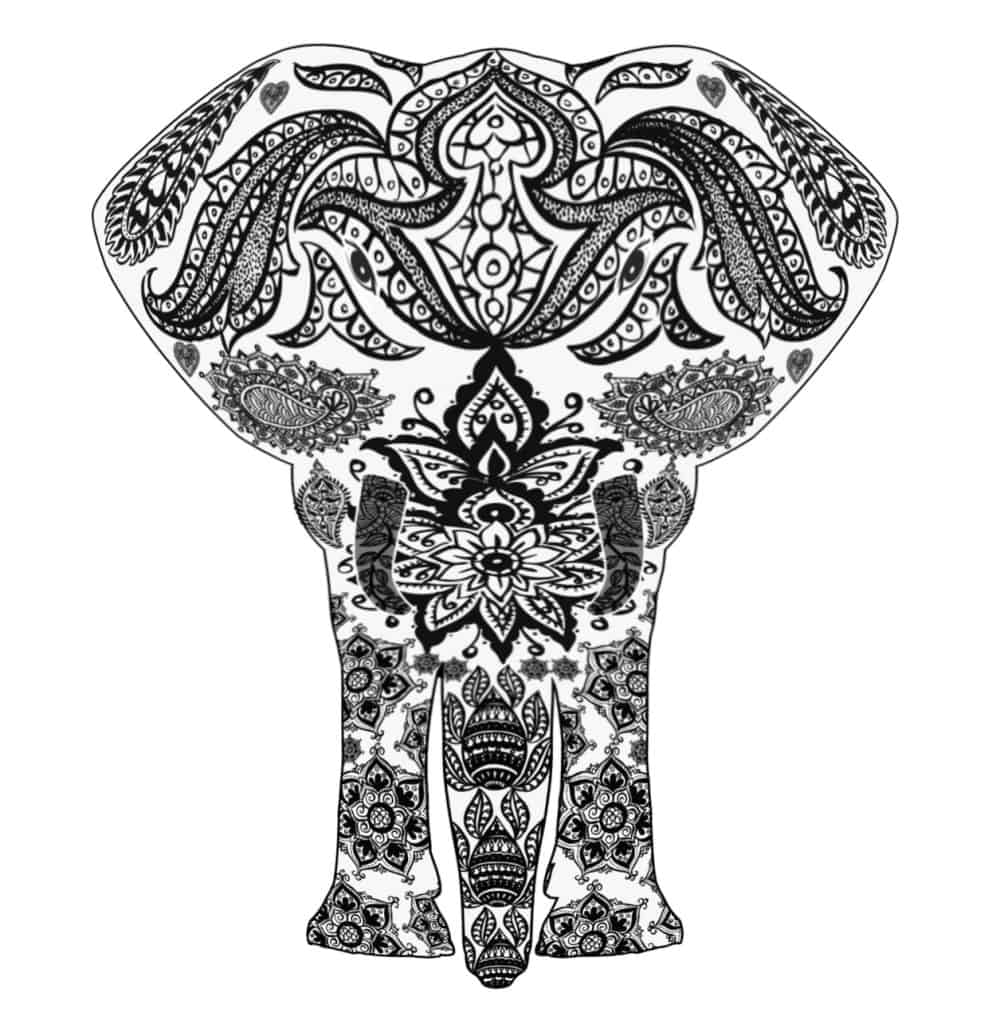
You can see with the elephant mandala below that the body is filled with smaller mandalas. This method lends itself to abstract geometric shapes really well too.
Fan shapes work really well
You could also create a fan shaped grid within the work area. Then join the radiating lines with parallel arcs. You will end up with a pattern similar to a section of a spiders web. You can then treat each of these sections just as you did with the circular Mandala.
Final Thoughts
Experiment with different grid patterns and styles to create different effects. One interesting grid I have used is a spiral radiating from a central point split up with evenly spaced radiating lines just like with the circular Mandalas. The Spiral means no two sections will be exactly the same and this can take the viewer on a wonderful journey through the whole image.
Your imagination really is the only limitation.
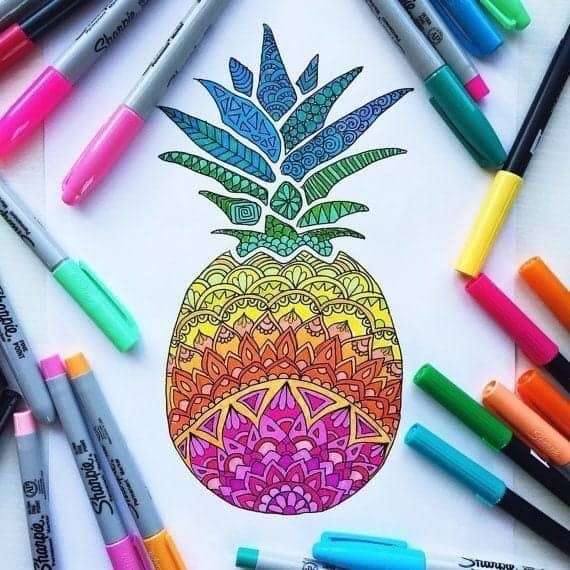
I hope you enjoy creating a wonderful array of Mandalas. Don’t forget to color them in too. You can bring a design to life by including color, but some more complex designs can look best drawn with a single color line throughout.
Have a great day and feel free to forward this to any friends you think will be interested. Scroll down for more mandala drawing ideas and inspiration.
Browse our selection of art related tutorials, ideas, and inspiration.