

Drawing a giraffe can be difficult, but I have tried to keep every step simple in this drawing tutorial. A giraffe is a large mammal. You can find pictures of them easily on the internet. A giraffe has a long neck and spots all over its body.
They have a brownish skin tone, with white circles around each of their spots. The spots are usually in pairs or groups of four. The spots have irregular shapes, which makes each giraffe unique.
In this drawing tutorial, you will learn how to draw a giraffe using pencils that can be found at your local art store or craft supply center if you don’t have them.
The giraffes are mainly found in Africa, and they can grow up to eighteen feet tall. Giraffes also weigh around 1,600 pounds, and they live on the African savannah eating the leaves from the tops of trees.
Table of Contents
Learn how to draw a giraffe:
Before we get started, you need to search online and find some reference material to help you draw a giraffe in easy steps. Choose a good selection of drawings and pictures with giraffes in different poses. A drawing of a giraffe will let you see how others have learned how to draw similar drawings.
Understand the giraffe’s anatomy by studying pictures on the internet or in a book. This will help you make your giraffe drawing as realistic as possible. The pictures will help you make your drawing better.
You could also look at this drawing tutorial about animal drawings for inspiration.
Step 1: Getting the proportions of the giraffe right
Giraffes have a long neck, so you must draw the giraffe head in proportion to its body. The giraffe’s legs are long and support its large body, and the giraffe has hooves at the end of each leg.
When you are drawing a giraffe, you can’t escape how long its neck is. This dominates your attention, but don’t forget to keep the legs, body, and head in proportion.
The spots are usually irregularly shaped and are unique to each giraffe that exists. Make sure to take note of these things when you draw the spots on your giraffe.

Step 2: Draw the bones of the giraffe first
Draw lines for the bones of your giraffe to illustrate its shape. First, draw a line for the spine; note that it curves down first from the head to the shoulders, then curves back and down to the rear legs, then down again for the tail. After you have drawn the single line, you can draw lines on each side to give you the width of the spine.
The front legs are much longer than the back legs, so make sure you draw them like that. The spine continues after the rear legs to form the tail. This framework will help you draw a giraffe more easily.

Step 3: Draw the outline of each part
Next, you should draw the rough outlines of the legs, neck, head, and tail to give you the basic overall shape. When you draw a giraffe, make sure to sketch lightly.
Next, draw in the lines more clearly; think about how the limbs join the body as you draw. Think about what you can see and what you cant. The front legs have huge muscles at the top, but most of that muscle is hidden in the giraffe’s body.

Step 4: Shape the giraffe drawing with shading
When you have drawn the overall shape, you can draw the body of your giraffe, creating shape with light shading to emphasize the 3-dimensional aspect of each limb, the body, neck, and head. Remember to leave lighter areas for the spots.
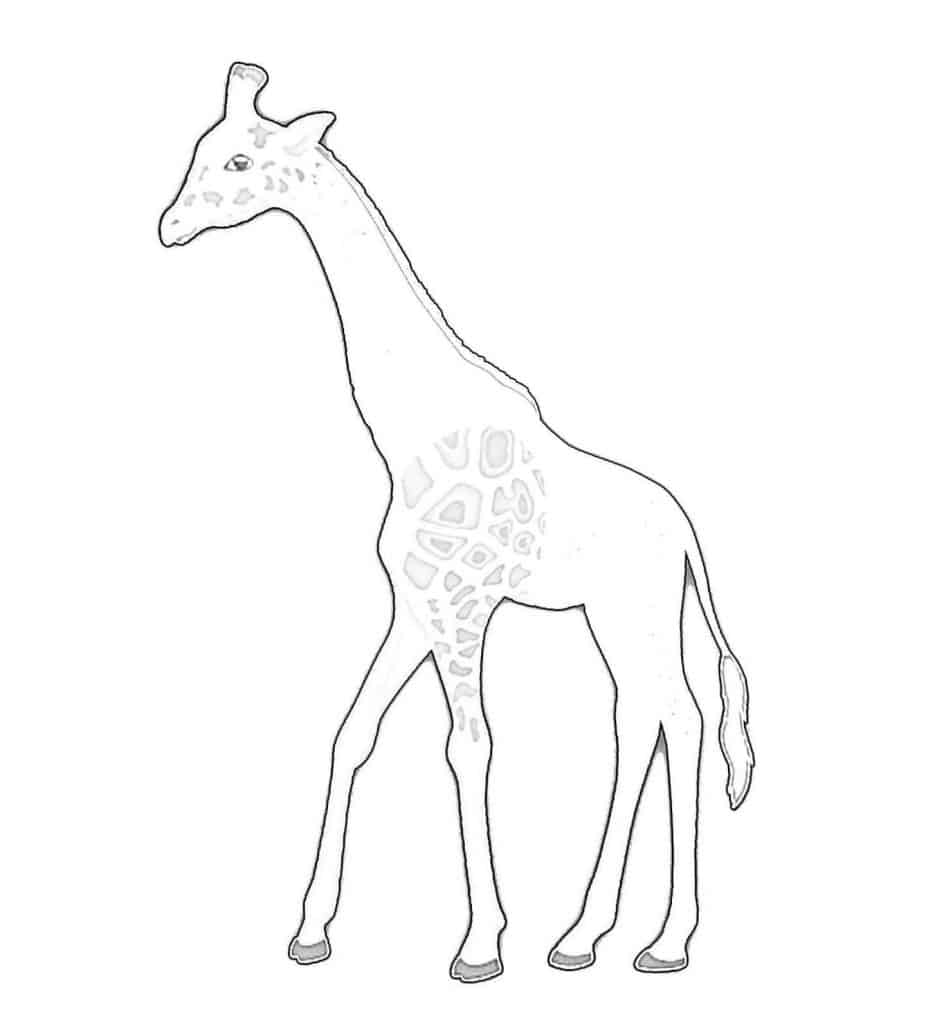
Step 5: Draw the spots
Giraffes have spots on each leg, and they are often arranged in pairs. Draw these first, then draw the other spots around the giraffe’s body. A lighter area surrounds the dark areas of the spots, so make sure you draw them like that.
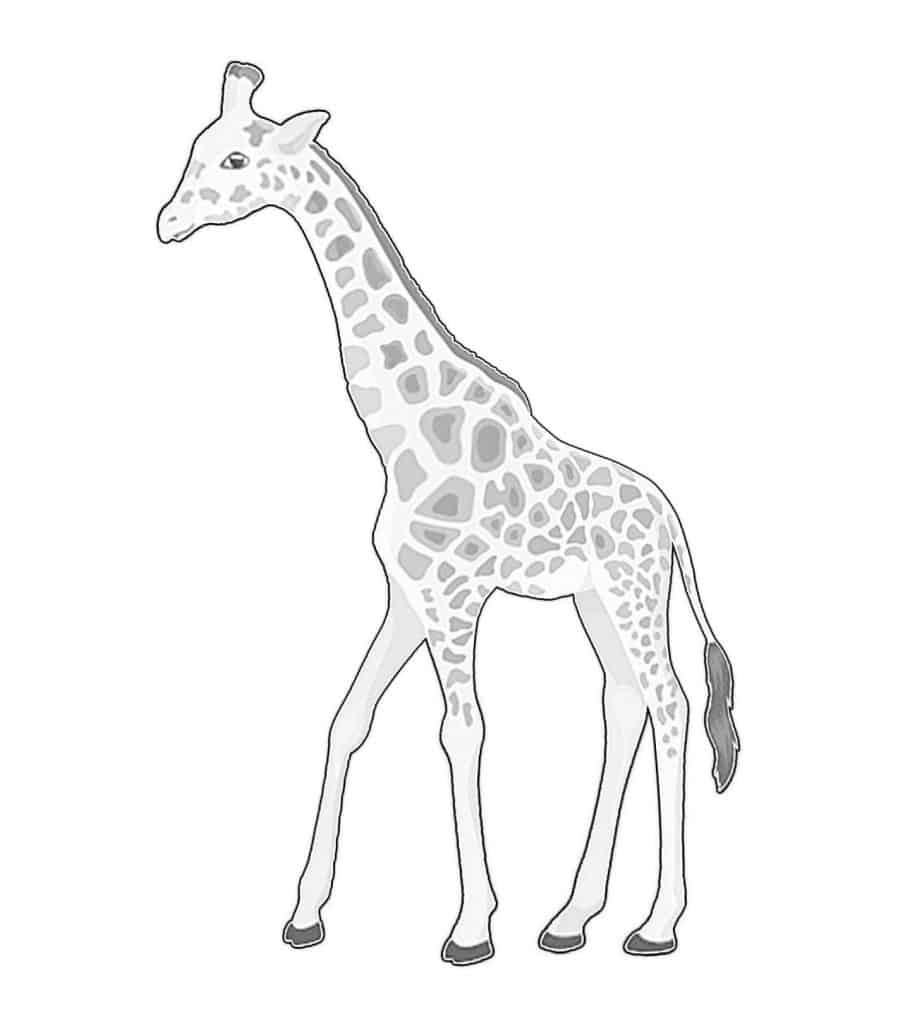
Step 6: Shading the darker areas
Use a darker pencil or try cross-hatching to shade the darker areas of the spots. You can use the same techniques in your drawing to create darker areas of shadow around the giraffe’s body.
Step 7: Draw the giraffe head
Next, we need to think about the details of the giraffes’ head. They have 2 horns that need to sit at the rear of the head. Use your reference material to help you position them correctly.
Drawing the giraffe’s eyes
The eyes sit towards the top of the head on each side too. They are placed further forward than the place where the horns join the head.
Drawing the ears
The ears sit slightly behind the horns and can rotate up or outwards. The nose is elongated and the mouth large with exaggerated lips.
The long nose and prominent mouth give the front of the head a fairly pointy shape. Don’t make it too large.
Adding the tail to the spine
The tail attaches at the end of the spine of the giraffe. It is fairly long and has smooth skin along most of its length, but it has a large tuft of hair at the end.
Drawing the mane of the giraffe
You also need to draw the giraffes mane. It has long hairs down the back of its neck. These are usually a little longer at the top of the neck but don’t make them too long.
Keep consulting your reference material
Keep looking at your reference material to compare your drawing. It doesn’t need to be realistic, but you need to keep the overall image natural-looking. Compare your picture with someone else’s drawing of a giraffe.

Step 7: Drawing a cartoon giraffe (optional)
You can exaggerate body shape by drawing a cartoon giraffe, but you still want the overall shape to look natural.
Step 8: Checking your proportions
The giraffes’ long neck makes drawings difficult, and they can look slightly awkward, but think about giraffes head and legs in proportion to their body and neck.
Compare your drawings with the reference material you collected to keep your giraffe looking realistic.

Conclusion
Always remember to enjoy your drawing. If you are finding a particular stage difficult, don’t struggle. Often the best way to finish a drawing is to stop and take a break. It is sometimes better to step away than to struggle when you are finding something hard.
Don’t forget to check out all our other drawing tutorials for more hints and tips to help you draw more easily. From animals to flowers and cars to moons. There is something for everyone.

")
