Landscapes have always been one of the most popular subjects for artists. They are a great way to develop your painting and drawing skills. Whether you are a beginner or an experienced artist, the process of drawing or painting landscapes can be both challenging and rewarding.
In this comprehensive guide, we will take you through some easy steps to help you create a landscape painting or drawing from start to finish.
Table of Contents
Understanding the Basics
Whether you are painting or drawing, before you start your landscape, it is important to understand the basics. This includes the things like understanding composition, perspective, lighting, and color.
Composition is crucial with any painting or drawing and understanding how to set out any piece of art is something that can really make a big difference.
Perspective refers to the way objects appear in a scene. It is a key part of any landscape painting or drawing. The size, and placement of objects within the scene can create the illusion of depth and distance in your paintings and drawings and placing objects that overlap others will push certain objects forward and others deeper into the background.
Lighting is another important aspect of landscape drawing and painting. It can have a huge impact on the overall mood and atmosphere of your picture. Think about the time of day, the weather conditions, and other lighting sources such as the sun or moon. If it is a city scene you may well have multiple different light sources and you need to consider the effect all of these will have.
Finally, color plays a crucial role in landscape drawing. It can also be used to create depth in your paintings and drawings, but it will do so much more. It can add interest to focal objects within the landscape and helps to build the atmosphere and mood.

Sketching the Basic Shapes
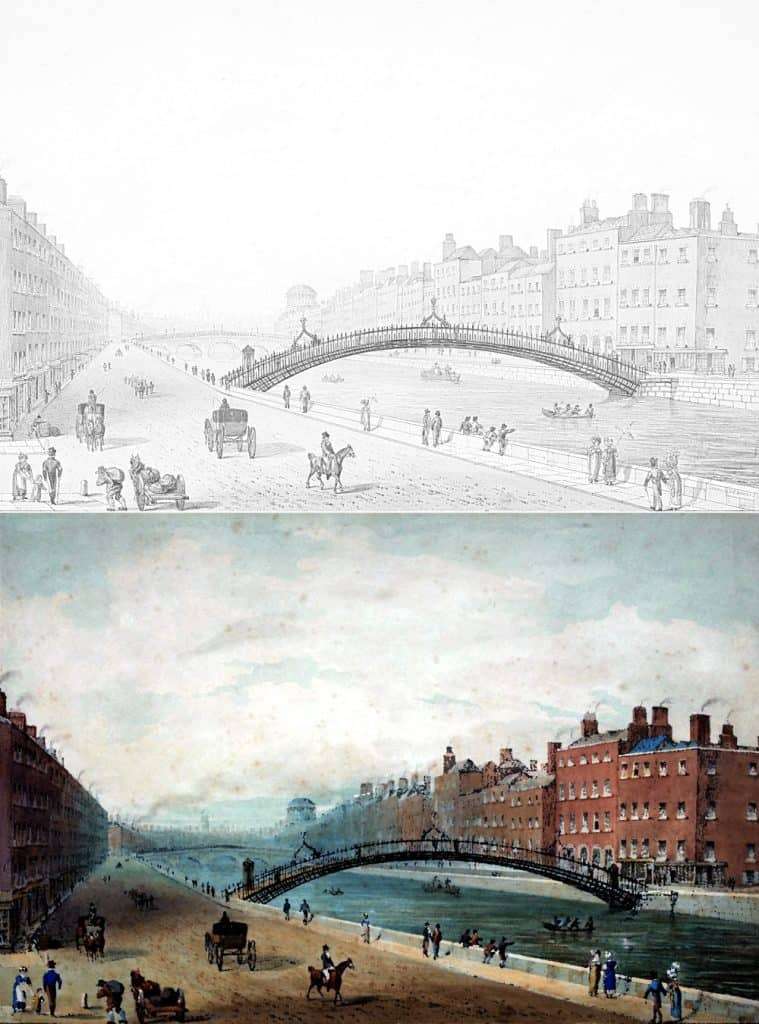
Even for artists who usually paint without a sketch first, With landscapes the first step will usually be a fairly basic sketch to plan the size, placement, basic shapes and structures within the landscape. This will include the horizon line, which separates the ground from the sky, and the focal objects in the scene such as mountains, tree lines, and any other structures.
With oil paints and acrylics you will cover these initial lines, but it is always better to sketch the basic shapes lightly with a H or HB grade pencil. It is important to not make the lines too dark so that you can easily erase or make changes later on if you need to. Always keep in mind the rules of perspective so the size and placement of objects in the painting reflect the placement of those objects in the landscape.
If you are painting then you can begin to lay down the basic colors that will be the background colors in your painting. Don’t get too tied up with details for now.
Adding Details and Texture
Once you have the basic shapes drawn in places you are happy with, it is time to add more details and texture.
If you are drawing this is where you can start to use the shading techniques you have learned to add shadow and texture to your picture. That will start to give your landscape depth and dimension. Pay close attention to the shapes of objects in your landscape and how they interact with light and shadow.
You can also use cross-hatching, stippling, and other techniques to create the depth you need in your art. Use your observational skills to really study the details of the various parts of your landscape. The leaves on trees, rocks, watercourses and everything else in the landscape will all spring to life when you start to show how the light hits the different surfaces.
If you are painting then you can begin to lay down more details on the background colors you have already painted. Start to paint in the more solid lines of specific objects in the painting like tree trunks, watercourses or people. As you add these objects remember the effect their size and color will have on how far back they appear in the painting.

Lighting and Color
The lighting and colors used within your landscape will help you create the overall mood and atmosphere in your drawing or paintings. Think about the time of day you are creating and the weather conditions, and use both shading and color to help you give your landscape a sense of real depth and create the atmosphere you want.
Asa n example, a warm and sunny midday scene will have very different lighting and colors than the same scene on a cloudy and overcast day. Using color and shadow to create the illusion of depth will bring your landscape to life.

Refining Your Painting or Drawing
The final step in your landscape drawings and paintings, is to refine your drawing. Removing or covering any lines and tones you don’t want and adding the fine details. This gives you chance to correct any errors, and adjust the colors and shading if needed.
Take the time to really look into your drawing or painting and make any necessary changes. One thing I often say to people is to step away. Often the best way to move forward is to take a step back. While you are concentrating on a piece of art it is easy to see what you think is there rather than what actually is there.
Stepping away for a drink or to do something else for a while will give your mind chance to reset. When you come back to look again you will often find things you didn’t notice before. desired result.
Some tips for refining your drawing or painting include:
- Use a kneaded eraser to lighten or remove pencil lines
- Use a blending tool, such as a blending stump or fan brush, to smooth out and refine your shading
- Add highlights and any final details.
- Make any necessary adjustments to the final composition, color or tones.

Practice and Patience
Drawing and painting landscapes is challenging. However it is equally a rewarding experience. With practice and patience, anyone can develop their observation skills and create stunning works of art. Whether you are drawing or painting, many of the same tips apply.
Remember to take your time, experiment with different techniques, and above all have fun! Don’t be discouraged if any of your paintings and drawings do not turn out so well. They are all a part of the learning process.


