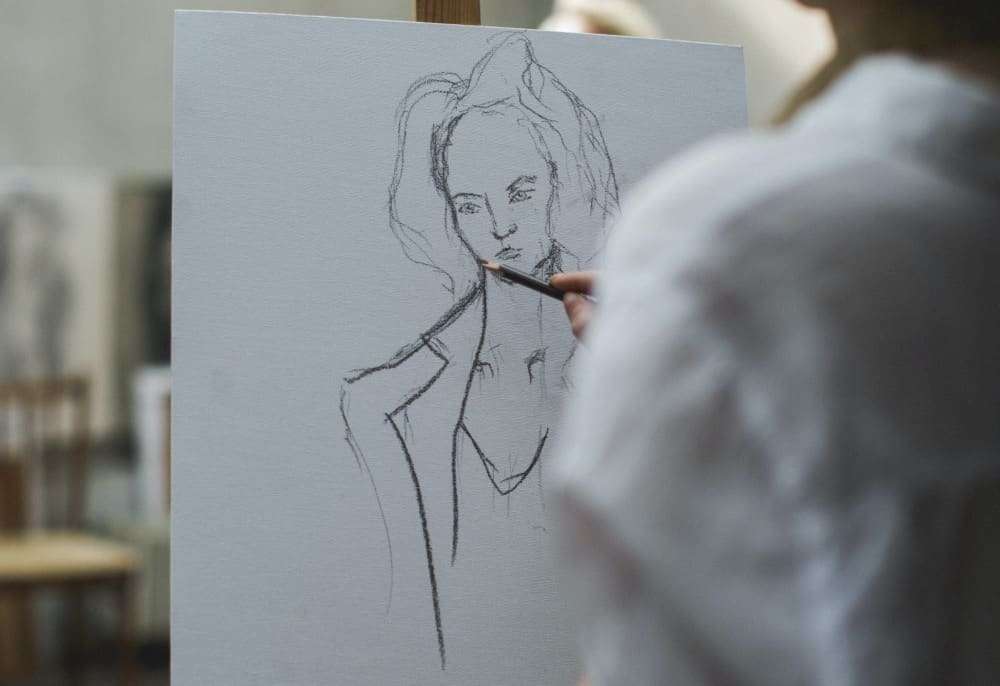
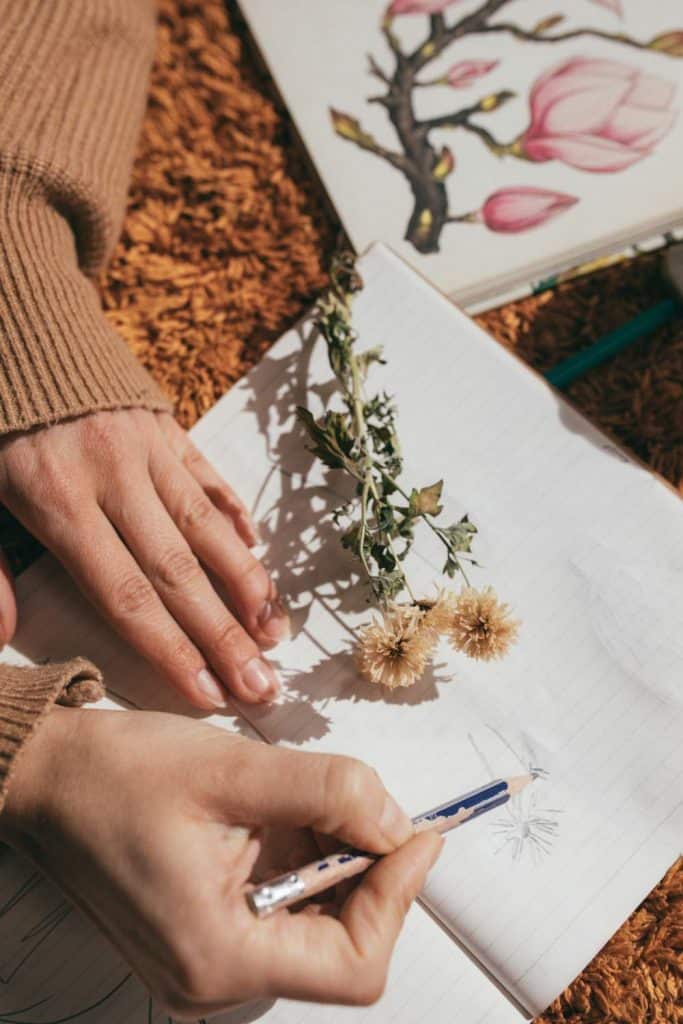
Freehand drawing is created using just hand eye coordination, observational skills, a pen or pencil, paper and your imagination. If you use drawing aids of any kind it is not a truly freehand drawing. By drawing aids I mean any tools like rulers, protractors, set squares and compasses, or physical guides like a tracing or stencil.
Some people would say using a projector, a Camera Lucida or even using a hand drawn grid to section up your drawing would make the drawing less freehand, but I think this is arguable.
Using a hand drawn grid to help you get the overall proportions right doesn’t stop the final drawing being freehand in my opinion. However, the lines of the drawing should always flow naturally in a way they just can’t if you use any physical aids to guide your pen or pencil.
At very least, using a simple hand drawn three by three grid is a great way to practice and improve. Breaking the overall image down into more manageable sections can help a lot.
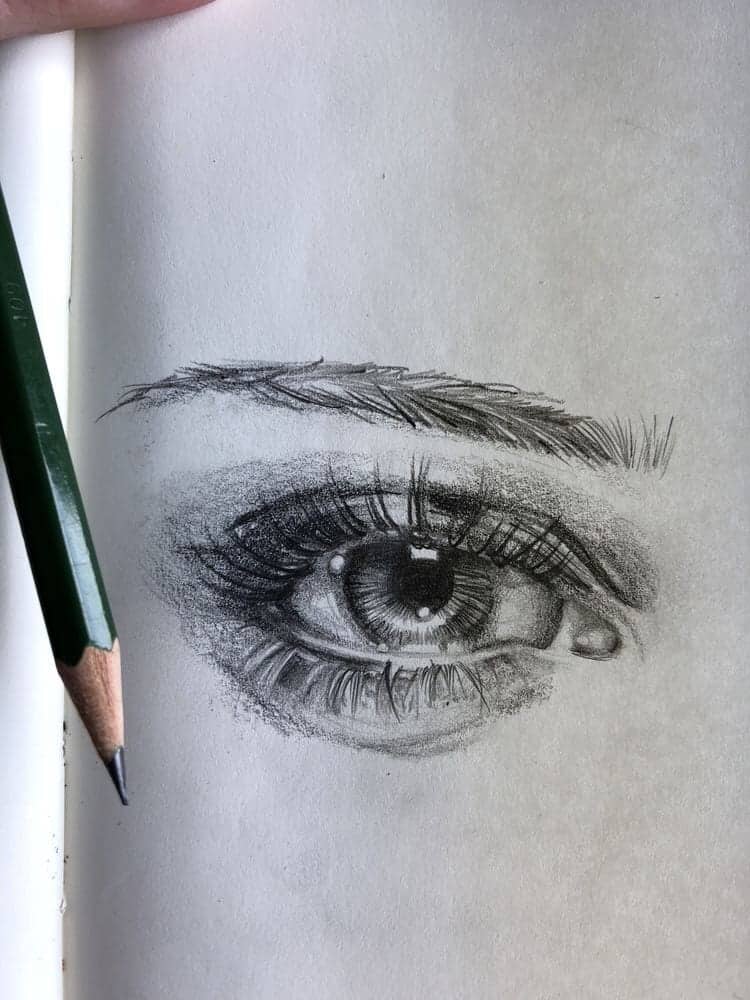
Doodling is a great example of freehand drawing. Sketching is another term that can be applied to many freehand drawings too. The key ingredients are good motor skills and observation, it is your ability to master these that will make your freehand drawing better.
Is Freehand Drawing Hard?
Freehand drawing can be a very difficult skill to master. Some people have better hand eye coordination or observational skills than others. This will make it easier, but anyone can learn. With practice anyone can improve their ability to draw freehand with practice.
Developing and improving your hand eye coordination and observational skill is vital for any artist. Freehand drawing is one of the best ways to help you hone these skills. What you learn when you draw freehand can be applied to any drawing, painting or other art you do.
I have a background in technical drawing so it was a particularly difficult journey for me. I had come to rely on measurements and drawing aids that were just as important for what I was doing at the time. Learning how to draw without them was a scary process.
I practiced a lot and made many mistakes. I learned to draw very lightly on the paper and got very good at using erasers. Inevitably I used a lot of paper in the process. However, don’t think of the paper as wasted. Every drawing you do should teach you a lesson. Each one will help you improve. Over time you will wonder why you found it so difficult to begin with.

4 Tips for Free Hand Drawing
1 – Draw with a very light hand.
Relax the muscles in your arm and hand. Try not to grip the pencil too hard. Light lines are easy to erase if you need to. You can always go over them with a darker pencil at the end if you want to. Sketch in several lines, gradually adjusting the shape until you are happy with the results. Unwanted lines can easily be removed and the lines you want can be emphasised where needed.
2 – Lightly map out the very basic shapes within the drawing to help you get the overall proportions right.
You can break any subject down into a collection of basic shapes. Look carefully at how those pieces fit together. As you draw them be mindful of their size in relation to each other and areas that overlap. These will help give the drawing depth. Once you have the basic shapes you can begin to fill in the details much more easily.
3 – Don’t be frightened of making mistakes.
Try to learn from them. Understanding the mistakes you make will help you find a solution the next time you draw. Over time the lessons you learn will make you a better artist and improve your results.
4 – Try different methods.
Some people like to take their time, carefully considering each stroke of the pencil. Drawing meticulously like this can work really well, especially when you are just starting. Learning to use your observational skills can take time. That is perfectly fine. You shouldn’t be scared to take your time. Other people will tell you the key is sketching fast. This will develop your motor skills and hand eye coordination. It can result in much more natural, flowing lines. However, it will take time and effort to get good results this way for most people.
Using the first of these methods you are likely to see slow gradual progress. Each drawing your accuracy will improve and little by little you will see the improvements. The second method can seem daunting. Results can be very rough for a long time. However, all the time your hand eye coordination and motor skills will be improving. Often it can seem like all of a sudden you can sketch better. Try to persevere with both methods as they can have a huge effect on the quality of all your artwork.
Final thoughts
We are all different. Each method you try will teach you different skills. We can learn lessons from them all.
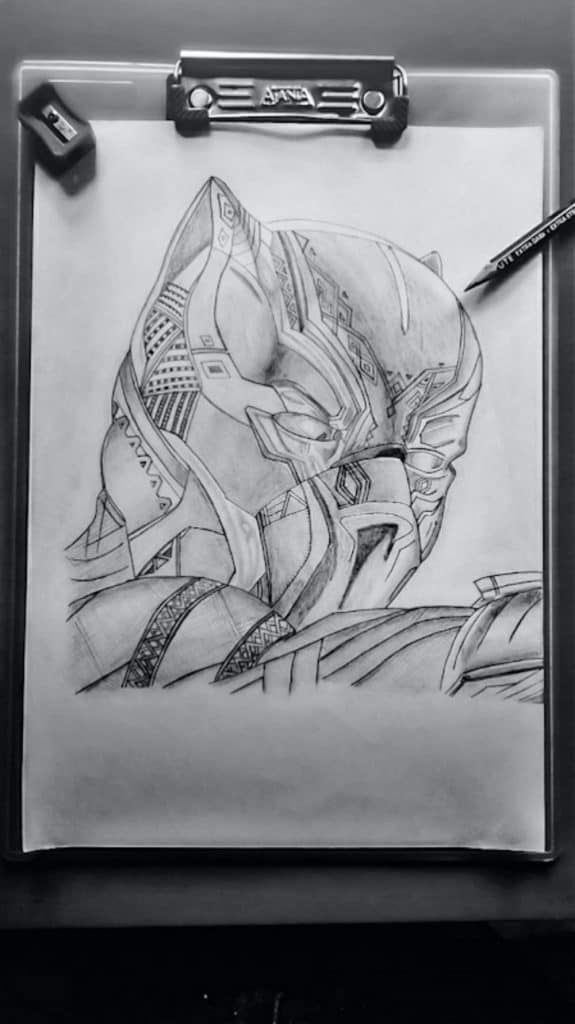
Start with a sharp HB pencil, but experiment until you find the best tools for your own style. I know people who only ever use very sharp H grade pencils up to 4H because they like the detail they can achieve with the precise fine lines. Others will prefer to use very soft B grade pencil down to 4B or even charcoal. This will allow you to smudge and move the lines and create beautiful gradients of shading in your drawings. No one method is right for every artist or every drawing. Find the style that suits you best.
Practice using a simple grid if it helps you. If it means you can get the proportions of the drawing right that is great. It will also help you keep the perspective right.
Do some very fast, light sketches and get used to allowing your lines to flow naturally. You can always adjust them and erase any lines you don’t want.
Then do some drawings where you deliberately slow things right down. Carefully plan each line and draw it as you see it. This will likely result in shorter less flowing but more accurate lines.
In time you will find a happy place somewhere between the two distinct approaches.
Don’t forget to check out our series of drawing tutorials here for more ideas to help you improve your drawing.