Oil paints are a fantastic medium. This guide will help you begin to understand how to use them. Some people get intimidated by oil paints, but try not to. They arent the easiest paint to master and you will need to learn a new set of skills to make the most of them.
They behave physically in a very different way to both watercolors and acrylic paints. However, you can learn. You can achieve fantastic results once you know how and it isnt as hard as you think.
They dry slowly and blend easily so you won’t need to rush, but if you dont want colors to blend together you may need to leave them for extended drying times. As with acrylics often you will get the best effect from working fast.
Where to start
Although most oil paints are now made using less toxic materials there are some paints that still contain flammable or toxic solvents. Do your research and don’t just believe the advertising.
You will need to use white spirit or some other solvents at times, even if that is just to clean your brushes. This means you should always work in a well ventilated area.
Choosing the right paint for you
Choosing the right paint is very personal too. Some cheap paint is very poor quality, but I have had cheaper brands that I like too. Price is not always an indicator of quality.
You will notice that some paint colors are more heavily pigmented. A small amount will change colors it is mixed with a lot. For example Titanium white is a very high pigment white that is great for highlights but will need more color adding to change the shade of color than a zinc white would.
This also applies to different brands. Some brands produce very heavily pigmented paint. It will come out of the tube stiffer. Some people find it harder to work with but I like my paint that way. If iI want to thin it a little I can. But i only need a small amount of paint to cover larger areas.
Other manufacturers especially some of the more expensive ones are softer with less pigment in. They concentrate on the ability for the paint to always be used straight from the tube without the need for any thinning. These might be good paints, but they arent necesssarily my choice.
Buy a few different brands and find the one that is right for you before you start buying lots of different colors.
Don’t believe the advertising hype
You don’t need every color in the range. Look through catalogues to compare brands but don’t believe everything you read. Learn about color mixing and practice how to do it. In our article about the color wheel you will learn the basics of color theory. You can use the three basic primary colors to create any color you will ever need. Add some white and black to adjust the tone and you technically have all you need.
You should also learn about secondary colors, contrast and how colors interact. Do some reading to learn about warm and cool colors and complementary colors too. As you learn you will see your painting start to change and improve.
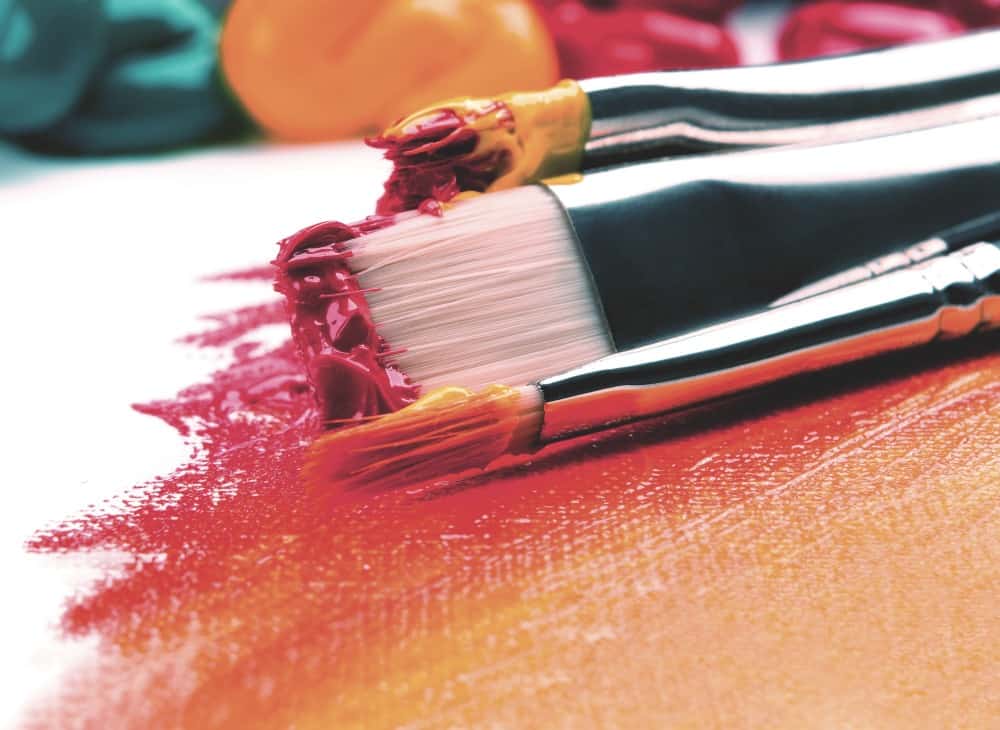
Maintain your tools
Cleaning your brushes is also very important. If you dont clean them properly paint will work its way up the bristles up to the ferrule of the brush. Over time this will deform the brush and splay the bristles.
You can paint on paper with oil paints but you will need to prime the paper first just as you do with canvas, then stick it securely to a board. Any good primer or acrylic paint will work as a primer.
Because many oil paints are translucent I often prime the picture with a lighter shade of a color that is common in the finished painting. If I am painting a big sky then i often use a light blue wash of acrylic paint as the primer. That way when I paint the white of the sky i can see it better and it gives a delicate blue hue without actually coloring the white paint.
Mixing your colors
Mixing oil paint colors can sometimes give you surprising reults. Some colors like Venetian red have so much pigment in that they seem hardly affected by other colors unless you adjust the amounts dramatically. Just a small amount of some colors can have a dramatic effect on others.
A great exercize is to create a color chart like the one below. Mix equal amounts of pairs of any colours you can find to actually see what the results are.
One of the results you might not expect is is that Payne’s grey makes a beautiful, natural earthy green when mixed with yellow ochre. You can also mix it unevenly to make it look even more natural.
Use the properties of the paint
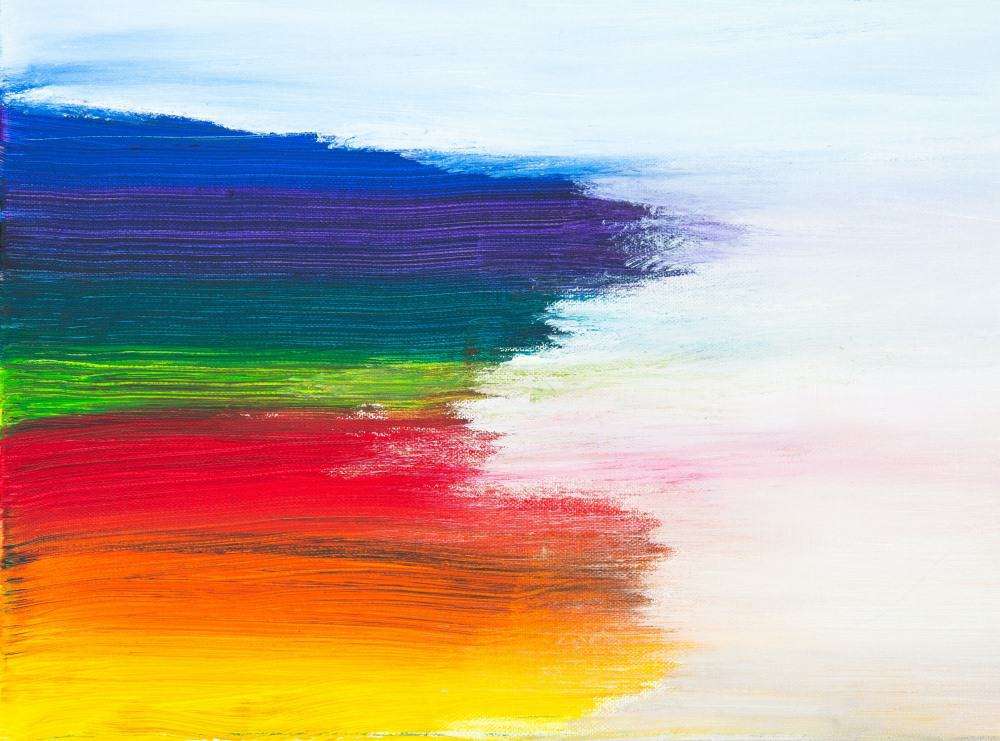
One way to exploit the properties of the paint is to load opposite sides of the good flat brush with different colors. Using the example above, load the brush on one side with yellow ochre, then dip the opposite side of the brush into your Payne’s grey.
If you then make a brush stroke across your painting you will see that the paint from one side mixes in streaks on the canvas. The paint on the upper side of the brush will get more mixed in as the brush stroke extends more.
Doing this with a fan brush can exagerate the streaking for amazing results. Learning to control the effect will make landscape colors appear much more natural and less flat.
Learning to mix colors can be great fun
Mixing your own colors is a real skill that can make a good painting great. Oil paints are fantastic for mixing colors. The fact they stay wet for so long means you can take your time. Add color little by little until you get the precise shade that you want.
You can find more information in our article about the color wheel. We also have articles to help you understand primary and secondary colors more. Take a look and practice mixing complementary colors as well. Learn to use them in your paintings and it will improve the results a lot.
Planning your painting
With oils it is usually best to start from the rear of the picture. Build up the background colors first. I usually try to work from light to dark as much as possible, but this is personal preference rather than a strict rule.
Different artists will always have different approaches. One rule I do tend to stick to, is that it is better not to use paint thinned with solvents on top of un-thinned paint that isn’t dry.
This is where the mantra ‘Fat over thin not thin over fat’ or ‘slow over fast not fast over slow’ becomes useful. Both mean the same and relate to the fact that using a fast drying ‘thinned’ paint over the top of a slow drying ‘un-thinned’ paint can cause problems. The thinned paint will dry faster than the thicker paint underneath and this can cause flaking and loss of pigmentation.
Using a base oil like linseed oil to thin the paint will actually extend the drying time. This allows you to blend colors for longer without the risk of drying. Using a solvent based thinner will always make the paint dry faster so you can apply multiple layes with less time waiting for the paint to dry.
I like to paint as much of the picture as possible before any paint has dried. I use thick paint straight from the tube for most of my paintings. If you prefer you can leave each finished layer to dry before adding detail on top, but this isnt always necessary.
Basic necessities
I always keep 2 pots of paint thinners handy, one for cleaning brushes and the other for thinning paint. A larger clean brush and a clean fan brush can help with any blending and some clean rags are always useful for removing excess paint and thinners from your brushes.
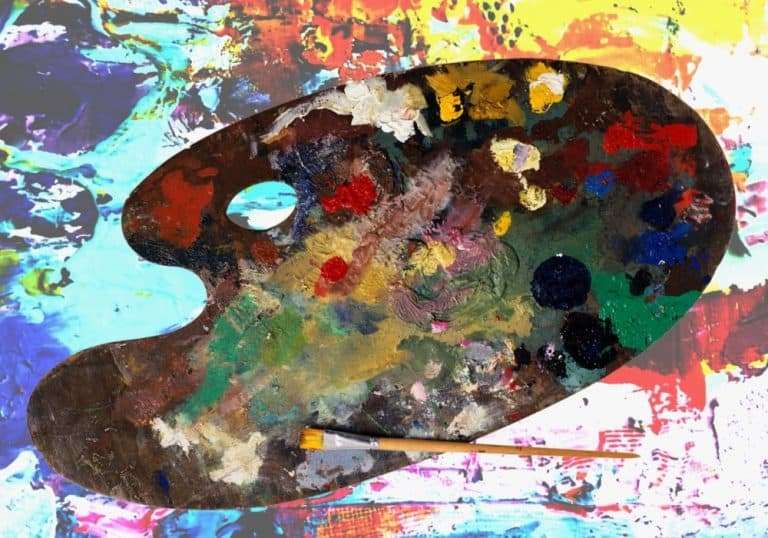
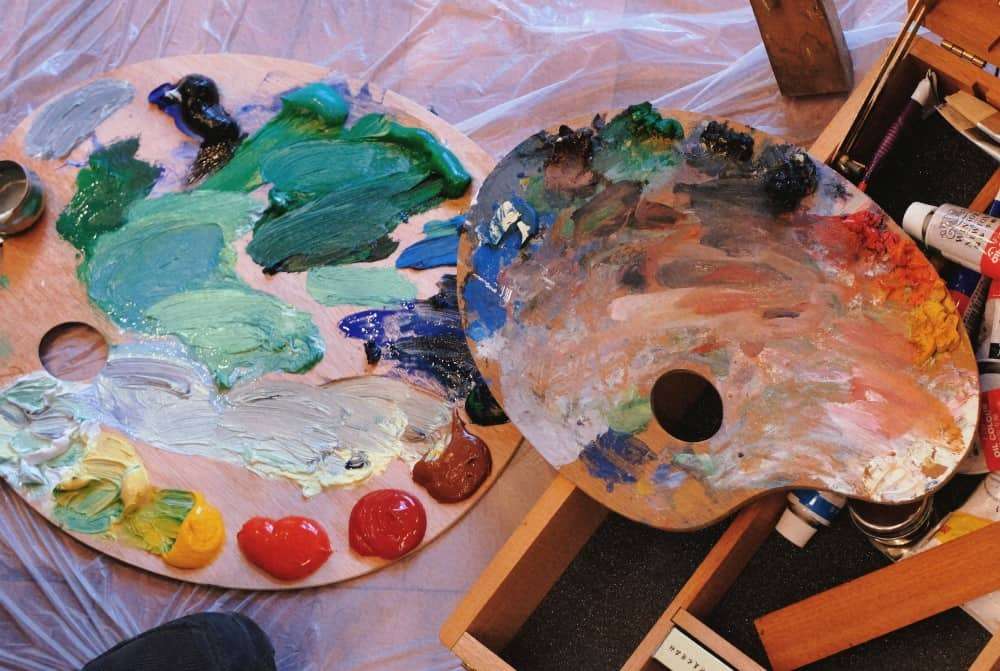
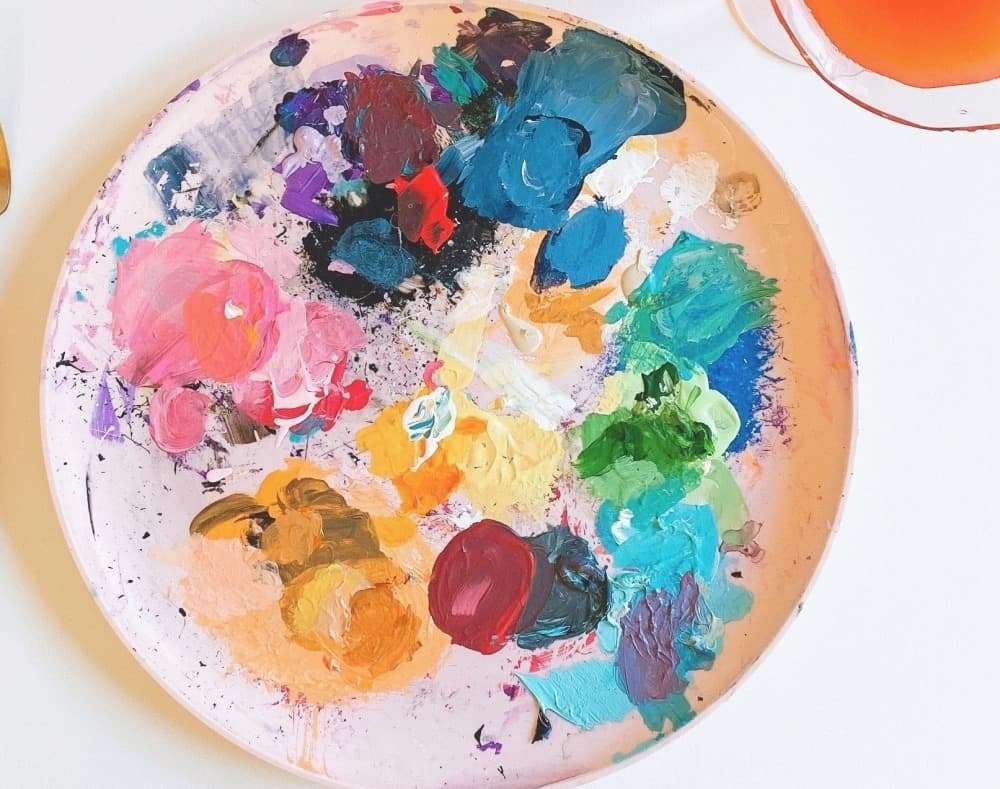
You will also need something to use as a palette tray to mix your colours. They can be purchased in any art supplies but all you need is something that is flat and easy to hold. People often use plates like the picture below. I simply cut an oval of 5mm thick wood and drill a hole large enough for my thumb to fit in comfortably. It means I can create a palette tray exactly the size I want. Remember to sand the edges to avoid splinters though.
Keep all the brushes and knives you will need close by. A small weighted brush pot (bristles up) will stop the brushes tipping over in the holder, but i prefer to use a rack that holds the brushes horizontally so wet paint doesnt drip down over time.
Using the right tools
Oil paint comes out of the tube thick so you need brushes that have strong bristles. I have a selection of both natural bristle and synthetic brush hairs. Both work well and have different strengths. It is good to have a selection, but don’t get drawn into the idea that you need every type and size of brush on the market.
In general I only use 3 or 4 brushes for most of my paintings. I have a thick stiff one inch flat brush with stiff natural bristles that I use for a lot of background work and rough blending. I use a size 16 synthetic flat brush more than any other brush. It is versatile and can help in many areas from blending to cutting in details. It also allows me to paint big areas quite quickly too. Then i have a size 10 round bristle brush and a synthetic fan brush I use for finer details and delicate blending.
I do use other brushes and palette knives but I have done many paintings with just these four brushes. Never throw brushes away either unless they are loosing their hairs. You can adapt old brushes and make new ones that will help. Splaying an old round brush is fairly easy and can create great fan brushes. Just crush the ferrule in a vice or by hitting it carefully with a hammer.
Don’t waste old brushes
Another trick I learn’t was to trim the tip of an old flat brush with small diagonal cuts from a sharp pair of scissors. You will end up with a brush that is perfect for painting textured surfaces, grass and hair. I have also trimmed down the bristles from old decorators brushes too. They are great for blending large areas softly. These brushes are also great for applying primer or for thin washes of paint on the final painting.
Experiment and look for the brushes you find easiest to use. If you are comfortable with your tools your paintings will be better.
Using a small brush with long bristles and paint thinned down will help you with a lot of the detailing work, but this often depends on the kind of painting.
I often use big brushes with oils and use the edge of a well defined flat bristle brush to cut in details. I find this easier than thinning the paint and using a finer brush to paint the more detailed areas of your painting.
Palette knives can be a really useful tool
Using a knife to lay in colours can also be easier than you think. The first time I used a knife to paint with I was far from comfortable, but it was much easier than I imagined and with some practice, it became another useful tool in my toolbox.
A knife is great for lifting off paint, but it can be also be easier to highlight a small detail with the sharp edge of a knife. Load it with a little paint and simply touch the edge against the place you want a line.
There are no rules
I hope these hints and tips help you understand how easy painting with oils can be. Always remember, sometimes breaking the rules will give you the effect you want.
I’m sure you will have heard people say dont mix mediums. That is one rule as you can see above that I don’t always adhere to. I do use acrylic paints as a primer for oil paintings. As long as the acrylic primer is thoroughly dry they produce a great keyed surface for the oil paints to stick to.
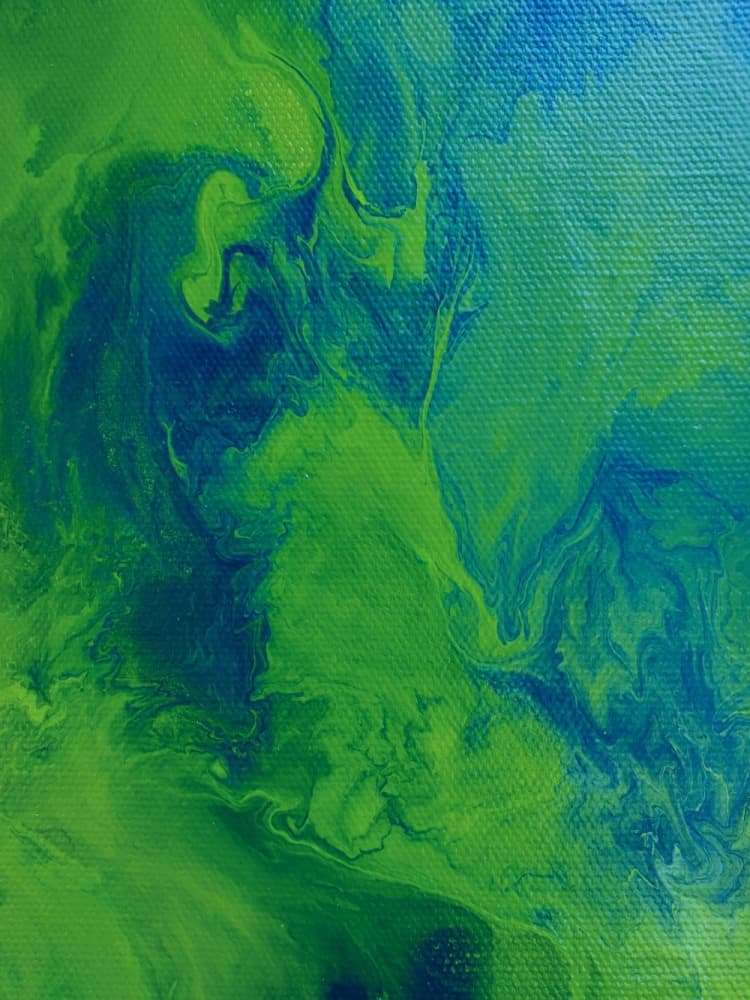
Mixing a wet water based paint with oils can also give you some interesting results. We all know water and oil doesn’t mix. However, you can use that phenomena to create some interesting effects.
Practice as often as you can, but experiment too. Painting the same thing over and over again will improve your paintings. You will learn something different each time.
Don’t expect every experiment you do to work. Some will not look good, but others will. Over time you will improve your skillset and your paintings will get better
Oils are a wonderful medium and a lot easier to use than many people imagine. Learning how to make the most of them will help you improve as an artist.
Enjoy the wonderful world of oils
Enjoy this wonderful medium and don’t get too hung up on the results to begin with. It can take time to understand the different ways you can use them but as your technique improves, so will your results.
Thanks as always for all your fantastic feedback.