This Acrylic Painting guide will give you new painting ideas and help you get the most from using acrylic paints.
Whether you are a beginner or a more experienced artist, I am sure you will find some useful hints and tips to help you create better art.
It is also a great way to get kids interested, so why not have some fun and let the children’s imagination run wild for a while.
A few good painting ideas can keep them occupied for hours.
Disclosure: Some of the links in this post are affiliate links. If you go through them to make a purchase I will earn a commission. Keep in mind that I link these companies and their products because of their quality and not because of the commission I receive from your purchases.
Table of Contents
The Pros Of Using Acrylics
Anyone can use acrylic paints. They are great fun, cheap, fast-drying, and easy to use. They make painting really easy. The opaque nature of most of the colors means you can quickly paint over any “mistakes.”
The ability to cover dark colors with light is really useful and makes them incredibly flexible. They are a great way of getting painting ideas down quickly.
Paint On Anything You Want To
One of the wonderful things about acrylic paint is that you really can paint on anything. From canvas and paper to wood, ceramic, stone, metal, or even plastic, acrylic paint will stick to pretty much anything.
If you use absorbent paper, it is good to stretch the paper first. You never know if you will need to wet an area of the painting more. This can lead to the paper becoming rippled permanently with no solution, possibly ruining a good painting idea.
When you paint on something with a very smooth surface, if you are painting the whole surface, roughing the surface up a little with some abrasive paper will give the paint better sticking power.
The Colour Of The Material You Paint On Makes No Difference
The color of the background material makes little difference with acrylic paint. This is because the paint color is opaque. The color of the material you paint on becomes much more of a decision based on personal taste or availability.
This means it can be easier to complete the painting ideas you have. Both U.V. and weather-resistant and hardwearing acrylic paint can be used indoors or out. You can experiment by decorating literally any item you want.
Why not try painting some plant pots or make a “nameplate” or “number board” for your home.
Brighten Up The World
Use your imagination to brighten up the world. I have seen amazing painting ideas used to decorate rubbish bins and incredible murals to create a specific atmosphere in pubs, clubs, and even high-class restaurants.
Paint From Dark To Light
One of the great things about acrylic paint is the opaque nature of most colors. There are ways to make it appear more translucent, but the ability to cover dark colors with light within a short drying time makes them incredibly flexible.
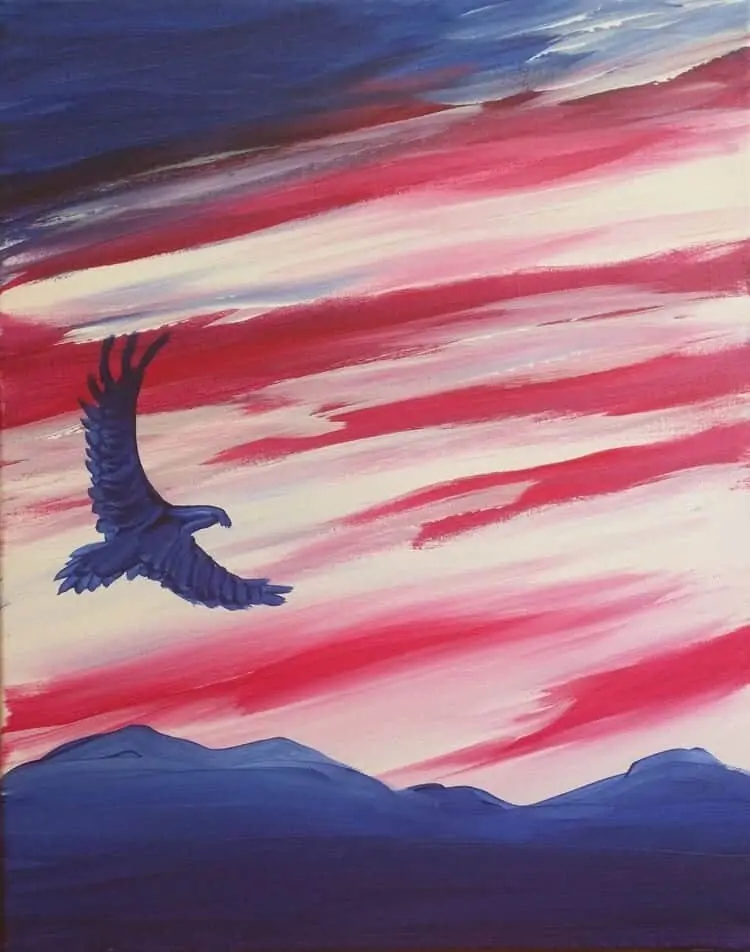
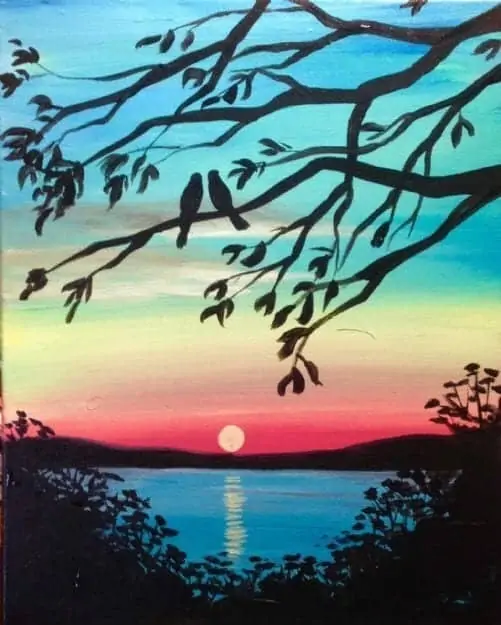
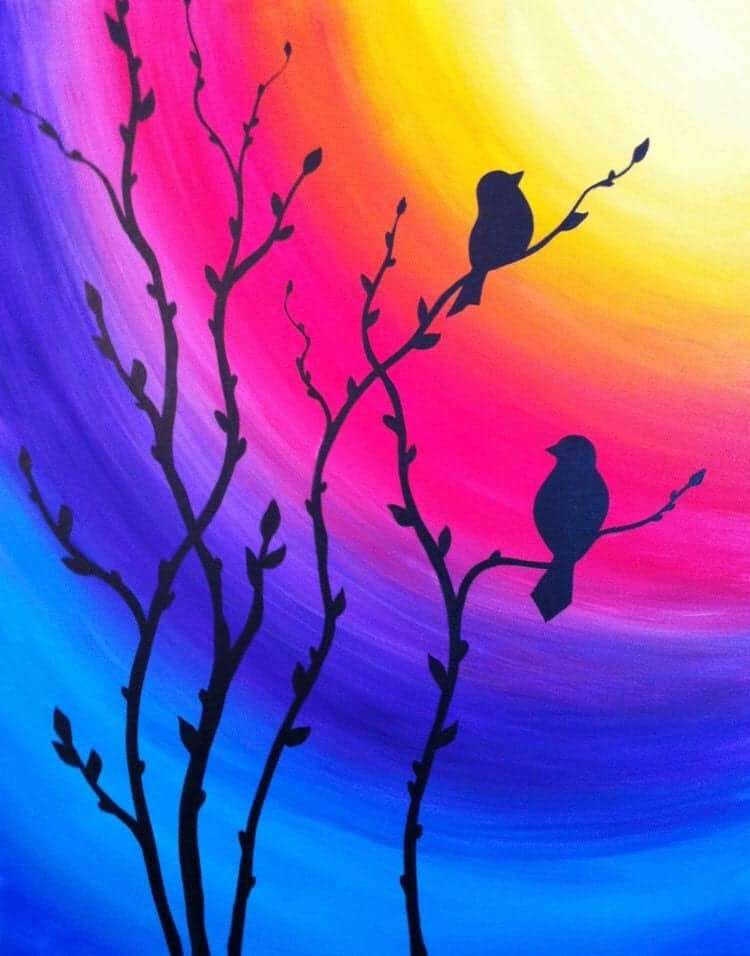
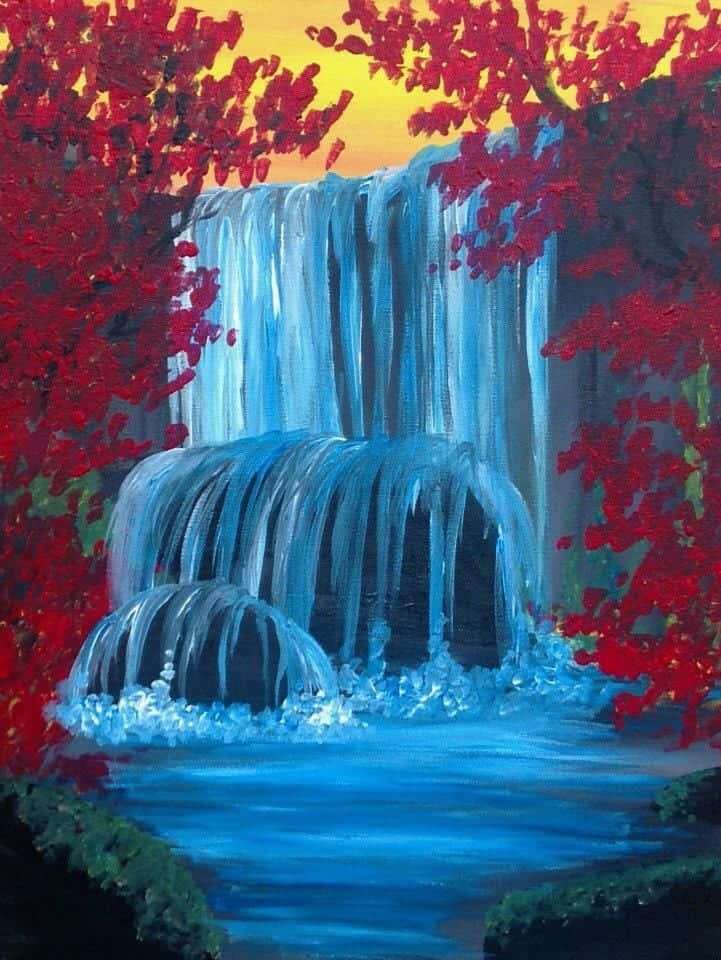
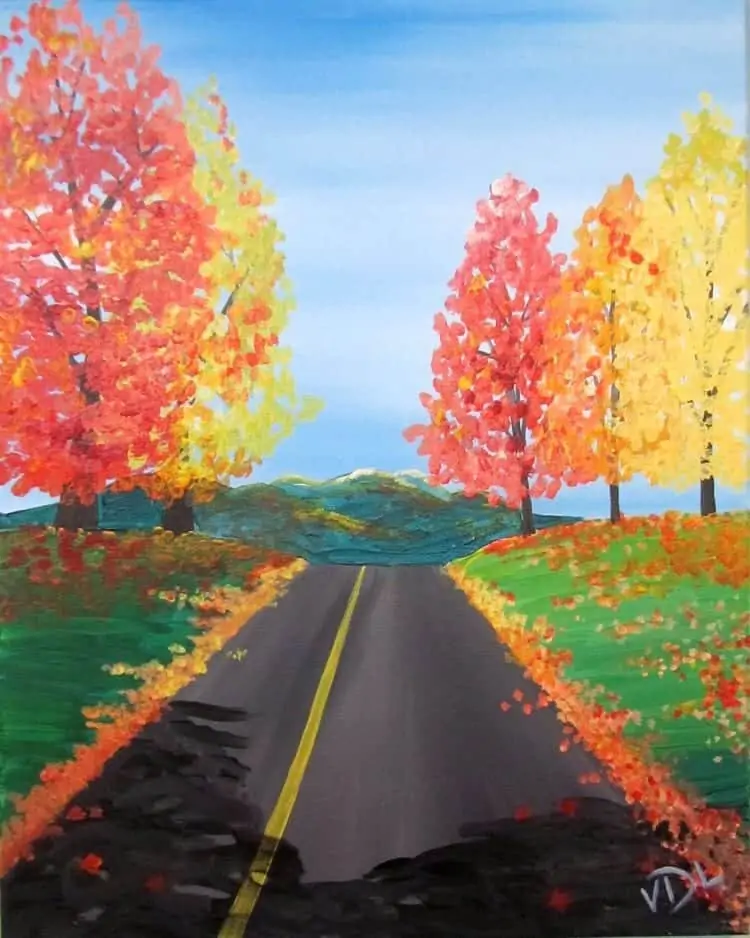
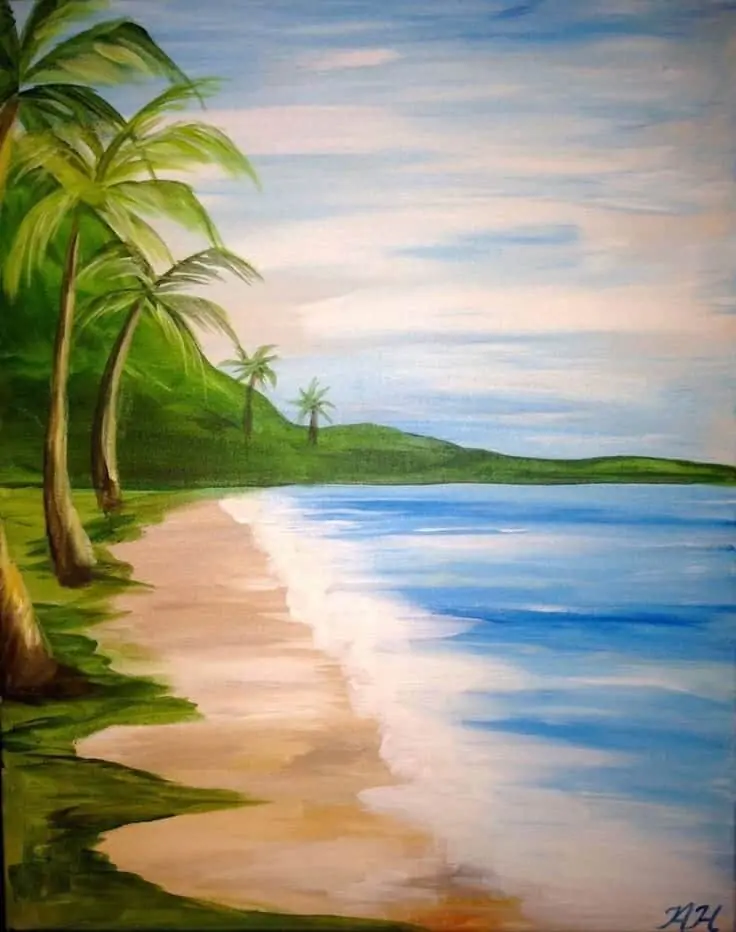
It isn’t a fixed rule, but it will make certain painting ideas much easier if you paint from dark to light. You can initially paint a reasonably flat color and then introduce the lights and darks. They will help breathe shape and depth into each element within the picture, as you can see below.
The Ultimate Guide To Using Acrylic Paints
Tip 1: Framing The Picture Well
Whatever the painting, you want to frame the image well. A great painting idea can be ruined if it is poorly framed.
In a landscape painting, you can use the shape of the landscape, or you might have some foreground trees that will help you do just that.
However you do it, what you want to achieve is to guide the eyes of the viewer into the painting. Take them on a journey into the finer details of the picture while anchoring their focus on the picture as a whole.
Tip 2: Draw A Grid To Help You
Something that might help is to draw a grid over the painting area. Draw 2 lines equal distances apart, vertically and horizontally, to form grid 3 squares by three.
You should place the main focus of your painting idea on one of the 4 points where the lines cross, not directly in the middle.
With landscape painting, if the sky is a main point of interest, put your main focus in one of the lower 2 grid points. This will give you more canvas to dedicate to the sky. If the main idea is in the foreground, use one of the 2 higher focus points, so you have more canvas space for your idea in the foreground. Wherever your horizon line sits within the picture, you can use it to emphasize the distance.
It may be that the horizon helps you frame the picture; if not, try to use something in the foreground to guide people in and take their eyes on the journey you want them to take.
Tip 3: Mix Colours On Your Palette
Iridescent color is a characteristic of acrylic paint, and bold, striking painting ideas can be remarkably easy to create. You will need to get used to mixing paints quickly, and tonal shading has to be approached differently.
Mix the base color you want as the color there is most of or in the middle of the tonal range you will be using. You can then darken or lighten areas using one of the techniques explained here. This will help you create a 3-dimensional feel in the painting.
Striking Colour
You can rely on wonderful striking colors from acrylic paints, and they are a joy to use. Just keep practicing.
You can use any scrap paper or wood to get a painting idea down quickly, and because acrylic dries so fast, you can simply paint over the ones you don’t like and start again.
I always have a blob of white and a blob of black on my palette, so I can quickly add a little to the edge of the base color to change the tones. I try to leave space between colors on my palette to cross mix them easily and quickly.
If the bulk of my painting is an earthy green, I will have an earthy yellow like “yellow ochre” and a deep blue like “ultramarine blue” close by, so I can mix a little more or less into the green as required. You can add a little water to extend the drying time, but this will affect the texture too.
Sometimes it is better to wait and then add washes or try dry-brushing after the first layers of paint have dried.
Tip 4: Paint As Fast As You Can
Working fast with these paints can also help people grow in confidence more quickly. The knowledge that you can simply paint over any ‘mistakes’ helps people worry less.
Working fast and not overthinking the process can lead to some outlandish painting ideas and wonderful results.
The colors can be blended into each other if you work fast. This will help you to achieve graduation of colors and tones. Run the colors into each other without over-working them. That way, there will be a variety of tones visible within each area of blended colors. It gives extra texture to the ideas you paint.
Have all your colors and brushes ready, keep a dry cloth to wipe your brushes and preferably 2 containers of water close by, one for cleaning brushes and one for mixing colors Start with the darker colors first and brush them in all over the painting. Then quickly wipe your brush and work in the adjacent colors.
You can use one water container to wash the brushes when needed, but keep the other for clean water. The clean water can mix any colors or washes you need. Remember that tones and colors can be changed after the first layers of paint have dried if needed. That is the beauty of acrylic paint.
Tip 5: 2 Ways Of Over Painting
There are two ways of “overpainting” I want to talk about. One is a solution and is literally painting over a dried area of paint to cover it up. The other is negative and an easy trap to fall into because the paint dries so quickly.
Acrylic paint does dry fast, even when applied quite thickly. This means it is easy to cover up areas if needed. When you start, just experiment, have a play, and don’t worry about ‘mistakes.’ If worst comes to the worst, you can simply paint over everything on your painting idea in any neutral color and start again after it has dried.
You should, however, be aware of something. Striving for perfection is admirable, but no painting idea will ever come out perfect. What you are creating is not a photograph; it isn’t meant to be a perfect representation.
Tip 6: Use Bold Confident Brush Strokes
Using bold, confident brushstrokes can help you create shape, showing the artist’s confidence. Overworking an area will flatten any brush marks. This can work in some regions of some paintings, but it generally flattens the way people will see the overall painting. I try to avoid it when possible. Using the ripples of the paint makes for a much more interesting and “painterly” result.
You should be careful not to overwork any painting ideas. Just concentrate on getting all the colors on as quickly as possible. I have had many painting ideas where I wished I had stopped sooner when actually painting. Gradually work from dark to light, wiping the brush thoroughly each time.
When all the colors are roughly applied, take a clean, dry brush and lightly work the edges together to create the gradients of color and tone. You should always wipe your brush regularly to ensure everything doesn’t end up muddy brown.

Tip 7: Creating Depth In Your Painting Ideas
Because the acrylic paint dries so quickly, it is easy to apply one layer, wait for it to dry, then add a little more that is watered down. Covering slightly different areas or overlaying certain sections of the picture. By doing this, the background color shows through, but the definition of the overlaid images remains intact, creating a perception of depth in your painting ideas.
Objects in the foreground will have more extremes of light and dark. Objects in the background will be more indistinct, so black to white in the foreground becomes light grey to darker grey in the background. Using those tonal differences will help you create the perception of distance within any painting ideas you have.
Tip 8: Using Colour Temperature
Color temperature can also help. You should use warm colors to bring objects closer and cooler colors to move things into the distance. You can also use color intensity.
Use bright colors in the foreground, and dull colors will immediately make something look further away. Perspective is the most important thing to understand.
The size of an object within the picture has the most immediate effect on your perception of its position. You will hear people talk about the “S-curve”; this is the effect perspective has on the meanders of a river moving into the distance. As the river moves forward in the picture, the loops appear bigger.
You can use diagonals to practice by simply drawing 2 lines that connect at one end, where a river starts in the distance then spreads apart slightly until they reach the foreground. As you draw in the meanders of the river, take them close to each of the 2 lines on each side.
As the loops get bigger, they appear closer and dominate the foreground. By overlapping and layering shapes, you can make it really obvious where an object sits within the picture.
Tip 9: Adding Detail
You should use more detail and texture in the foreground. As objects move into the distance, the detail just isn’t seen, so painting detail in the distance doesn’t represent how we see things and can confuse the people looking at your painting.
Tip 10: Creating Shape In A Painting Idea
You can easily create shape in any painting idea by loading your brushes heavily and using bold, confident brushstrokes. The paint should be thick enough to retain the texture of the brush strokes. You can then enhance these shapes by dry brushing or using washes if needed.
You should also use the dark and light of the image to enhance the shapes you create. Another option is to part mix the color on the brush by dipping it into 2 different colors. Use one color on one side and another color on the other side, then paint, so the brush partly mixes the paint but leaves streaks of the 2 original colors within the brush stroke.
This makes the brushstroke itself more visible. Light will help you separate the different faces of any object in your paintings. You can use this on every object as described below. Whether the object you are painting has curved faces or a sharp-angled corner, the light falling on it will help you depict its overall shape.
Tip 11: Using Washes To Add Translucent Colour In Your Paintings
Layering thin washes of color is a great way to create depth and texture. It also helps add more natural tonal variations to your painting ideas. You can mix the colors down with a lot of water and apply multiple layers over any initial colors to create subtlety and boldness from these paints.
You should try leaving each layer to partly dry, so some parts mix more than others; very few things have a perfectly flat color. Painting grass or fur, I use an old brush, splay the bristles and sometimes even cut sections out to appear like multiple smaller brush heads.
Tip 12: Mistakes Don’t Matter
I paint a fairly heavy layer of darker small brush strokes from back to front with the darkest color watered-down. Then, I put a lighter wash on, and just before the first layer is completely dry, I brush a lighter layer in a similar direction. You can repeat this as many times as you need to to give texture and tone to any painting ideas that need it.
You can overlay these thin washes on a dry background to achieve an amazing level of translucence, allowing the background color to show through wherever you need it to. If you are using a lot of washes and on absorbent paper, it is a good idea to stretch the paper first and stick it down. Otherwise, the paper can become rippled, permanently ruining your painting.
Tip 13: Painting The Details
You can use pencil lines to draw guidelines very easily with acrylic paint. The paint will simply cover the pencil lines. You can draw as much detail as you want. If it helps you, include it.
You will probably draw less as you become more confident, but we all work differently. Part of the joy of painting is to see a less experienced painter doing something differently and realizing it is a good idea that you can use too.
With acrylics paints, two colors can be painted next to each other to create a solid bold line with very little bleed of color from one side to the other; it is only when you begin to brush across the joining line that the colors will start to mix.
This makes painting detail really easy. Allowing one color to dry before adding the adjacent colors will stop mixing from happening. Watering down the paint slightly will allow the paint to flow off a small brush much more quickly to create really fine detail work.
Using this detail, you can emphasize the objects in the foreground, as described above, to create real depth within your painting ideas.
Tip 14: Use Light To Add Depth To Your Painting Ideas
Careful use of shadows and highlights really does bring a painting to life. You can use it to emphasize the depth of any painting. You will need to practice, but it won’t take long before you can create the perception of depth with ease.
It also helps create shape because as the light falls on an object, the shape of that object will affect how the light hits it, as I have described above.
Tip 15: Be Consistent
Be consistent throughout the painting. Having one dominant light source makes it easy. You could make a small cut out of a sun and stick it to where the light is coming from on your painting idea. Then, as you work through the images in the painting.
You can contour each one, introducing light and dark relative to its position in relation to the light source. If your light source is on the right of the picture, the right side of all the objects in that picture will appear lighter than the rest. If the light source is above, then the top of each object will be highlighted.
Also, the closer an object is to the light source, the more it will be affected by the light. The effect of the light will diminish in the distance. This is particularly important in landscape paintings, where vast horizons are sometimes required.
Tip 16: Dry Brushing Can Give You Fantastic Results
This simple technique is a great way to create depth and texture in your painting ideas. It will also help you create natural tonal variations. By dry-brushing lighter colors onto the part of an object in your painting facing the light source, you can begin to capture the shape of the objects.
You should also introduce dark or shadow where appropriate to enhance this. It helps to create more defined depth within the painting ideas you have.
For dry-brushing, often the perfect tool is one of your older brushes with splayed bristles. Don’t be embarrassed; we all have them. I often crush the ferrule a little to splay them even more.
You should load the brush with paint and then scrape off as much paint as you can. You can use the edge of your pallet, any sharp edge, or you can use a scrap piece of paper or wood and just keep brushing until only a small amount of paint is left on the brush.
When you are happy, you can lightly dab the brush or make short light strokes to introduce the lighter or darker tones.
Always work lightly. A bristle brush can make this easier, but I often use old splayed brushes for this job.
Tip 17: Keep Your Brushes Clean At All Times
You can simply clean brushes in water with acrylic paints. This makes life really easy. Do remember to work soap up into the shoulder of the bristles. If you let the paint dry, it can be hard to remove. Cleaning your brushes thoroughly straight after use will save you time and money.
If you are working on a large painting or using several brushes, it is a good idea to keep the brushes wet and wipe off any excess water when you start using that brush again. You don’t want to have to buy replacements just because the bristles start to splay out.
Tip 18: Transform Old Brushes
You can transform old brushes into useful tools too. If you notice a brush starting to splay out and it refuses to clean, crushing the ferrule in one direction will flatten it, splaying the bristles into a fan shape. So there is no need to buy specialist fan brushes.
You can also cut sections of the bristles away to create “comb” brushes. I also use big old splayed round brushes to blend large areas of color. It gets easier as the bristles get older with age and use.
Conclusions
You will develop different techniques to achieve what you want in your painting ideas. Dry-brushing and layering thin washes are great ways to create depth and texture as well as tonal variations, and you will find many other ways to help express yourself with this wonderful medium.
Remember, enjoy the painting, don’t get too hung up on if it’s everything you wanted. You can add detail, shadow, tone, texture, or simply paint over the whole thing and start again if you really need to.
As your confidence grows, this will show up in your brushwork. It will help you grow and develop more as an artist, all in a remarkably short time.
Acrylic paints are a great addition to any artist’s toolbox. They are hard-wearing, UV stable, and easy to work with, so why not try them? Go on, see what you can create, and let us see the results too. You never know; we may use them (with your permission) to help illustrate this or other blog posts in the future.
Always remember to enjoy your painting. If you are finding a particular stage difficult, don’t struggle. Sometimes the best way to finish a painting can be to stop and take a break. It is often better to step away than to struggle when you find something difficult.
Don’t forget to check out all our other posts for more hints and tips to help you draw more easily.
From cars to flowers and tigers to moons. There really is something for everyone. Message me at [email protected] if you have any questions or requests.
There are more images below; follow this link for more acrylic painting ideas and inspiration too. Browse our selection of art-related tutorials, ideas, and inspiration.
Through this website, you can link to other websites that are not under Brighter Craft’s control. We have no control over the nature, content, and availability of those sites. The inclusion of any links does not necessarily imply a recommendation or endorse the views expressed within them.